Brand: Elastolith®
Model: Sample – Alaska
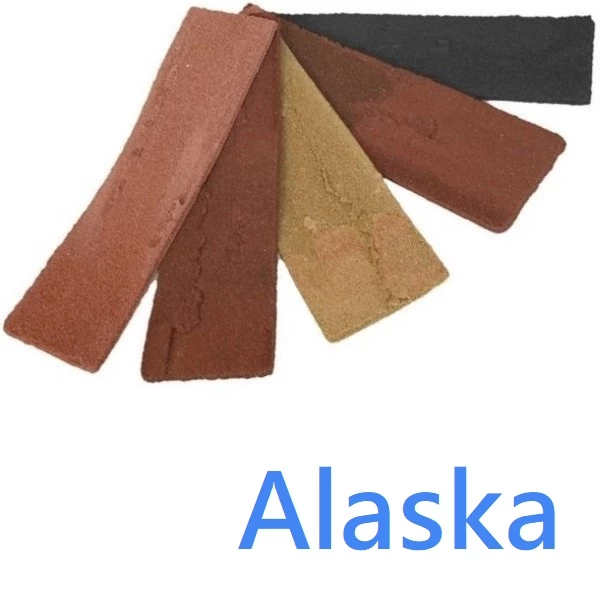
Brick Slip Sample (Alaska) Decorative Wall Cladding is a thin slice of brick slip tile 71mm x 240mm in Alaska colour that allows you to get a feel how Alaska brick slips will look on your interior or exterior walls.
Elastolith Brick Slips are flexible acrylic brick slips and perfect for those loo..
£ 6.17
Ex Tax:£ 5.14
Estimated delivery: 2-3 working days
Brand: Elastolith®
Model: Brick Slip Adhesive - White
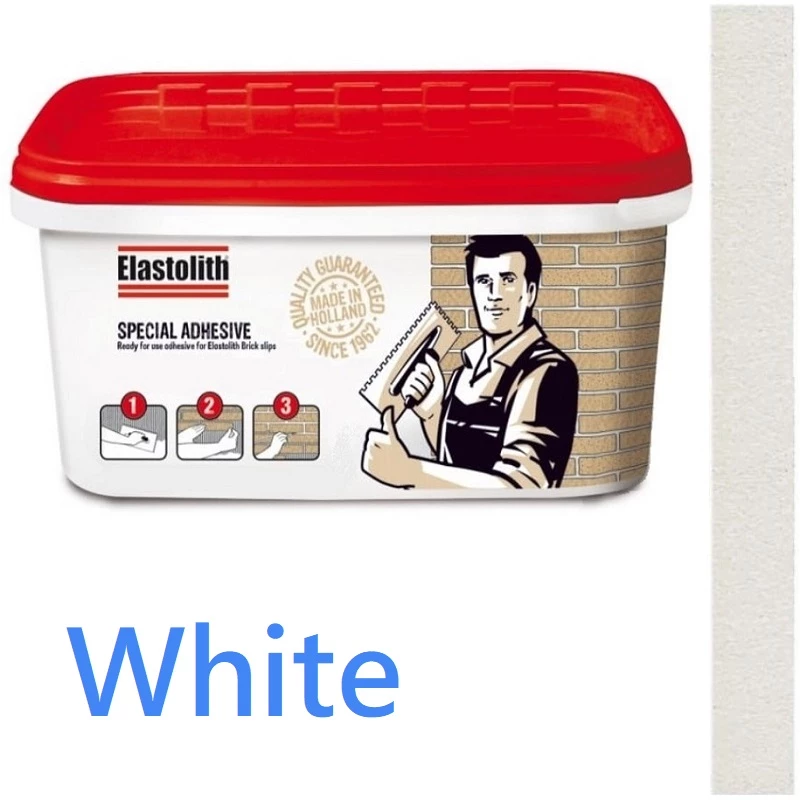
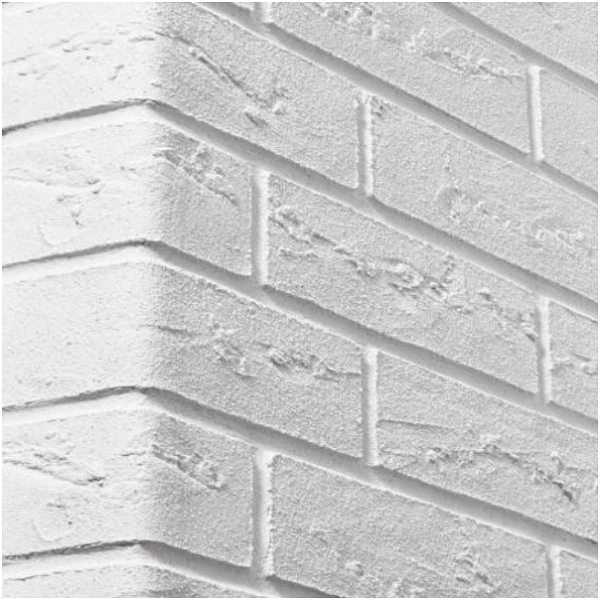
Brick Slips Special Adhesive WHITE Elastolith (15kg Tub) is a ready-to-use Brick Slip dispersion adhesive and grout made from mineral raw materials used for laying and securing brick slips to your interior and exterior walls.
This Adhesive is an extremely strong and easy to apply product specific..
£ 120.88
Ex Tax:£ 100.73
Estimated delivery: 3-5 working days
Brand: Elastolith®
Model: Brick Slips – Alaska
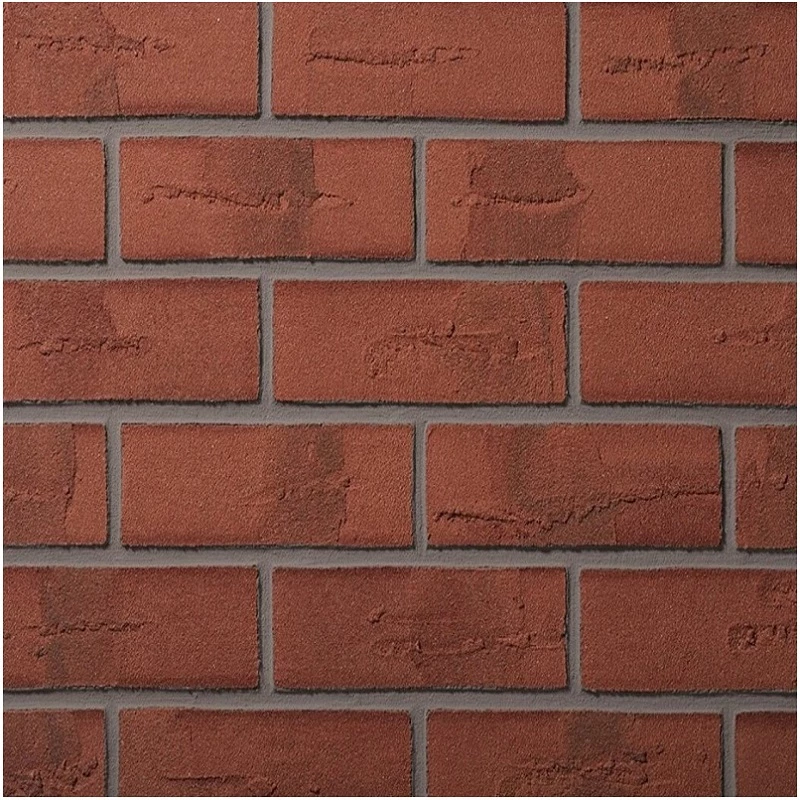
Brick Slip Elastolith 1m2 - 48 brick tiles (Colour Alaska) is a flexible, frost-proof and vapor-permeable thin slice of brick slip tile that creates a natural and authentic look of brickwork to your walls.
The brick slips are very lightweight and incredibly easy to install, making them perfect fo..
£ 47.93
Ex Tax:£ 39.94
Estimated delivery: 3-5 working days
Brand: Elastolith®
Model: Corner Brick Slips – Alaska
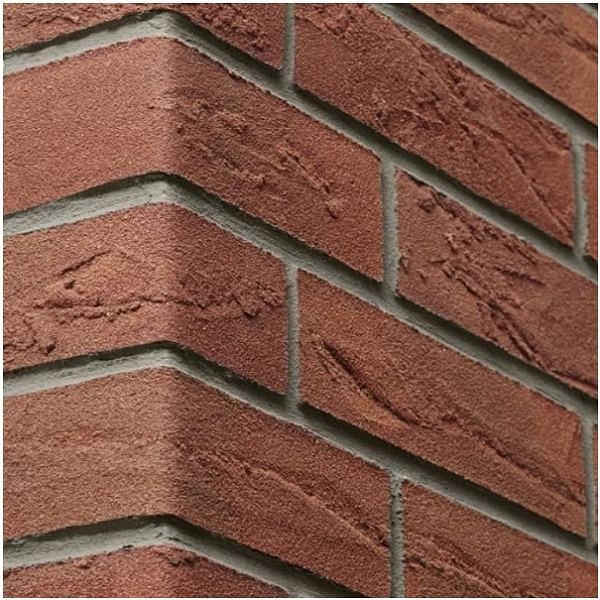
Corner Brick Slips Colour Alaska (24 brick slip tiles per pack) are flexible and durable thin slices of brick corner tiles that creates a natural and authentic look of brickwork on external corners to your walls.
The brick slips corners are very lightweight and incredibly easy to install, making ..
£ 72.96
Ex Tax:£ 60.80
Estimated delivery: 3-5 working days
Brand: Elastolith®
Model: Brick Slips – Cordoba
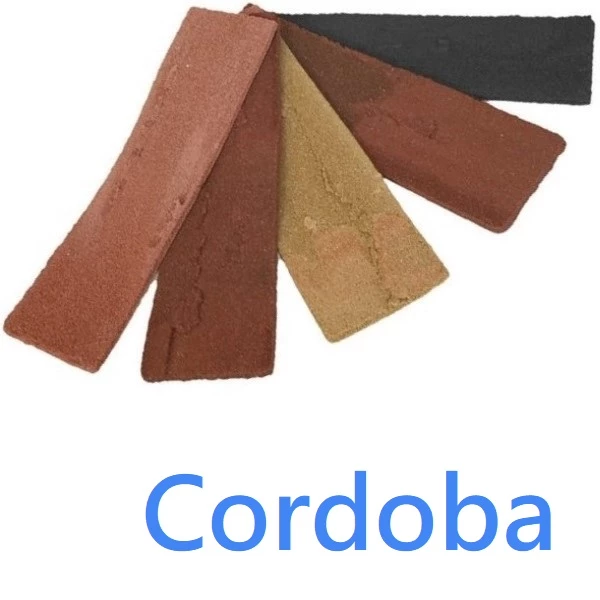
Brick Slip Elastolith 1m2 - 48 brick tiles (Colour Cordoba) is a flexible, frost-proof and vapor-permeable thin slice of brick slip tile that creates a natural and authentic look of brickwork to your walls.
The brick slips are very lightweight and incredibly easy to install, making them perfect f..
£ 47.93
Ex Tax:£ 39.94
Estimated delivery: 3-5 working days
Brand: Elastolith®
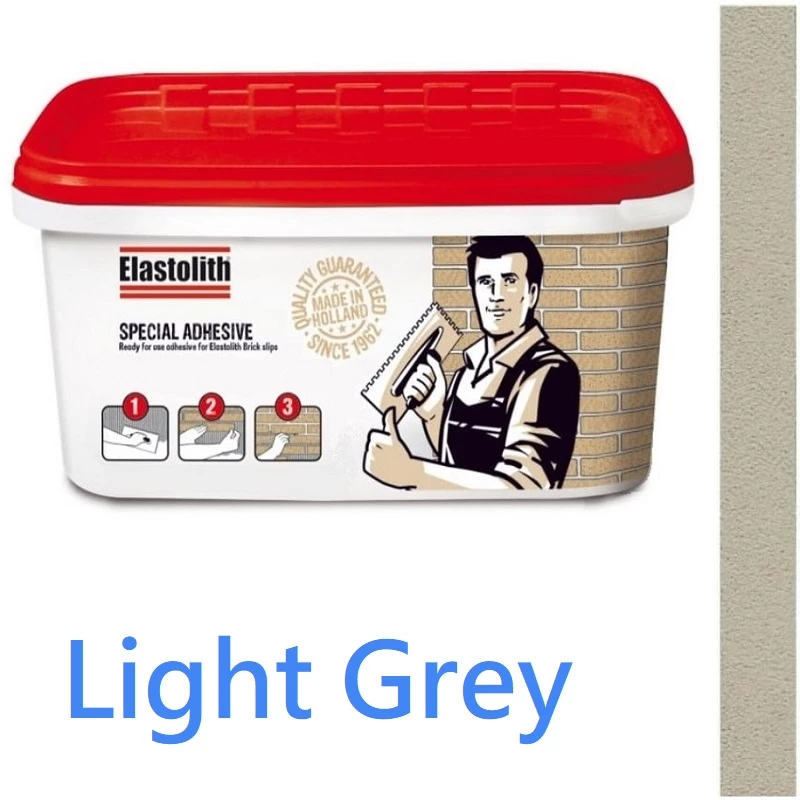
Model: Brick Slip Adhesive - Light Grey
Brick Slips Special Adhesive LIGHT GREY (15kg Tub) is an extremely strong Brick Slip dispersion adhesive and grout made from mineral raw materials used for laying and securing brick slips to your interior and exterior walls.
Elastolith Adhesive is a ready-to-use and easy to apply product specific..
£ 120.88
Ex Tax:£ 100.73
Estimated delivery: 3-5 working days
Brand: Elastolith®
Model: Corner Brick Slips – Cordoba
Corner Brick Slips Colour Cordoba (24 thin brick slip tiles per pack) are thin slices of 45 degree corner brick tiles that creates a natural and authentic look of brickwork on external corners to your walls.
The brick slips corners are very lightweight and incredibly easy to install, making them ..
£ 72.96
Ex Tax:£ 60.80
Estimated delivery: 3-5 working days
Brand: Elastolith®
Model: Sample – Cordoba
Brick Slip Sample (Cordoba) Decorative Wall Cladding is a thin slice of brick slip tile 71mm x 240mm in Cordoba colour that allows you to get a feel how Cordoba brick slips will look on your interior or exterior walls.
Elastolith Brick Tiles Cordoba are flexible acrylic brick slips and perfect fo..
£ 6.17
Ex Tax:£ 5.14
Estimated delivery: 2-3 working days
Brand: Elastolith®
Model: Sample – Corsica
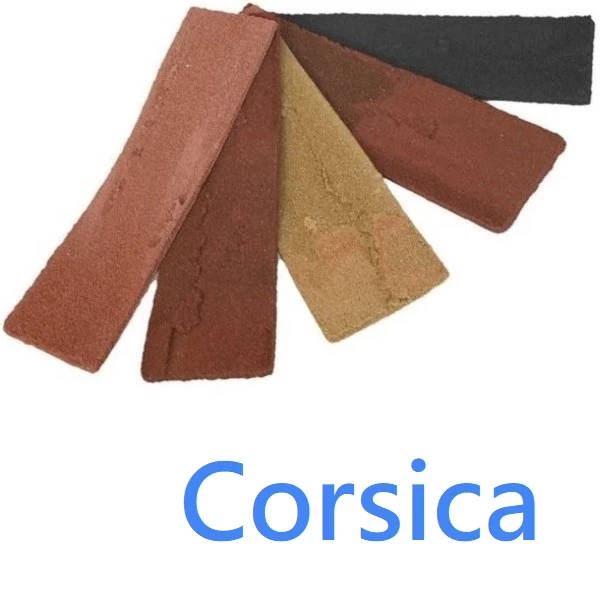
Brick Slip Sample (Corsica) Decorative Wall Cladding is a thin slice of brick slip tile 71mm x 240mm in Corsica colour that allows you to get a feel how Corsica brick slips will look on your interior or exterior walls.
Elastolith Brick Tiles Corsica are flexible acrylic brick slips and perfect fo..
£ 6.17
Ex Tax:£ 5.14
Estimated delivery: 2-3 working days
Brand: Elastolith®
Model: Corner Brick Slips – Corsica
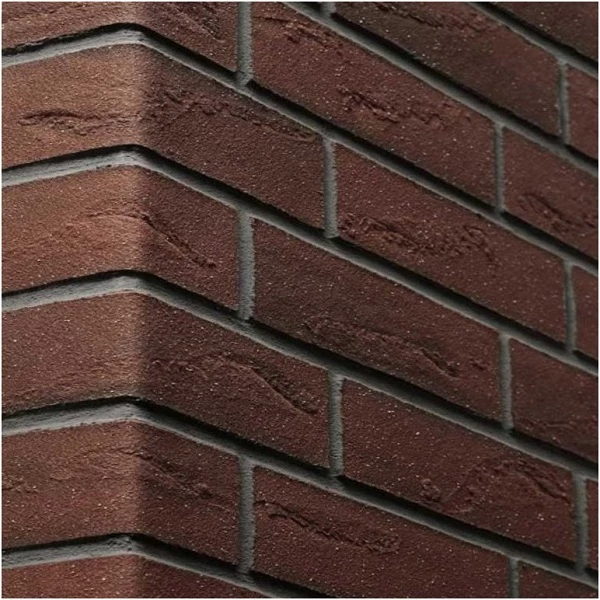
Corner Brick Slips Colour Corsica (24 thin brick slip corners per pack) are L shaped thin slices of 45 degree corner brick tiles that creates a natural and authentic look of brickwork on external corners to your walls.
The brick slips corners are very lightweight and incredibly easy to install, m..
£ 72.96
Ex Tax:£ 60.80
Estimated delivery: 3-5 working days
Brand: Elastolith®
Model: Brick Slip Adhesive - Cement Grey
Elastolith Adhesive for Brick Slips CEMENT GREY 15kg Tub (6m²) is an easy to apply Brick Slip dispersion adhesive and grout made from mineral raw materials used for laying and securing brick slips to your exterior and interior walls.
Special Brick Slip Exterior and Interior Adhesive is a ready-to..
£ 120.88
Ex Tax:£ 100.73
Estimated delivery: 3-5 working days
Brand: Elastolith®
Model: Brick Slips – Corsica
Brick Slip Elastolith 1m2 - 48 brick tiles (Colour Corsica) is a durable, frost-proof and vapor-permeable thin slice of brick slip tile that creates a natural and authentic look of brickwork to your walls.
The brick slips are very lightweight and incredibly easy to install, making them perfect fo..
£ 47.93
Ex Tax:£ 39.94
Estimated delivery: 3-5 working days
Brand: Elastolith®
Model: Brick Slip Adhesive - Anthracite
Adhesive for Brick Slips ANTHRACITE 15kg Tub (6m²) is a ready-to-use all-in-one Brick Slip adhesive and grout made from mineral raw materials used for laying and securing brick slips to your exterior and interior walls.
Special Brick Slip Exterior and Interior Adhesive is an extremely strong and ..
£ 120.88
Ex Tax:£ 100.73
Estimated delivery: 3-5 working days
Brand: Elastolith®
Model: Sample – Malta
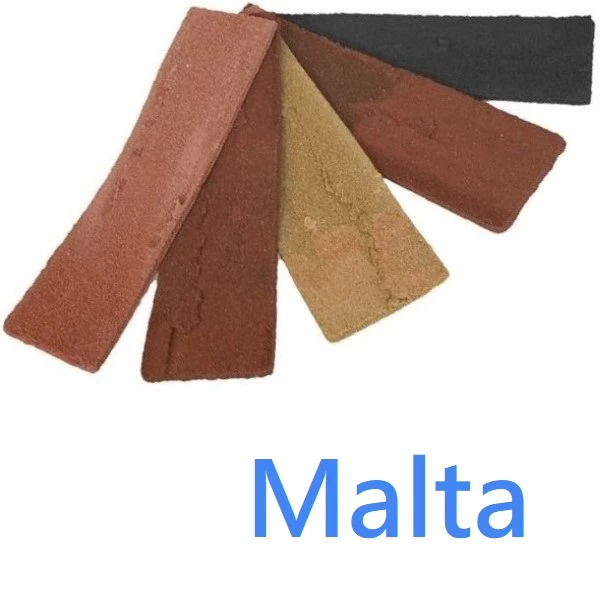
Brick Slip Sample (Malta) Decorative Wall Cladding is a thin slice of brick slip tile 71mm x 240mm in Malta colour that allows you to get a feel how Malta brick slips will look on your interior or exterior walls.
Elastolith Brick Tiles Malta are flexible acrylic brick slips and perfect for those ..
£ 6.17
Ex Tax:£ 5.14
Estimated delivery: 2-3 working days
Brand: Elastolith®
Model: Corner Brick Slips – Malta
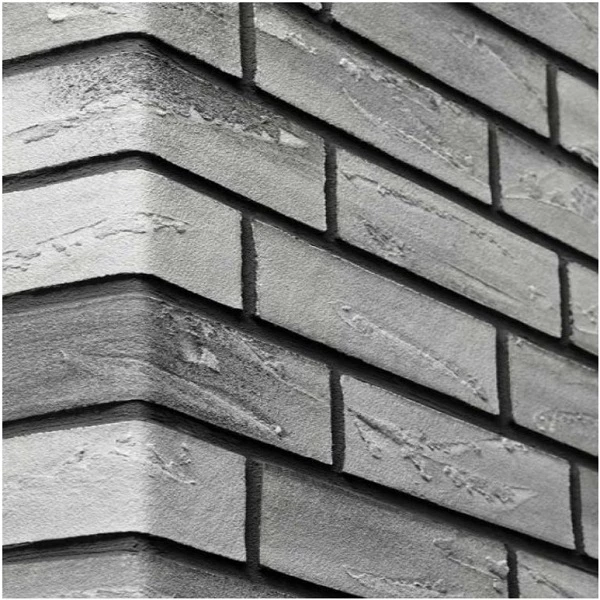
Brick Slip Corners Colour Corsica (24 thin corner brick slips) also known as brick corner pistols are flexible and durable thin slices of corner brick tiles that creates a traditional look of brickwork on external corners to your walls.
The brick slips corners are very lightweight and incredibly ..
£ 72.96
Ex Tax:£ 60.80
Estimated delivery: 3-5 working days
Brand: Elastolith®
Model: Brick Slips – Malta
Elastolith Brick Slip Colour Malta (1m2 - 48 brick slips tiles per box) is a durable, frost-proof and vapor-permeable thin slice of brick slip tile that creates a natural and authentic look of brickwork to your walls.
The brick slips are very lightweight and incredibly easy to install, making the..
£ 47.93
Ex Tax:£ 39.94
Estimated delivery: 3-5 working days
Brand: Elastolith®
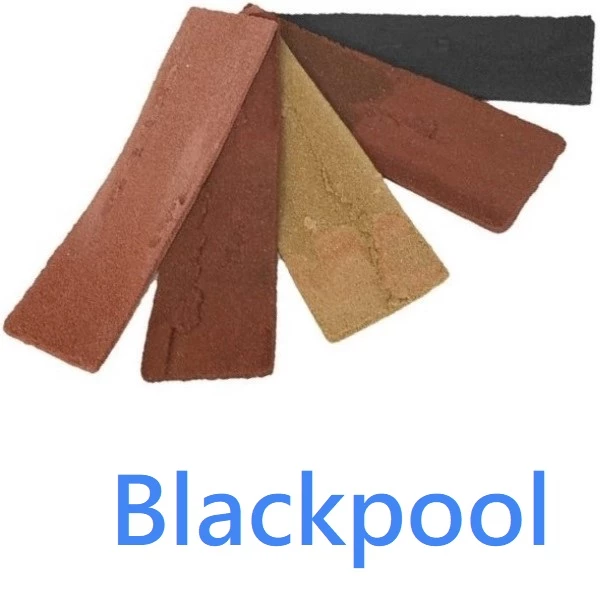
Model: Sample – Blackpool
Brick Slip Sample (Blackpool) Decorative Wall Cladding is a thin slice of brick slip tile 71mm x 240mm in Blackpool (Anthracite) colour that allows you to get a feel how Blackpool brick slips will look on your interior or exterior walls.
Elastolith Brick Tiles Blackpool are flexible acrylic brick..
£ 6.17
Ex Tax:£ 5.14
Estimated delivery: 2-3 working days
Brand: Elastolith®
Model: Corner Brick Slips – Blackpool
Brick Slip Corners Colour Blackpool (2 linear metres) referred to as 'pistols' are L-shaped brick slips to fit around external corners of your walls to create an authentic impression of a solid brick wall.
The brick slips corners are very lightweight and incredibly easy to install, making them pe..
£ 72.96
Ex Tax:£ 60.80
Estimated delivery: 3-5 working days
Brand: Elastolith®
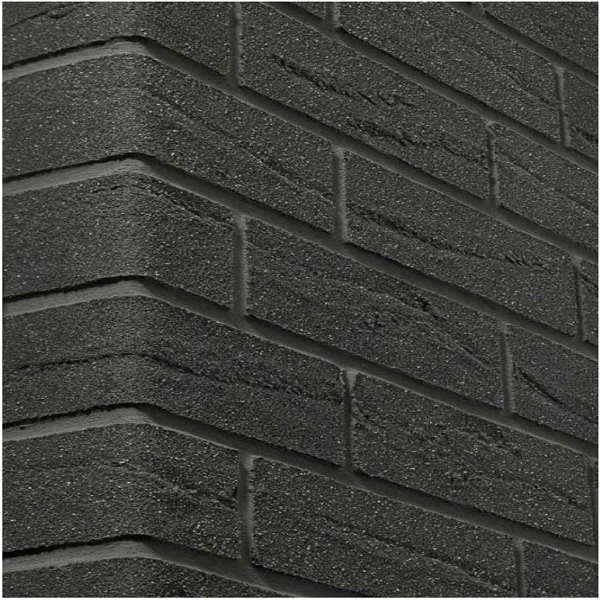
Model: Brick Slips – Blackpool
Brick Slip Colour Blackpool-Anthracite (1m² - 48 brick slips tiles per box) is an acrylic, frost-proof and vapor-permeable thin slice of brick slip tile that creates a natural and authentic look of brickwork to your walls.
The brick slips are very lightweight and incredibly easy to install, makin..
£ 47.93
Ex Tax:£ 39.94
Estimated delivery: 3-5 working days
Brand: Elastolith®
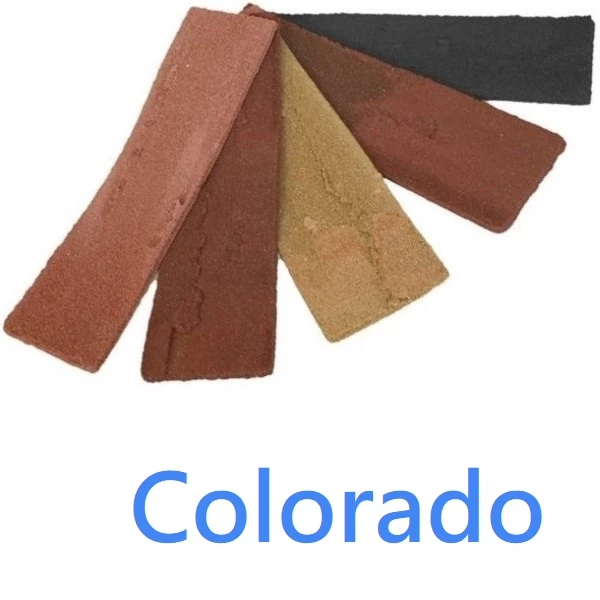
Model: Sample – Colorado
Brick Slip Sample (Colorado) Decorative Wall Cladding is a thin slice of brick slip tile 71mm x 240mm in Colorado colour that allows you to get a feel how Colorado brick slips will look on your interior or exterior walls.
Elastolith Brick Tiles Colorado are flexible acrylic brick slips and perfec..
£ 6.17
Ex Tax:£ 5.14
Estimated delivery: 2-3 working days
Brand: Elastolith®
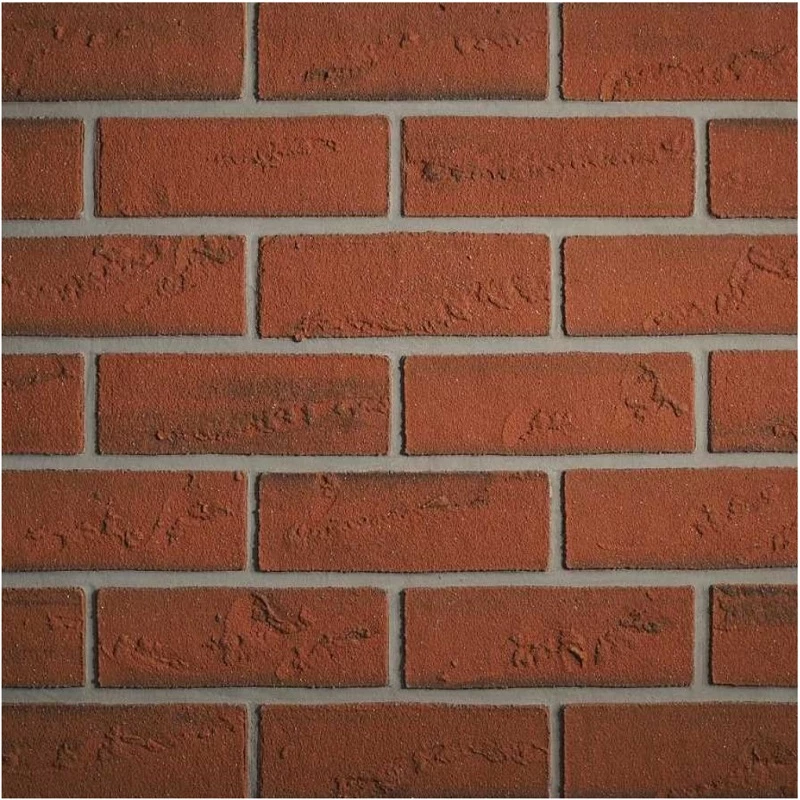
Model: Brick Slips – Colorado
Brick Slip Colour Colorado 1m² (48 brick slips per box) is a high-quality, frost-proof and vapor-permeable thin slice of brick slip tile that creates a natural and authentic look of brickwork to your walls.
The brick slips are very lightweight and incredibly easy to install, making them perfect f..
£ 47.93
Ex Tax:£ 39.94
Estimated delivery: 3-5 working days
Brand: Elastolith®
Model: Corner Brick Slips – Colorado
Corner Brick Slips Colour Colorado (brick 'pistols') are L-shaped brick cladding slips designed specifically to fit around external corners of your walls to create an authentic impression of a solid brick wall.
The brick slips corners are very lightweight and incredibly easy to install, making th..
£ 72.96
Ex Tax:£ 60.80
Estimated delivery: 3-5 working days
Brand: Elastolith®
Model: Corner Brick Slips – Nebraska
Corner Brick Slips 'pistols' Colour Nebraska (2 linear metres) are flexible mineral-based thin slices of brick corner cladding tiles that creates an authentic look of brickwork on external corners for both internal and external walls.
The brick slips corners are very lightweight and incredibly ea..
£ 72.96
Ex Tax:£ 60.80
Estimated delivery: 3-5 working days
Brand: Elastolith®
Model: Sample – Nebraska
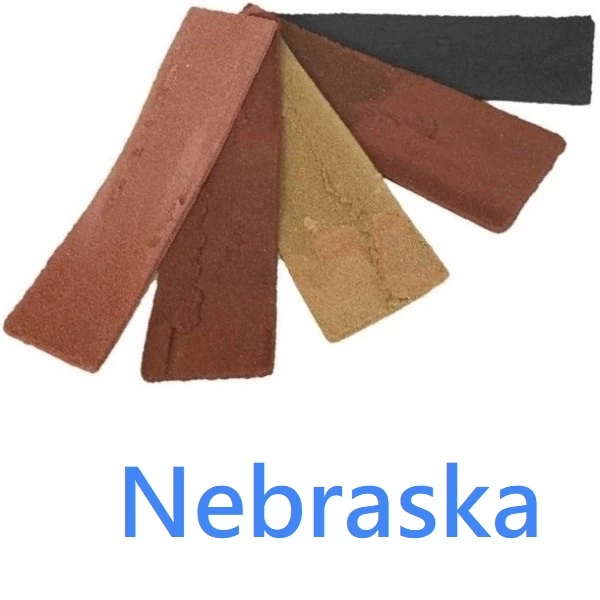
Brick Slip Sample (Nebraska) Decorative Wall Cladding is a thin slice of brick slip tile 71mm x 240mm in Nebraska colour that allows you to get a feel how Nebraska brick slips will look on your interior or exterior walls.
Elastolith Brick Tiles Nebraska are flexible acrylic brick slips and perfec..
£ 6.17
Ex Tax:£ 5.14
Estimated delivery: 2-3 working days
Brand: Elastolith®
Model: Brick Slips – Nebraska
Brick Slips for Decorative Exterior Wall Cladding (Colour Nebraska – 1m² per box) are flexible and durable thin slices of brick slip tiles that creates a traditional look of brickwork to your facade walls or interior design.
The brick slips are very lightweight and incredibly easy to install, mak..
£ 47.93
Ex Tax:£ 39.94
Estimated delivery: 3-5 working days
Showing 1 to 25 of 25 (1 Pages)


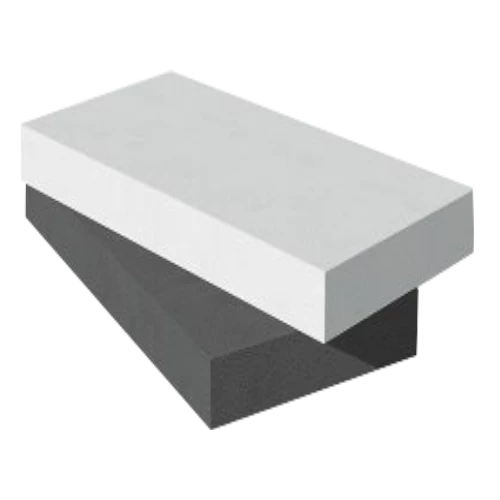

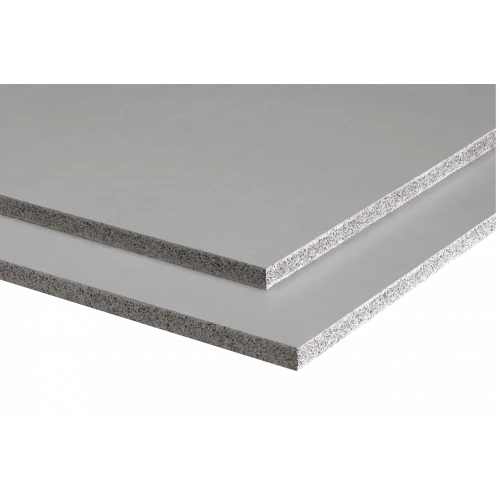




































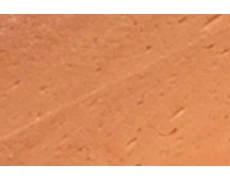
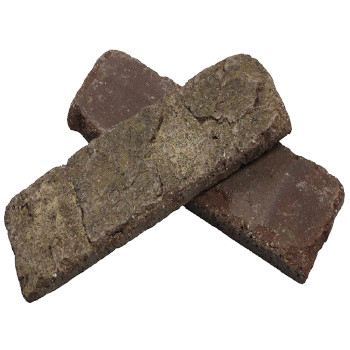 Brick slips often referred to as brick tiles, brick slip tiles or brick veneers, are lightweight, attractive and easy to fit decorative materials used to imitate the authentic look of a traditional brick wall and they are suitable either for exterior or interior walls. They can also be used for interior walls in kitchens, bathrooms or even to accomplish favoured brick fireplace ideas without taking up too much space in an existing room. Where a conventional brick wall is self-supporting, brick slips have to be stuck onto some sort of base with an adhesive.