HOW TO INSULATE YOUR HOUSE ON A BUDGET
Houses built before 1940 were rarely insulated, and if they were the products originally used may have settled or deteriorated over time, allowing heat to escape and the cold air to creep in.
High carbon dioxide emissions demand energy savings from us today, hence the use of the best thermal insulation to retain heat in our homes. As it is known, they are not among the cheapest options. Fortunately, there are several methods and guidelines that allow you to insulate your home on a budget.
To insulate your home on a budget:
★ CALCULATE PRECISELY THE THICKNESS OF INSULATION YOU NEED
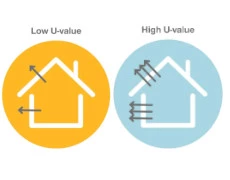
Don't pay extra for something that will have minimal effect; generally, the best insulation effects come with the first 100mm thickness. Choosing the right U-value can save you around 40%.
★ GET TO KNOW YOUR HOME BETTER
While living in your house, observe its behaviour during winter; identify which areas are the coldest and focus on insulating them. Partial insulation of the building is acceptable.
★ CHOOSE THE RIGHT INSULATION
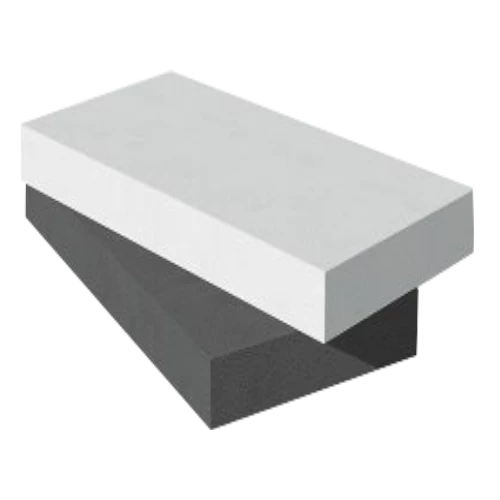
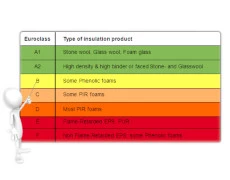
There are various types of insulation. By considering alternative insulation products, you can often save an additional 20%. In general, well-known brands are usually much more expensive and offer the same parameters as their cheaper alternatives.
★ MAINTAIN INSULATION CONTINUITY
Always remember the importance of insulation continuity. Seal all joints and avoid creating thermal bridges.
★ RENT A THERMAL CAMERA
Thermal imaging cameras are an excellent way to find all the coldest spots in your home. It may turn out that the biggest heat losses are in places where you wouldn't expect them. A thermal imaging camera is also a great tool to check the quality of insulation work done. Knowing where to improve insulation can eliminate the need for a second layer of insulation. Renting the camera costs about £30, but it can save you hundreds of pounds.
★ DON'T BE OVERZEALOUS
Humorously, it is said that overzealousness is worse than fascism. There's some truth to it. Using an excessive thickness of insulation not only means paying for something that might never pay off but can also lead to over-insulating your house, which can result in mould growth on the walls.
★ BE SMART - USE ONLINE STORES
Online stores like us often offer very good and low prices for insulation materials. Such prices are a result of efficient logistics. Most insulation materials are delivered to your doorstep directly from the manufacturer, without unnecessary costs. By purchasing insulation materials online, you can even save up to 20%.
WHAT CAN YOU DO TO MAKE YOUR INSULATION WORK BETTER?
To effectively utilise thermal insulation parameters and make it work better, certain principles should be followed:
Avoid compressing the insulation material.
Use the appropriate type of insulation for specific tasks.
Seal all water leaks, as water is the enemy of thermal insulation.
Implement AI-based home controllers to optimally adjust the temperature in your home.
Identify thermal bridges using a thermal imaging camera and eliminate them.
Insulate radiator pipes.
Ventilate the house at a lower room temperature.
Avoid large temperature fluctuations in your home.
WHAT SHOULD YOU NOT DO WITH INSULATION?
Here are 5✔ mistakes to avoid with thermal insulation:
MISTAKE 1: Underestimating their poor fire resistance.
MISTAKE 2: Compressing insulation.
MISTAKE 3: Not installing enough insulation.
MISTAKE 4: Not properly installing insulation around doors and windows.
MISTAKE 5: Installing too much insulation.
BEST HOME INSULATION TIPS FOR WINTER
Here at InsulationGo you will find some tips to guide you through your old-house insulation project.
6✔ CEILING INSULATION TIPS
-DON'T put insulation over recessed light fixtures, ceiling fans or ventilation fans. If you're using loose-fill insulation, use sheet metal to create barriers around the openings.
-DON'T buy too much. Calculate precisely how much insulation you need in square metres. You can do this by multiplying the width by the length of the room. Take into account the allowable thickness of the insulation.
-DON'T add a second vapour barrier to additional layers of insulation - this can trap moisture inside the first layer. Use loose-fill or unfaced batts or blankets.
-DO avoid creating a fire hazard, it is critical that insulation is installed correctly around downlights, chimneys and power cables.
-DO consider the different insulation materials available including polyester, glasswool, xps.
-DO consider the weight of the insulation material. Keep in mind the insulation's weight, as some can be quite heavy, especially those with high density.
6✔ WALL INSULATION TIPS
-DON’T forget about gaps: Heat flows through gaps like a sieve so the quality of your installation makes a big difference. Gaps around the edge of wall insulation can reduce its effective R-value by approximately 3% for every 1mm gap and missing sections of insulation in wall severely compromises the whole project.
-DON’T forget about precision. Continuity in insulation is crucial. Avoid joining insulation materials.
-DON’T install wet insulation. Even slightly damp insulation that has been outdoors can lead to significant costs.
-DO install right thickness. Never buy insulation that is 10mm thicker. This can lead to compression, resulting in weaker insulation parameters. Moreover, there's a possibility of screws pulling out from the plasterboard panels.
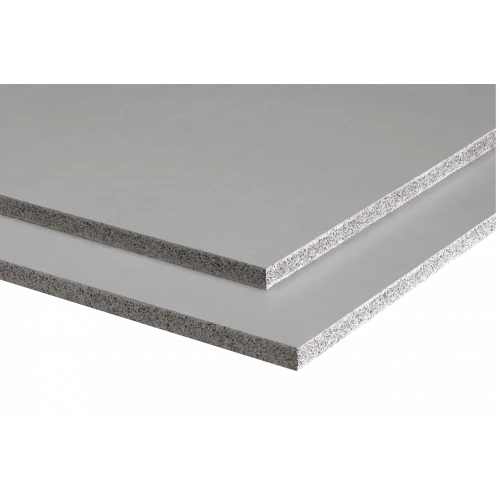
-DO consider type of insulation. Mineral wool is typically used for dividing walls between rooms, while insulated plasterboard is used for external walls.
-DO choose the best format for your walls. You have the option of rolls or slabs. Choose the right width so that you don't have to cut the insulation unnecessarily. Take care to measure well so you order the correct insulation for walls as the insulation needs to fit well between the joists.
8✔ LOFT INSULATION TIPS
-DON'T cover attic vents, and leave at least one inch of air flow between the insulation and the roof.
-DON’T install insulation in hot weather and at the hottest part of the day.
-DON'T leave old wet insulation. Always remove old insulation that is sagging, wet, and full of dust.
-DO make sure insulation reaches the eaves, extending 50mm beyond the outer wall. But remember to leave a 20mm gap between the insulation and the roof.
-DO watch out. Be very careful moving around in your attic. Watch out for overhead rafters, and walk only on ceiling joists. If you have room, lay a plywood panel across the ceiling joists to walk or kneel on.
-DO wear goggles, a dust mask or respirator, gloves, long sleeves and long pants when working with insulation.
-DO add a polyethylene vapour barrier on the attic floor to reduce condensation.
-DO fix roof leaks. Water is insulation's enemy!!!! It creates a breeding ground for mould and mildew and ruins the air-trapping pockets that block heat flow. Look for water stains on the roof sheathing or damp or mouldy spots on attic joists and existing insulation as a clue to where leaks might be.
Related Searches:
FOIL INSULATION: TO GAP OR NOT TO GAP? THAT IS THE QUESTION!
HOW TO CALCULATE THE AMOUNT OF INSULATION NEEDED TO COVER A SURFACE IN SQUARE METERS?
INSULATION TIPS: AVOIDING COMMON MISTAKES FOR A MORE ENERGY-EFFICIENT HOME
CEILING INSULATION DECISIONS: PIR, POLYSTYRENE, PHENOLIC BOARDS AND MINERAL WOOL
MINERAL WOOL INSULATION. THE UGLY TRUTH?
*Insulationgo LTD strives to keep the content accurate and up-to-date, but we cannot be held responsible for any mistakes or exclusions.
The information in this article isn't expert advice and shouldn't replace talking to the right specialists. Before buying or deciding anything based on this info, it's best to contact the product manufacturer directly to double-check if it's right for what you need.
Descriptions, drawings, photographs, data, proportions, weights, and measured values provided here may change without prior notice and do not establish the guaranteed contractual quality of the products. The recipient of these products holds the responsibility to comply with proprietary rights, existing laws, and legislation.
Using this articles implies acknowledgment and agreement that Insulationgo LTD cannot be held accountable for any damages, losses, or inconveniences resulting from the use or reliance upon the information provided. This limitation of liability extends to all users of the article, including visitors, readers, and subscribers.


