


HOW TO APPLY SILICONE SEALANT NEATLY? THE COMPLETE GUIDE.*
Silicone sealant is used to finish joints tidy and keep out moisture but its downside is that it cannot be painted. Despite the fact that it is flexible and can allow for a certain amount of movement, it must be changed every 5-7 years because its coating begins to either peel off or overlap with mould. If you need to seal a bathtub, shower base, bathroom tiles, bathroom sink, kitchen worktops, kitchen sink or kitchen backsplash, silicone sealant would be our best choice. Everyone thinks applying silicone is hard, but in this article we are going to show you how with the right tools you realise that it really isn't. You will find here a comprehensive guide of how to apply silicone properly. By the end of this article you will have everything you need to know and all the tools that you need to buy to apply silicone like a true professional. Let's see what is the best way to apply silicone sealant and how easy it is to do.
 TABLE OF CONTENTS
HOW TO APPLY SILICONE SEALANT NEATLY ? THE COMPLETE GUIDE
HOW TO REMOVE AND REPLACE/APPLY SILICONE SEALANT?
9 GOLDEN RULES WHEN APPLYING SILICONE SEALANT.
HOW TO SILICONE CORNERS?
HOW TO SILICONE BEHIND TAPS.
WHAT NOT TO DO WHEN APPLYING SILICONE.
CAN I SILICONE OVER EXISTING SILICONE?
HOW TO REMOVE SILICONE FROM TILES?
BEST SILICONE REMOVER IN UK?
BIBLIOGRAPHY
HOW TO REMOVE AND REPLACE/APPLY SILICONE SEALANT?
TOOLS
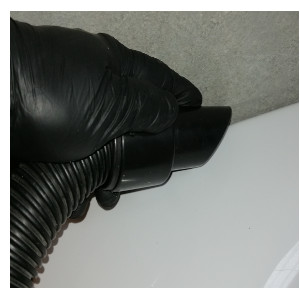
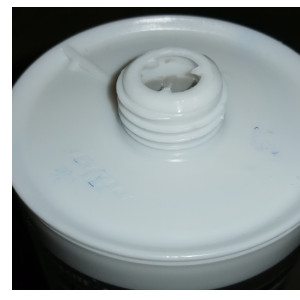
 To apply silicone sealant you need Stanley knife, silicone applicator gun, silicon and last but not least nice Fuji silicone profiling tool. If you don’t want to buy Fuji tools you can use an old credit card or Oyster card;)
TIP
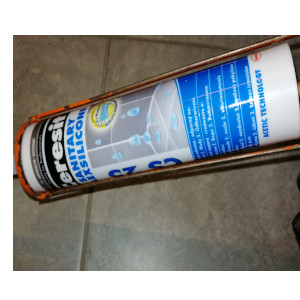
Adhesion of the sealant to the bath or shower, and tiles, is what counts. Make sure you buy the right silicone for your joints. Silicone is generally categorised as a medium stretch high modulus. These silicones are basically quite rigid and inflexible. These are good for joints that you don’t think can have a lot of movement. Low modulus silicone is much more flexible which would be really appropriate for example around a bath.
9 GOLDEN RULES WHEN APPLYING SILICONE SEALANT
1. Prepare the surface.
Make sure your joints are well prepared by which we mean excess silicone has been removed and the joint has been properly degreased. Any bits of dust or dirt can potentially cause a weaker seal.
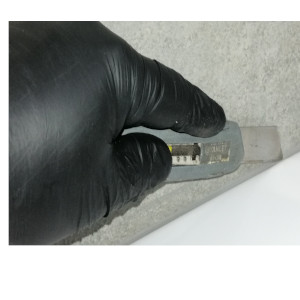
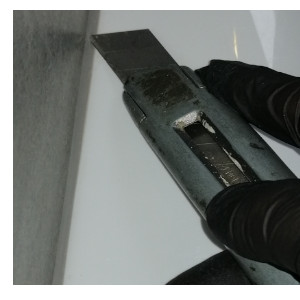
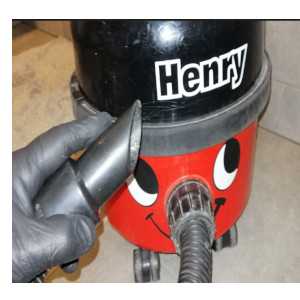
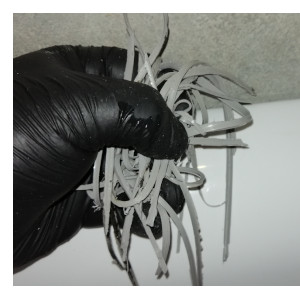
To remove an old silicone simply cut it from both sides till you feel you went through the thickness of the silicone. Make sure you only cut once or twice. The more cuts you do, the more time you will spend cleaning taking it off silicone in pieces. Always use a hoover! Remember silicone is sticky, it will stick to your hands and all edges of the surface you are working on.

2.Decreasing existing silicone
You can use vinegar, acetone or methylated spirits to degrease. Methyl spirit is more readily available than acetone and it is a less abrasive degreasing agent. Good thing about either of these degreasing agents is that you can apply to the joint and you know it will beautifully degrease that joint. When it evaporates off it leaves you a perfect surface to silicone onto. Although vinegar is a poor disinfectant, it's an excellent cleaner. Vinegar is very effective at cleaning precisely because of the acid, which will break down grease, grime and dirt easily.
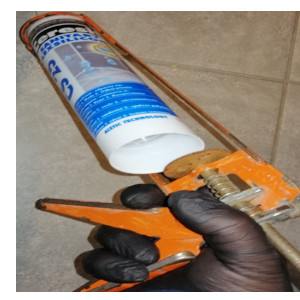
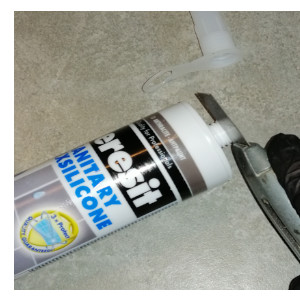
3.Prepare the gun.
Insert at an angle the tube of silicone into the gun. Adjust the trigger so that it is calibrated with the size of your tube. To do this, squeeze the trigger slowly and gently until the mechanism touches the silicone tube.
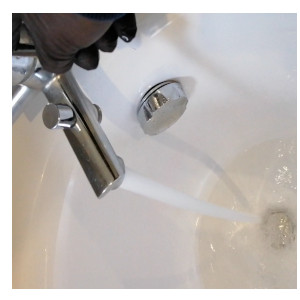
4.Fill the bath with water.
You may have heard the old trick that when you are sealing around a bath you should fill the bath with water for your silicone because the bath naturally sags down a bit with the weight of the water in it if it is on a wooden floor. If you don’t do that, chances are that when you run the bath the silicon is going to flex and if it is a very inflexible silicone you may find it tears and then you will get off easily.
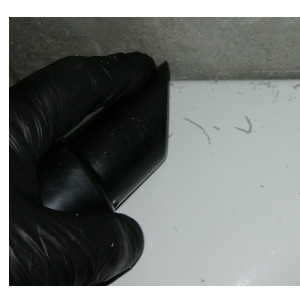
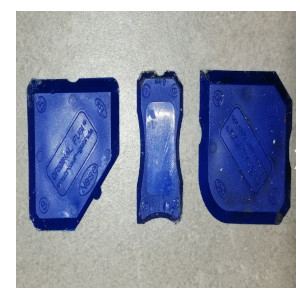
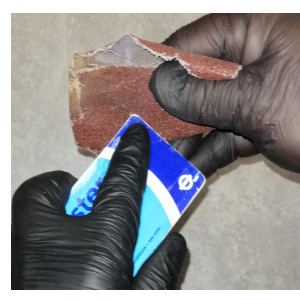
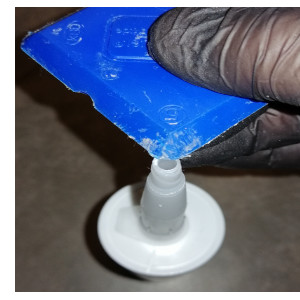
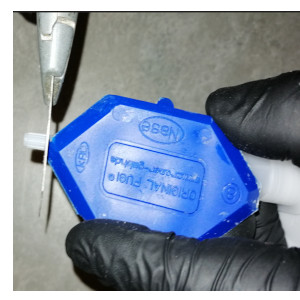
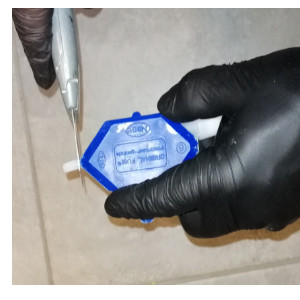
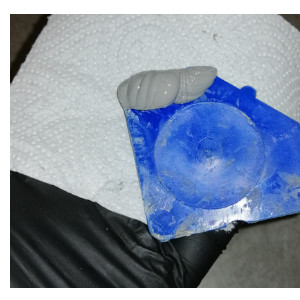
5.Use Fuji kit, old credit card or Oyster card to smooth the silicone.
Buy yourself a Fuji kit from Cramer. This german made profiling tool will cost not more than 12-14 pounds roughly. It is the best profiling tool on the UK market. You can’t not go wrong with this type of tool. If you want to keep the cost to minimum try to use your old Oyster card (for Londoners only) or credit card. You may have to round the edge of the card with sandpaper.
6.Adjust right angle
Once you have a perfect silicone profiling tool you need to work out what size angle to use and you do that by going round the bathroom and look for the biggest gap you have got and then select the smallest tool for that gap.
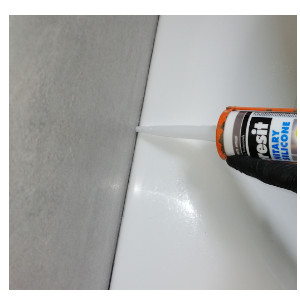
7.Cut the silicone nozzle at 90 degrees.
Cutting the nozzle as the same diameter as the profiling tool means that the bead that comes off of the silicone is compatible with the profiling tool so there is not going to be too much wastage. By cutting the nozzle at 90 degrees you give yourself the best possible chance of forcing comprehensively as much silicone as possible into that joint without leaving any gaps. It means that we are encouraging ourselves to force the silicone into the joint rather than pulling or dragging which is what you are more inclined to do if the nozzles cut at 45 degrees.
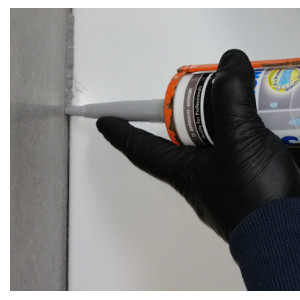
8.Working position
The best working position is to hold the sealant gun at an angle of 90° and to pull the gun towards yourself. To apply the sealant neatly you need to find the right working speed. If you move too quickly you won’t get a good filling of the gap. When you reach the end of the seam, release the handle and press the button or lever at the back of the sealant gun. This releases the pressure so the flow of sealant stops immediately. If you don’t do this the sealant will keep coming out of the nozzle.
9.Applying and smoothing silicone
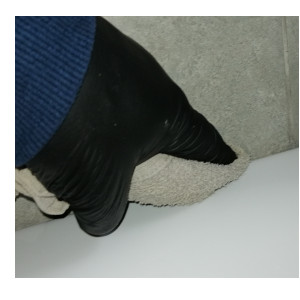
As you pull the tool along, you want to make sure that you are keeping the tool in contact with a wall on both sides. It’s okay if too much comes out initially. You can neaten this up and wipe off the excess later. When you see a little bit of excess silicone like here you can go back over the area removing that excess silicone.
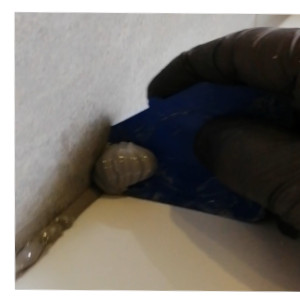

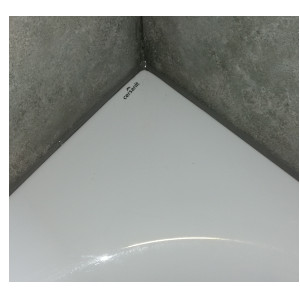
HOW TO SILICONE CORNERS?
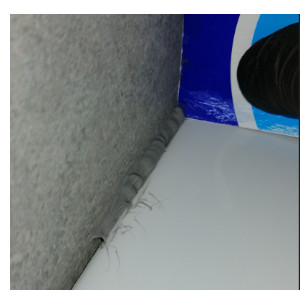
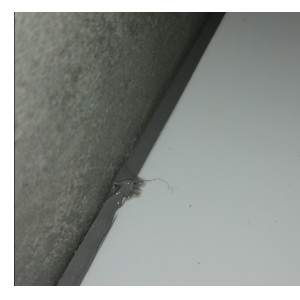
This is where it gets quite tricky because you are now got to somehow tool round the corner whilst maintaining the vertical joints you have just toolled. If you are really unlucky you will keep tooling it and after it is skinned over after a few minutes, it will start to make juddering shapes across the surfaces of what was previously a lovely clean straight line.
The best and easiest way to do silicone corners is to do the vertical section first, leave that to bond and next day start doing horizontal sections. Here is the difference - when we do the horizontal lines you are not interfering with or messing with the vertical line. Someone may ask – how long should I let that silicone bond for? Answer is - leave a silicone overnight till it is totally hard and very tough. New silicone will bond to existing silicone. You will end up with a corner which is not perfect, but isn't far off.
HOW TO SILICONE BEHIND TAPS
There are 6 ways of silicone behind taps:
- By using extended nozzles.
- By taping an extra nozzle to the existing nozzle.
- By using flexible nozzles.
- By applying silicone with a cream stick.
- By applying drinking straw to the nozzle.
- By using a precision applicator.
WHAT NOT TO DO WHEN APPLYING SILICONE
Here is the list of things that you shouldn't do in practice when applying silicone sealant. These little tips may surprise a lot of you out there.
1.Don't use masking tape
Some people may think that putting tape around the joint is absolutely genius because it will guarantee you a really straight edge. When you apply silicone into the joint with a tape on the sides, it may leave you with a beautiful clean joint, however there are a number of problems with technique. The first is although you have got a nice clean line along here but also you have immediately got a point almost like a step where you get bacteria forming. Once you get bacteria forming that is a breeding ground for mildew, dirt and soap. It won’t be long before you have to replace this silicone bead.
The point two is by using tape, you may find it hard to remove this protection after. You will be pulling the tape together with silicone along the edges.
The third problem when using a tape is the fact that you are creating a very thin and weak bead of silicone. The bead itself will be almost non-existent and it is not going to take much flexing of that joint as can happen for the silicone to crack.
When somebody cleans this joint very quickly, this micro thin layer of silicone is going to start being scratched away.
TIP
With a diagonal joint or even convex joint you are creating a bead of silicone that is 8 times stronger than this very thin joint applied with masking tape.
2.Don’t use water detergent
A lot of trades out there use water detergent mix. They apply it before they actually smooth the silicone. The whole point of this water and detergent is that it creates a slippery, greasy surface that the silicone can’t grab onto. By doing so, you will be creating a surface that is so slippery that won’t let the silicone form on it. No matter how much you try you can not get the silicone to stick. Moreover, all of this detergent and water is going behind silicone gaps. That joint is going to be absolutely hopeless and it is going to start leaking almost immediately.
3.Don’t cover all joints at once
Work in short sections! Yes, be smart and don’t rush yourself. If you put silicone on all joints at the same time you're putting yourself in a situation where you have not enough time to finish silicone neatly before it goes off. Remember, you only have around 10-15 min to play with.
CAN I SILICONE OVER EXISTING SILICONE?
The answer is pretty mixed. Some people say you can, others will say you have to remove silicone for a proper job. As a general rule it is advisable to remove silicone where you can, however if your bathroom has clean joints you shouldn't worry too much about removing the silicone especially if you got an acrylic shower tray (easy to damage if you are not careful enough). In terms of silicone onto existing silicone, it is less likely to tear but generally speaking silicone adheres well to silicone. Remember, if mould was previously in the silicone joint this will be visible on the new silicone again very quickly. Taking this into consideration, the risk of liability problems is very high. Therefore, it should always be renewed the entire silicone joint to achieve a long-term result of the new silicone joint.
HOW TO REMOVE SILICONE FROM TILES?
Silicone is easy to apply but challenging to get rid of. Silicone bonds with components, such as carbon and hydrogen. Due to this bond removing silicone sealant is difficult. There is no denying it is a real pain having to remove silicone sealant from tiles. There is only really one way to remove sealant and if you want to remove the silicone sealant from tiles, your best weapons are methylated spirit, stanley knife or window scraper. The aim is to cut the silicone loose on the first edge, without cutting through the entire bead or down into the joint. Switch to the opposite side of the silicone sealant bead and repeat the process, slicing through a point very close to where the silicone bonds to the tile. Peel it up loose edge of silicone away from the tile. Dig out remaining bits of silicone. Clean up any small material left behind using a cleaning cloth and some spirit. When using methylated spirits, it is always good to use it in a well ventilated room, so make sure you have a window open and wear a safety mask. Work carefully, to avoid gouging or scratching up the tile.
BEST SILICONE REMOVER IN UK?
Your own hand turns out to be the best silicone remover. Why? You have much more control over what might happen. In addition, you save extra money. A penny saved is a penny gained. Some UK top silicone removers may cause irreversible effects. You have to remember that using any chemicals can cause irreversible effects such as discoloration of wall tiles or dissolving acrylic paint in the bathtub. Considering the pros and cons, it can be concluded that the simplest tools like chisel or stanley knife are the best for removing old silicone. Mind you, the old school isn’t that bad.
BIBLIOGRAPHY
1. youtube.com, Charlie DIYte, ‘How to Apply Silicone - the COMPLETE Pro Guide’, mpeg, August 27, 2017, accessed September 15, 2022.
*All the information provided in the content published on Insulationgo blog is for informational and educational purposes only. Insulationgo LTD makes every effort to ensure the accuracy and timeliness of the content, but we do not assume any responsibility for any errors or omissions.
The information presented on this blog should not be considered as professional advice or a substitute for consulting relevant experts. Before making any purchase decisions or taking action based on the information presented here, it is strongly recommended to contact the product manufacturer directly to verify the details and ensure its suitability for your specific needs.
By using this blog, you acknowledge and agree that Insulationgo LTD shall not be held liable for any damages, losses, or inconveniences arising from the use or reliance on the information provided herein. This limitation of liability applies to all users of the blog, including but not limited to visitors, readers, and subscribers.
