Brand: Kingspan®
Model: Kingspan Aquazone®
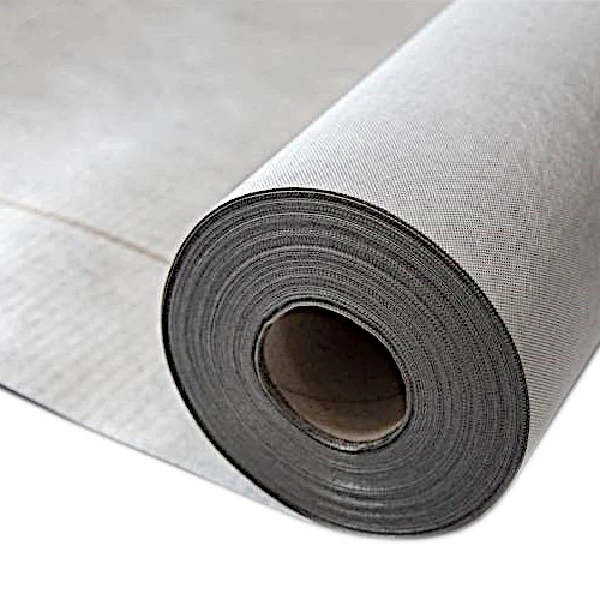
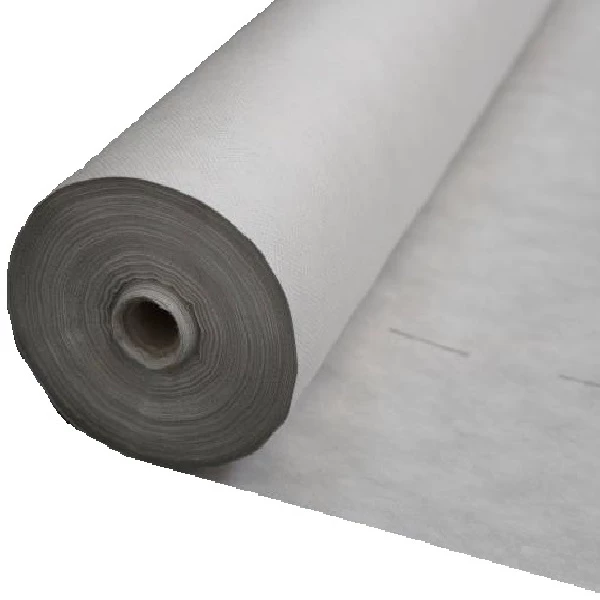
Kingspan Aquazone® Water-Infiltration Reduction Membrane (300m²) is a lightweight non–woven polyethylene membrane, a high-performance water-infiltration reduction membrane for inverted roofs with excellent water vapour permeability.
Water-Infiltration Reduction Membrane Kingspan AQUAZONE is an ul..
£ 671.88
Ex Tax:£ 559.90
Estimated delivery: 5-7 working days
Brand: Kingspan®
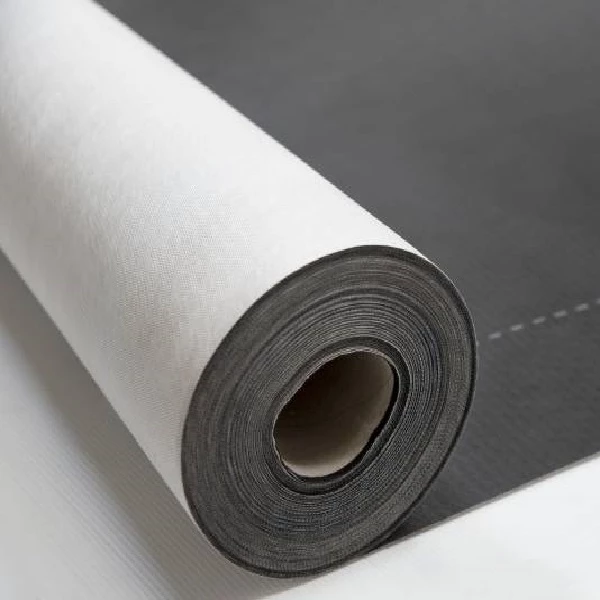
Model: Kingspan Nilvent®
Kingspan Nilvent Breathable Membrane is a strong and durable waterproof breathable membrane suitable for use in unventilated pitched roof and timber frame wall applications, a completely watertight structure under normal weather conditions.
Nilvent® Breathable Membrane by Kingspan comprises a lam..
£ 161.88
Ex Tax:£ 134.90
Estimated delivery: 5-7 working days
Brand: Low-E™
Model: Low-E PERF 5m2
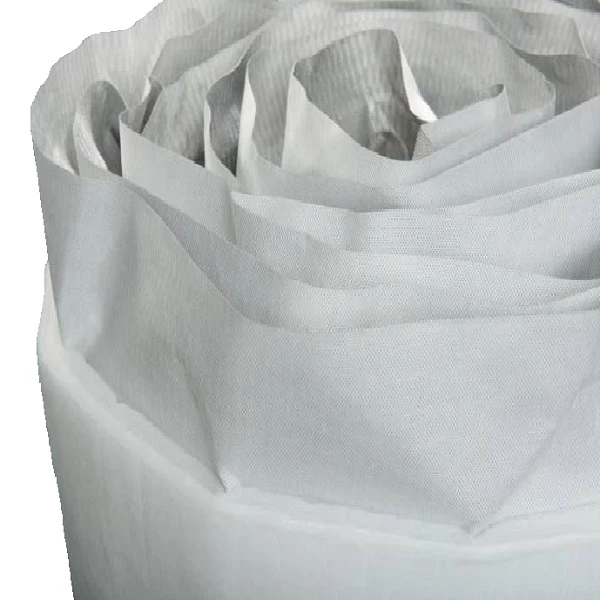
Low-E PERF Perforated Breathable Reflective Foil Insulation 5m2 is a superior 5.5mm thick certified insulation that allows moisture to pass through the perforated reflective foil while limiting air movement, suitable for use on the external sides of an insulation system in wall, floor, and roofing a..
£ 66.85
Ex Tax:£ 55.71
Estimated delivery: 2-3 working days
Brand: Novia®
Model: Breather Membrane - 75m2 (115gsm)
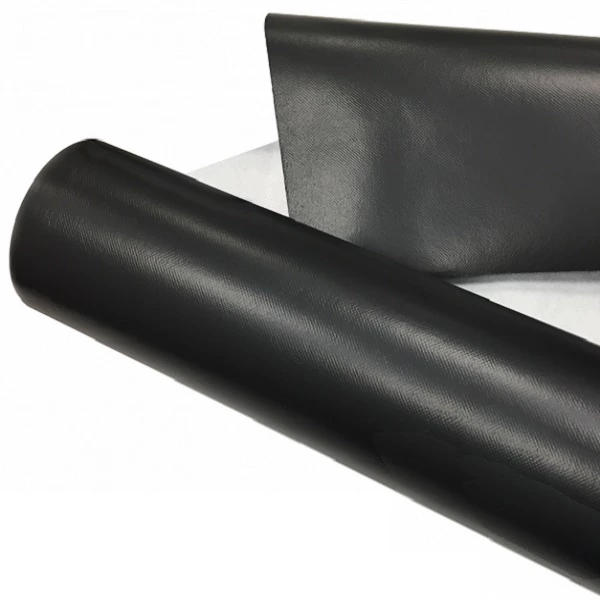
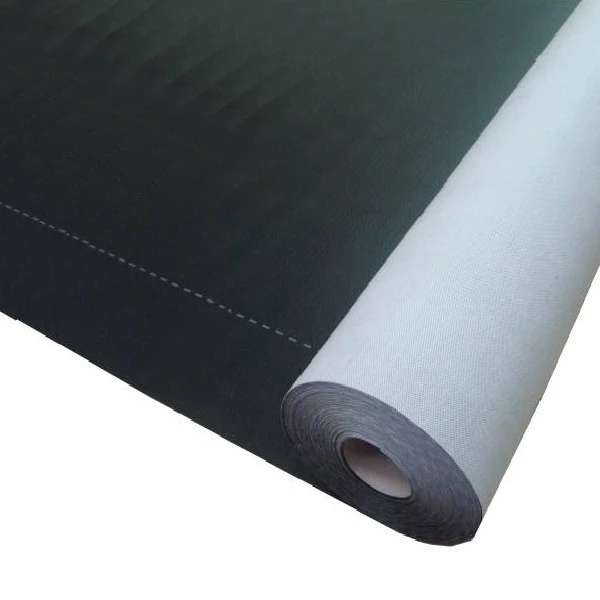
Novia Black 115gsm Roof and Wall Breather Membrane is a top-class three layer laminate suitable for pitched cold and warm roofs and insulated wall applications.
This Breather Membrane is a functional low-cost product that allows water vapour to escape, but stops larger water droplets from getting..
£ 126.08
Ex Tax:£ 105.07
Estimated delivery: 2-3 working days
Brand: Novia®
Model: Breather Paper 100m2
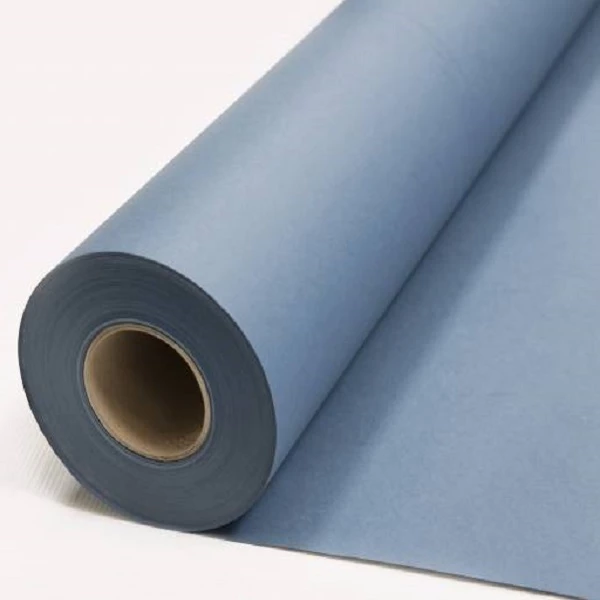
Novia Blue 4016 Wall Paper is a regular CE-approved and CPR compliant wall breather membrane that meets BS 4016 type 2 requirements designed for use as a breather membrane on wall applications.
This cost effective and traditional product is highly recommended for use in timber frame installations..
£ 128.60
Ex Tax:£ 107.17
Estimated delivery: 2-3 working days
Brand: Novia®
Model: Novia FR Fire Rated 75m2
Novia FR Breather Membrane is a high-quality Class B-s1,d0 Fire Rated construction wrap which is fully approved for both roof and wall applications in pitched cold and warm roofs, and insulated wall applications including those above 18m in height.
FR Breather Waterproofing Wrap is lightweight an..
£ 206.17
Ex Tax:£ 171.81
Estimated delivery: 2-3 working days
Brand: Novia®
Model: Reflex Reflective - 75m2
Novia Reflex is a highly-durable tri-laminate low emissivity metallised reflective breather membrane suitable for pitched cold and warm roofs and insulated wall applications.
The product has outstanding water resistance characteristics but still provides excellent breathability.
Novia Reflex ..
£ 227.90
Ex Tax:£ 189.92
Estimated delivery: 2-3 working days
Brand: Novia®
Model: Ultra+ Breather Membrane 75m2
Novia Ultra+ 95gsm is a cost-effective three-layer laminate Breather Membrane designed for use in pitched cold and warm roofs and insulated wall applications with excellent water resistance and high breathability.
Novia Ultra+ 95gsm is a tough material providing good tensile and nail tear strengt..
£ 109.70
Ex Tax:£ 91.42
Estimated delivery: 2-3 working days
Brand: Novia®
Model: Aluthermo RoofReflex 14m2
Novia RoofReflex Insulated Breather Membrane (AluThermo) is a low emissivity wrap bonded to a high quality recycled insulation material that reduces overheating in summer by providing a cooling effect and lowers air-conditioning costs.
RoofReflex is an insulated roof and wall underlay membrane th..
£ 177.24
Ex Tax:£ 147.70
Estimated delivery: 2-3 working days
Brand: Low-E™
Model: Low-E PERF 15m2
5.5mm Low-E PERF Perforated Breathable Reflective Aluminium Foil Insulation (15m2 roll) is a certified foil insulation that allows moisture to pass through the perforated reflective foil while limiting air movement, suitable for use on the external sides of an insulation system in wall, floor, and r..
£ 140.56
Ex Tax:£ 117.13
Estimated delivery: 2-3 working days
Brand: Low-E™
Model: Low-E PERF 30m2
Low-E PERF Perforated Breathable Reflective Foil Insulation 30m2 is a superior 5.5mm thick certified insulation that allows moisture to pass through the perforated reflective foil while limiting air movement, suitable for use on the external sides of an insulation system in wall, floor, and roofing ..
£ 247.73
Ex Tax:£ 206.44
Estimated delivery: 2-3 working days
Brand: Novia®
Model: Breather Membrane - 75m2 (146gsm)
Novia Black Professional 146GSM Breather Membrane is a superior quality easy to install three layer laminate suitable for pitched cold and warm roofs and insulated wall applications with exceptional water resistance with high breathability.
It is versatile, heavyweight material suitable for easy..
£ 144.64
Ex Tax:£ 120.53
Estimated delivery: 2-3 working days
Showing 1 to 12 of 12 (1 Pages)







































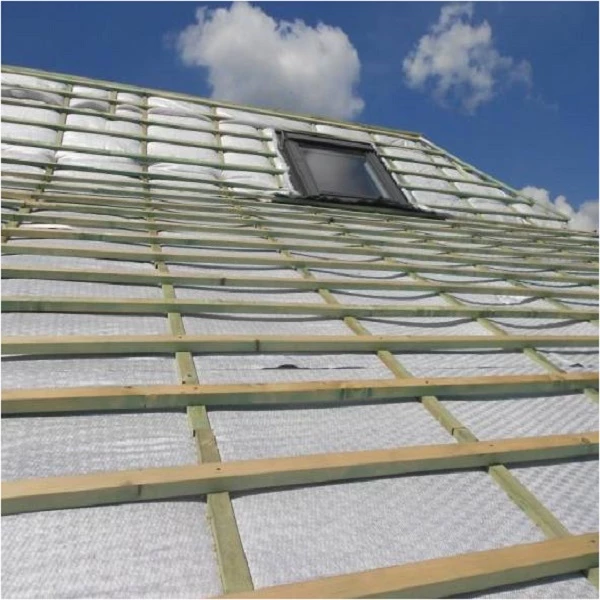
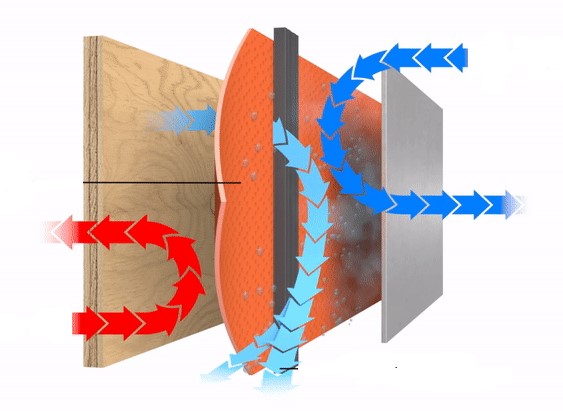 Breather membrane is a screen layer designed to provide a barrier against water penetration from the outside while allowing migration of water vapour through the membrane from inside the building. Membranes can be installed either on a wall or pitched roof. This fantastic overlay is water resistant but vapour permeable, which means no water can get through the thickness of the membrane. Installed under roof tiles or against the inside face of an external wall, a breathable membrane is used to halt water ingress. At the same time, tiny pores in the material which are too small for water molecules to pass through, allow the passage of escaping water vapour, as it naturally travels towards the cold side. The membrane also has good air barrier characteristics designed to improve the air-tightness of the building. Installed over the roof structure they protect insulation from air and water infiltration and enable water vapour to be evacuated. This material is located on the cold side of insulation, beneath the tiles to terminate insulation and rafters from being exposed to humid conditions, debris and dust. Some types of products such as Novia Roof-Reflex AluThermo are combined with an insulation layer although its thermal conductivity can be as low as 0.0366 W/mK. If you are wondering which way round you should install breather membrane there is only one general rule to follow: with most brands of membrane such as Novia, Dupont Tyvek, Kingspan Nilvent, Kemper, Klober, Watco, Cromar, Delta and Bailey the printed side will be facing outwards. Roof membranes thicknesses are often referred to as the GSM symbol, which simply stands for 'Grams Per Square Meter'. The higher the value is often an indication of the thicker material. It is available in a variety of thicknesses such as 50GSM, 100GSM, 115GSM, 120GSM and 140GSM. Higher GSM roofing membranes are used where harsher wind conditions occur. Breather membrane is also measured in Resistance to Water Vapour. The 120GSM (heavy duty) & 140GSM (extra heavy duty) are far more durable geotextiles than the alternative 50GSM landscape fabric, making this type of membrane ideal for footpaths, driveways, and other high traffic areas. This is a measure of how quickly a breathable membrane allows moisture to escape. A low-resistant membrane will have a vapour resistance of 0.25MNs/g or less. The lower the number, the quicker the waterproof breathable membrane lets water vapour disperse. The higher the value, the better for this one, which measures how much moisture leaves through the waterproof breathable membrane every 24 hours. Breathable roofing membranes can last a lifetime, depending on the product and manufacturer guidelines. Each manufacturer should state the amount of overlap required between each length of the breather membrane. If you do need to replace your roofing membrane, it can cost anywhere between £638 per standard 115GSM black roll. Breathable roofing membrane is typically priced by square meter, with rolls available in standard 50 meter lengths. At 1 meter wide, this equals 50 square meters of membrane. Some manufacturers also provide a second width of 1.5 meters, which gives a total of 75 meters squared. Breathable roofing felt prices vary widely depending on their properties, and might range from as little as £1.25 per square meter (Novia Black 115GSM Roof and Wall) right up to £10.55 per square meter for more specialist products (Novia Roof-Reflex AluThermo Insulated Breather Membrane). UK customers use the terms ‘breather membrane’ and ‘vapour control layer or VCL’ interchangeably, particularly with regards to pitched roofs. Whilst they have a similar purpose, there are a couple of important differences between the two.


