


HOW TO INSULATE UNDER CONCRETE FLOOR. THE ULTIMATE GUIDE*
Insulating your floor underneath the concrete slab can help regulate the temperature and prevent over-heating in rooms that are south-facing or occupied for long periods of the day due to the thermal mass of the concrete. In fact, floor insulation is one of the best forms of building insulation due to the fact that as much as 20-30% of heat, escapes through floor elements. By installing floor insulation, you not only improve the thermal envelope of the building but also you create a complete seal around the building. At the same time you reduce the potential for heat to escape. As well as reducing heat loss, installing floor insulation can also help to minimise sounds created by floorboards, reduce drafts and create a warmer floor surface.
If you are about to insulate your floor you should consider a few factors. First one of course would be the insulating material itself. The second - the thickness of the screed. The thicker the insulation, the thinner the screed would be. You should try keep the proportion 150mm/70mm. In this article we will guide you through the floor insulation procedure.
 TABLE OF CONTENTS
HOW TO INSULATE UNDER CONCRETE FLOOR. THE ULTIMATE GUIDE
FLOOR INSULATION THICKNESSES
UNDERFLOOR INSULATION CONCRETE FLOOR GUIDE
1.CHOOSE RIGHT FLOOR INSULATING PRODUCT
TYPES OF FLOOR INSULATION
EPS
PIR BOARDS
XPS BOARDS
PHENOLIC BOARDS
2.CLEAN THE FLOOR
3.CONSIDER THE FLOOR LEVEL
4.LAY DAMP PROOF MEMBRANE
WHAT THICKNESS OF DAMP PROOF MEMBRANE SHOULD I USE?
5.INSTALL EPS POLYSTYRENE FLOOR BOARD
6.FILL THE GAPS
7.INSTALL PERIMETER STRIPS
8.SCREED THE FLOOR
9.FINISHING THE FLOOR
10.DRYING TIME
FLOOR INSULATION THICKNESSES
The building regulations require that floors achieve minimum thermal performance U-values and this affects the amount of insulation required. Achieving a U-value of 0.25 W/m2K or less would require at least 70mm of Phenolic high-performance foam insulation called Kingspan® K103, or 150mm of EPS100 polystyrene. In the case of PIR Rigid Insulation Boards, thickness of 120mm is normally used. In terms of XPS boards such as Soprema SL or STS, 50mm thickness is sufficient for the floor insulation.
If you are concern about compressive strength of the floor insulation material, you should consider buying XPS extruded polystyrene board with the highest compressive strength ranging from 300kPa to 800kPa, followed by PIR rigid insulation boards (150kPa) manufactured either by Kingspan, Celotex, Xtratherm, Iko-Enertherm, Ecotherm or Recticel GP.
UNDERFLOOR INSULATION CONCRETE FLOOR GUIDE
1.CHOOSE RIGHT FLOOR INSULATING PRODUCT
The choice of insulation material plays a critical role in the heat conduction and indoor living quality. It is key to understand that each product may be more suited for a particular use than the other.
High performance insulation panels or boards are often the best materials to insulate an existing concrete slab floor as they provide the best thermal performance at any given thickness. Four of the most frequently installed types of rigid floor foam insulation are expanded (EPS), extruded polystyrene (XPS), PIR rigid board and Phenolic board. While EPS Polystyrene such as Jablite offers compressive strength of 70kPa, PIR rigid board and Phenolic board 150kPa or Blue board XPS 300 kPa.
TYPES OF FLOOR INSULATION
There are 4 main types of floor insulation, with different production technologies and compositions. Some boards rely more on thermal insulation values, and some more on compressive strength, but in the end they all aim to maximize the temperature reduction on the cold side. The UK floor boards come in standard sizes: 1200mm x 600mm and 2400mm x 1200mm (8'x4').
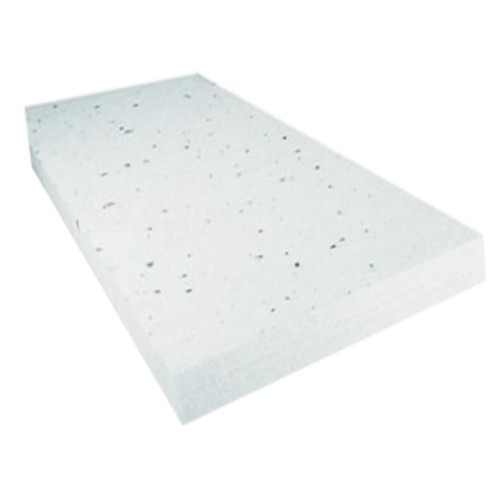 Polystyrene sheets are known as the most universal floor insulation product currently available in the UK market. In fact, polystyrene offers the best cost to performance ratio of any insulation type. Moreover, EPS sheet are one of the best-known floor insulation materials because expanded polystyrene board is a easy to install and have a high insulation value. Either Jabfloor or Kay-Metzeler range of insulation boards have been manufactured specifically for use with flooring. While EPS70 polystyrene is used to insulate floors between joists, EPS 100 is recommended to use under concrete, because it is a much denser material offering 100kPA compressive strength.
For more information regarding differences between EPS and XPS click here.
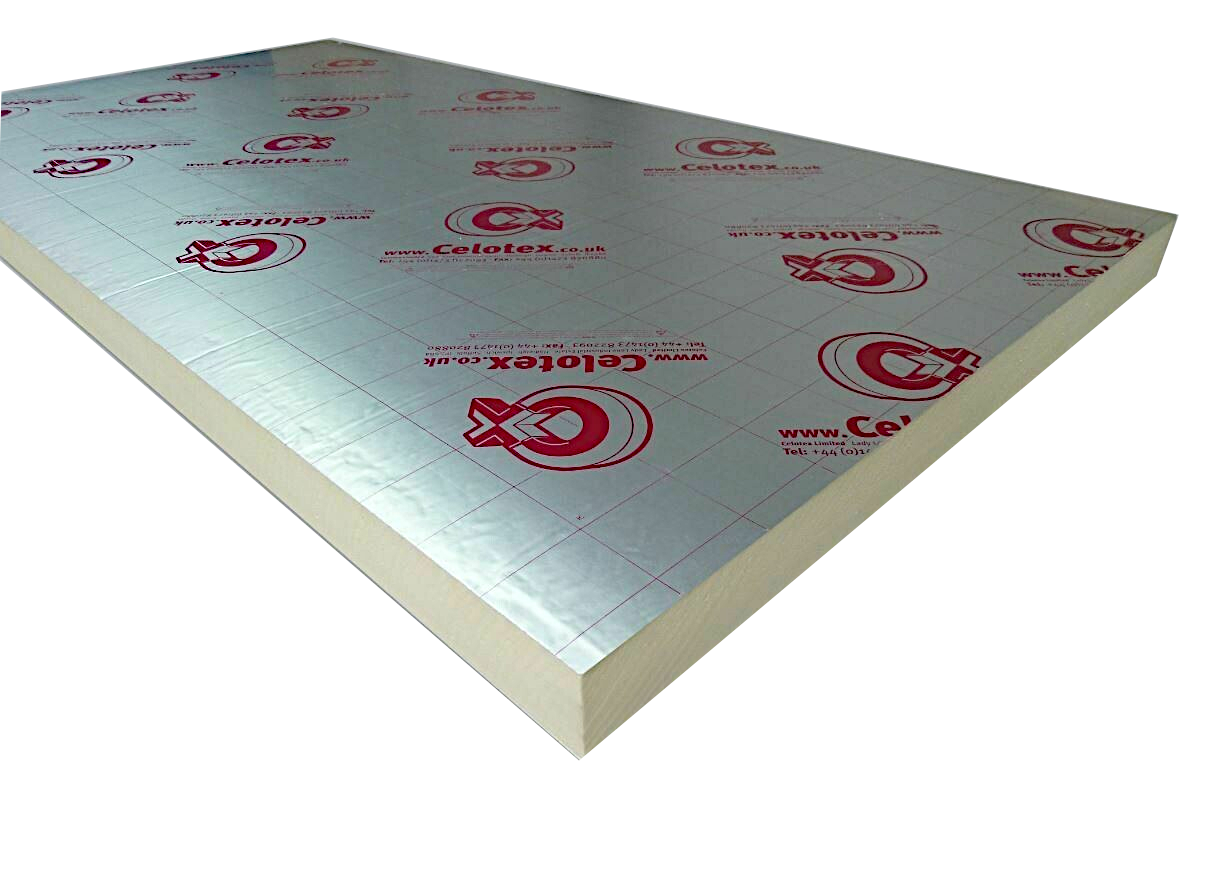 While EPS boards are budget friendly insulation boards, PIR Rigid Insulation Boards are most popular in the UK. Since the blowing agent evaporates during this reaction a rigid closed cell middle density insulation product is created. PIR boards offer compressive strength of 150kPa and are used to insulate the floor, because they come as rigid which means they are easy to cut into the shapes required.
For more information on how to cut PIR click here
Additionally, PIR insulation boards are incredibly lightweight and relatively thin, whilst still providing high levels of insulation. There are a number of ranges of floor insulation boards available to choose from. Either Celotex, Kingspan or Xtratherm brands are the most popular polyisocyanurate boards used to insulate floors. Celotex offers TB4000, GA4000 and XR4000 PIR Boards range with compressive strength of 120kPa, followed by Xtratherm Thin-R PIR Insulation Boards with 150kPa, Kingspan offers ThermaFloor TF70 Floor Insulation Board with 140kPA compressive strength.
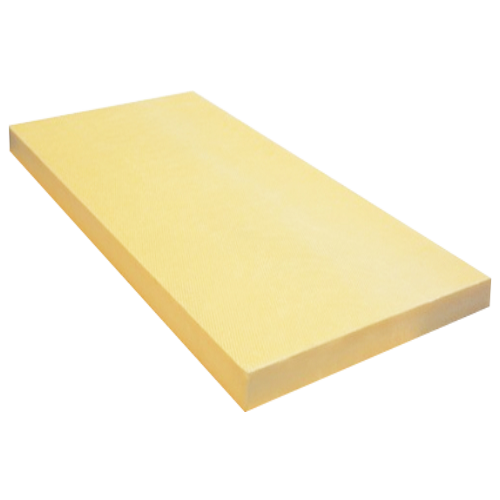 Xps insulation board is specifically designed for use with underfloor heating systems on concrete & wooden floors. In fact, it is a high strength (usually 300kPa) extruded polystyrene board suitable for any floor construction including below a concrete slab, below a screed and below chipboard. It is significantly denser than other types of insulation, which gives it a greater compressive strength. Its closed cell structure also resists both moisture and water vapour ingress. Due to its compressive strength, XPS is regularly used in applications where it is going to be under some strain, such as car park decks. It’s also great for use in basements. These boards are available in 30mm, 50mm, 80mm and 100mm thickness. Among widely available insulation materials, extruded polystyrene (XPS) insulation offers one of the broadest range of compressive strengths of 300, 500 or 800kPa. It is also one of the few floor products where manufacturers invest the time to test and declare compressive creep. There are a few main manufacturers offering XPS products. While Soprema offers an SL version with compressive strength of 300kPa, Kingspan with its Greenguard GG offers either 300kPa, 500kPa or 700kPa. On other hand Polyfoam offers square edged xps standard board that has a middle class compressive strength of 200kPa.
For more information click here
Phenolic board is a top shelf panel that can be used to insulate floors in both new build and refurbishment of residential, commercial and industrial buildings. As a part of Kooltherm range, Kingspan K103 Floorboard offers fibre-free rigid thermoset phenolic core with thermal conductivity of just 0.018 W/mK across all thicknesses. In fact, K103 is a premium product in terms of floor insulation. Product has been developed by Kingspan as a premium floor insulation board, providing high performing insulation with a thinner material than was possible before. K103 Kooltherm can be used on both solid concrete and suspending floors. Kingspan is followed by Xtratherm brand with SR/UF Safe-R Phenolic Floor Insulation Board. Xtratherm phenolic board offers thermal conductivity of 0.020W/mK and compressive strength of 150 (kPa).
For more information click here
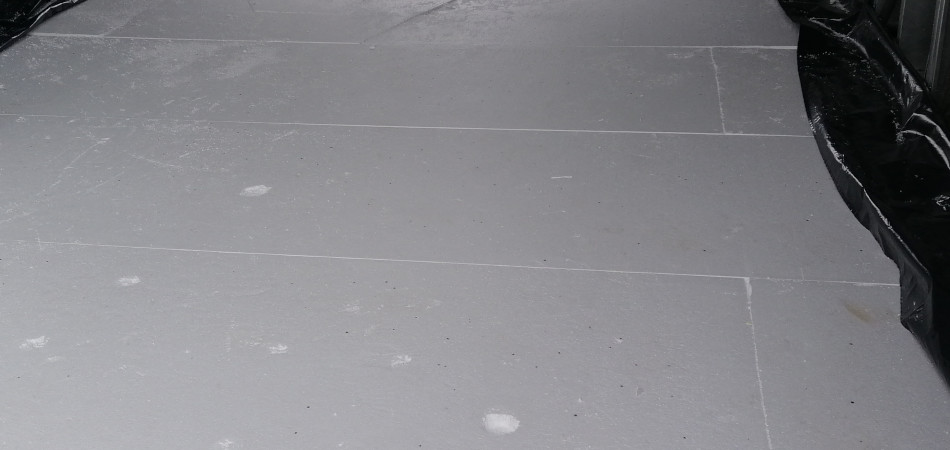
2.CLEAN THE FLOOR
Sweeping the floor before installing a damp proof membrane is a very important step. Any sharp elements,debris or dirt, left behind, such as dry cement, may cause the membrane to break at this point, which in turn may lead to capillary pull-up.
3.CONSIDER THE FLOOR LEVEL
Final floor level refers to the uppermost surface of a floor once construction has been completed but before any finishes have been applied. So, in concrete construction it may be the uppermost surface of a screeded finish, final floor level will denote the top level of floorboards or floor tiles. It is advisable to have a minimum of 100mm insulation covered with 60-80mm screed. Greater thickness of screed may lead to a colder floor. The best example of insulated floor thickness is 100mm (insulation) + 60mm (screed) + 20mm (floor tiles+adhesive).
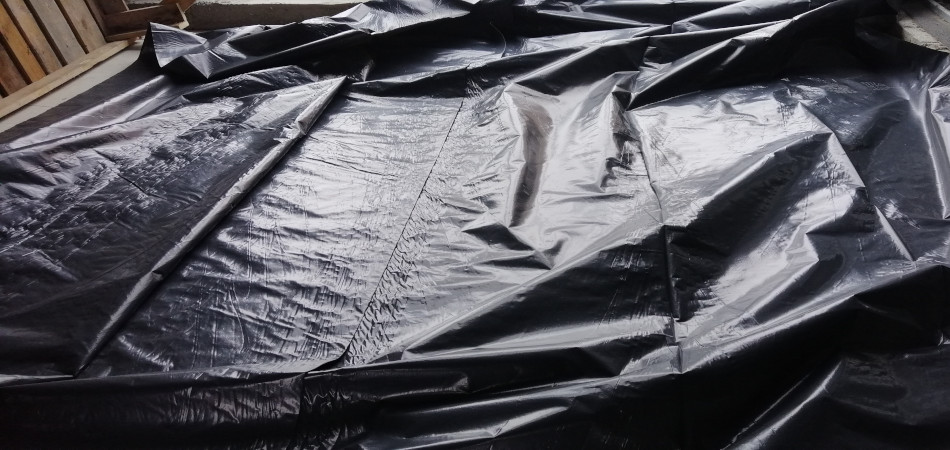
4.LAY DAMP PROOF MEMBRANE
DPM is normally used in floors. A damp-proof membrane (DPM) is a polythene sheet membrane material applied to prevent moisture transmission. A damp proof membrane will commonly be laid during the construction of a concrete floor in a new build to protect the floor from rising damp. It is a good idea to lay a damp-proof membrane underneath the insulation. This will prevent capillary action of the water. Insulation should be laid above the DPM. If the insulation were to be placed under the damp proof membrane, the moisture would degrade the insulation over time. Make sure the DPM is flat and has not been torn during installation. The damp proof membrane is coloured black.
WHAT THICKNESS OF DAMP PROOF MEMBRANE SHOULD I USE?
The use of damp proof membrane in construction is regulated by British Standards, which state that the sheet should be at least 1200 gauge (or 300 micrometres). This means it effectively prevents moisture from passing from the ground into the property. The gauge of polythene can easily be converted to a micron measurement by dividing it by 4. Furthermore, if you want the thickness in millimetres then just divide the gauge by 4000. As an example, 1000 gauge = 250 micron = 0.25mm. The 1200 gauge membrane has a thickness of 300μm, making it highly puncture resistant. On smooth or blinded surfaces, membrane will not be damaged by normal foot or site traffic such as wheelbarrows, while 250-micron sheet is still considered a "HEAVY DUTY polythene and ideal for heavy-duty applications such as a damp proof membrane. When joining two sheets a minimum overlap of 150mm should be provided between each of the sheets. When DPMs overlap you should use DPM tape to seal the joints
For more information click here
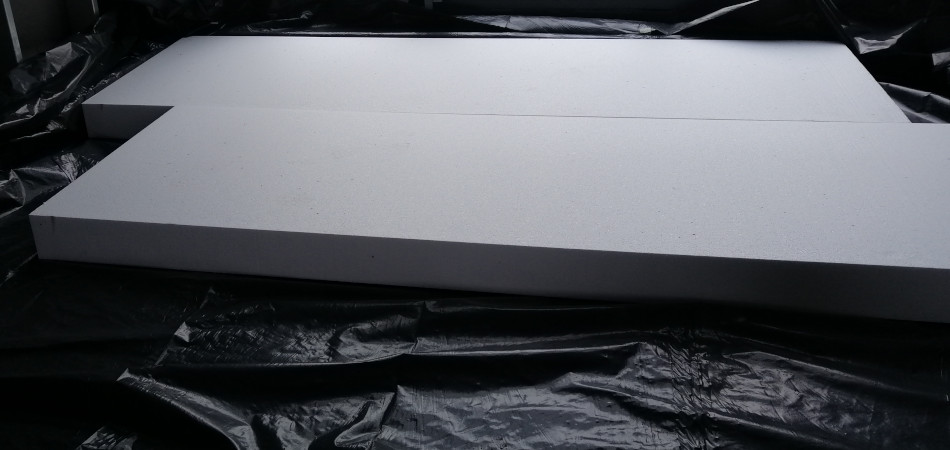
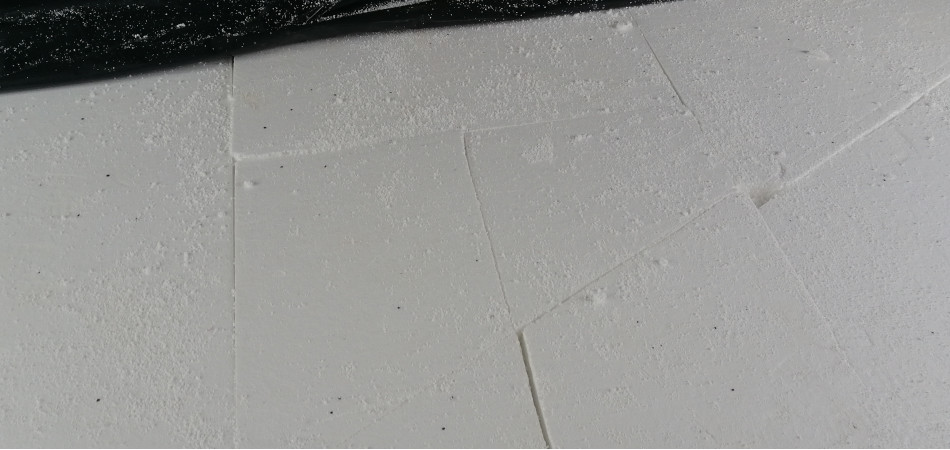
5.INSTALL EPS POLYSTYRENE FLOOR BOARD
Boards have been designed for quick and simple fitting whilst avoiding the weight and mess. Before laying any boards familiarise yourself with the system layout noting direction of boards, potential cutting required and transitional areas. EPS boards should be laid in a staggered pattern.
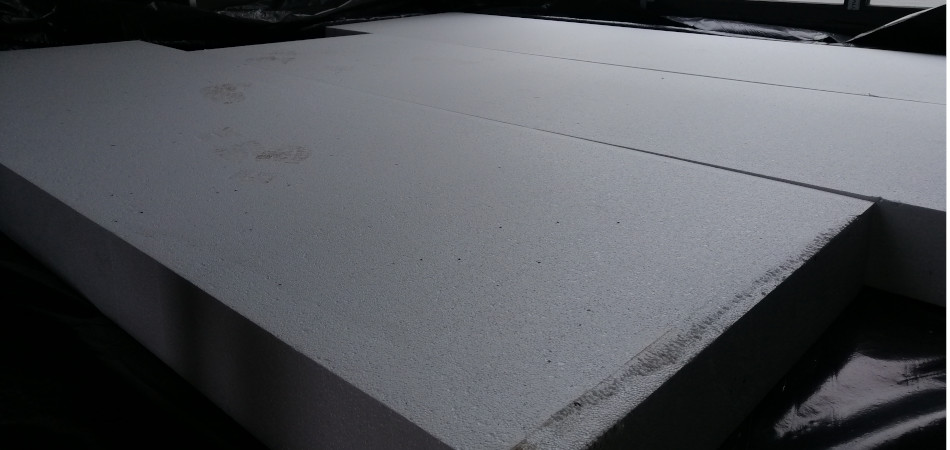
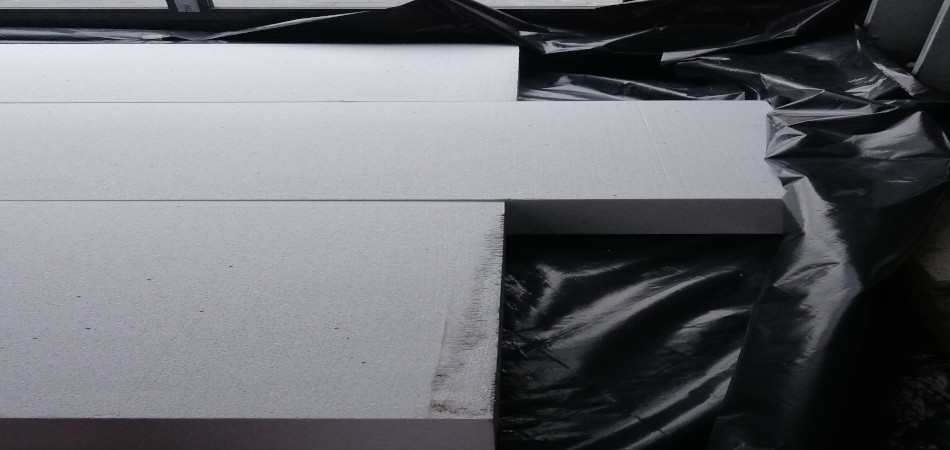
In the case of uneven surfaces, it is recommended to cut the boards in this particular place. This can prevent possible cracks in the floor.
For more information on how to cut polystyrene click here
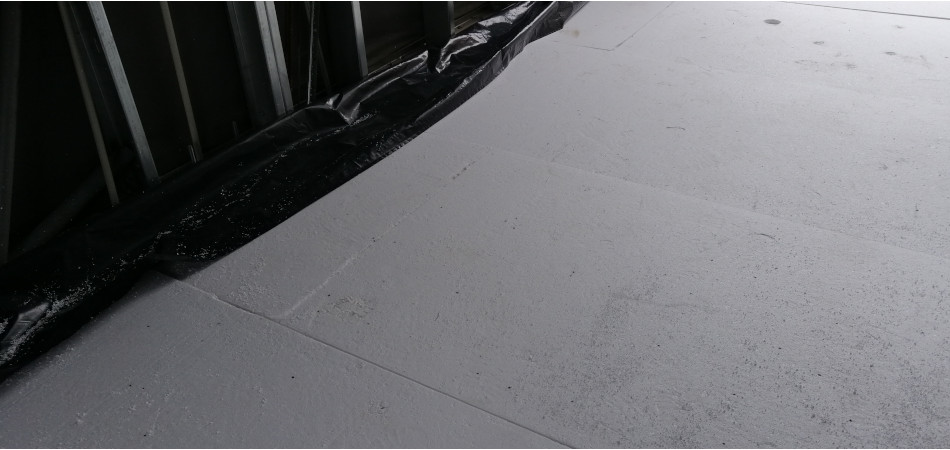
To fill gaps between flat sheets it is recommended to use low expansion foam or polystyrene foam adhesive. Spray foam adhesives are best for preventing thermal bridging, as they have a low thermal conductivity. Once cured, most spray foam insulation can be cut with stanley knife.
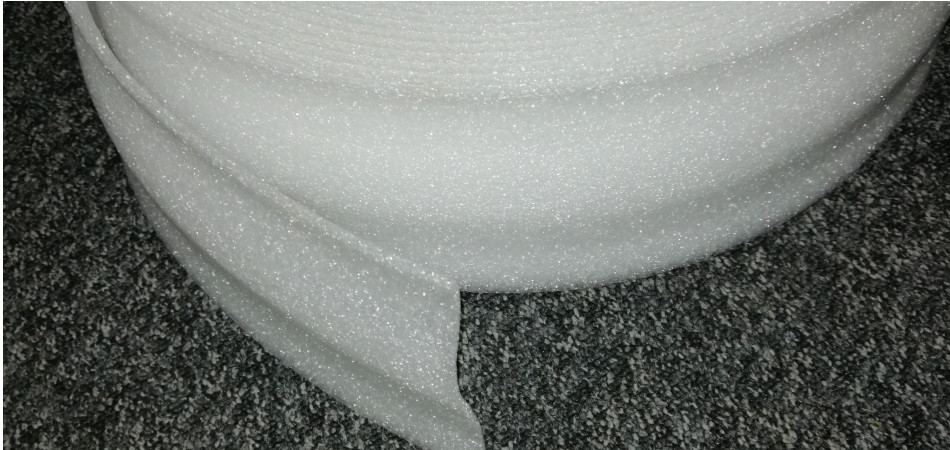
The perimeter isolation strip runs along the base of the wall. It is usually 10 cm wide, 5 mm thick polyethylene foam strip which needs to be located on all the wall perimeter of the room, before screed goes on. This easy first step provides on the whole room perimeter both an expansion gap, which will absorb the dilatations originated by the screed and thermal insulation to avoid any thermal bridge at the base of the walls. Fit a perimeter edge strip around the outside edges of the area using the sticky tape or staple gun. You can use a knife or scissors to cut the strips to the required size.
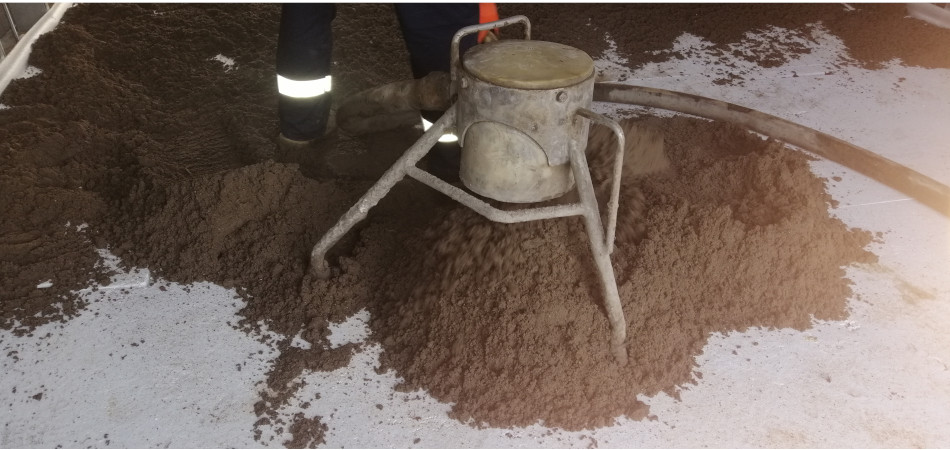
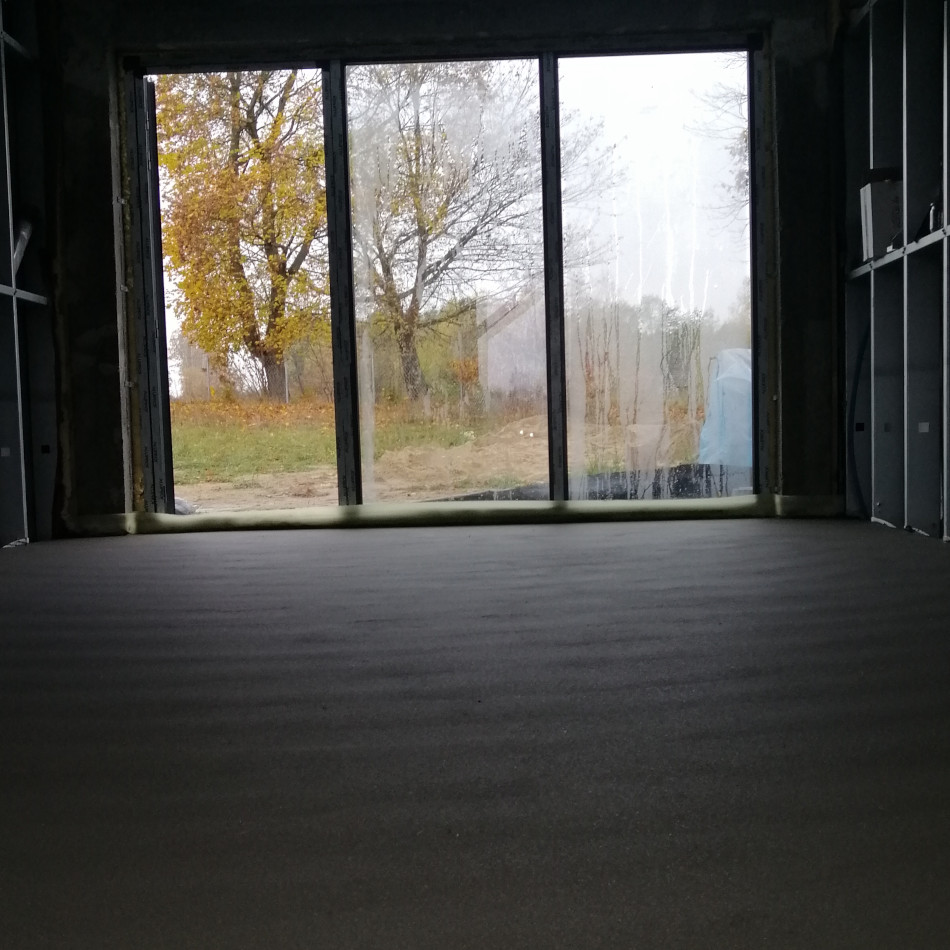
The screed should be applied and levelled. You will need to use a straightedge or a straight piece of timber to level the floor. Screed is typically made from sharp sand, cement and water – in a ratio of 1:4. If necessary, reinforce the screed with fibres – these will prevent the screed from cracking when it dries, and help to increase its overall strength.
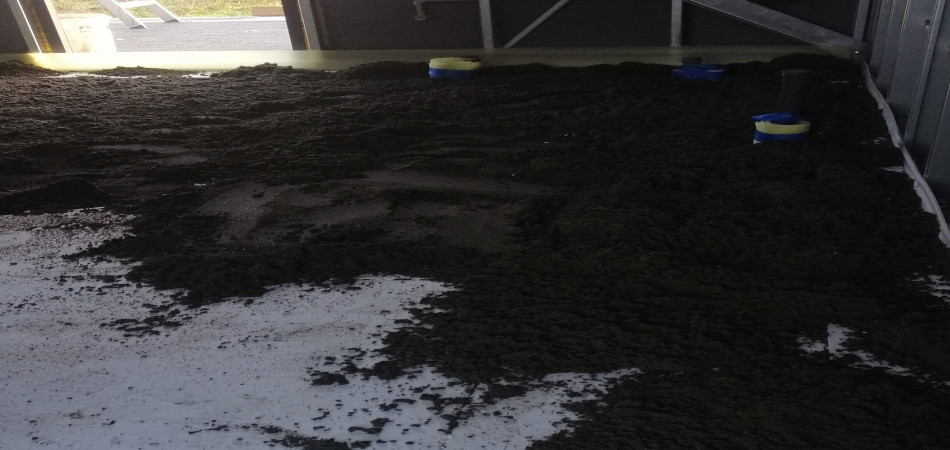
In regards to thicknesses, screed should always be around 60mm thick. First thing first, divide the floor up. It is much easier to work on sections of the floor than try to achieve an even finish across the whole floor in one go.
It is a good practice to level the floor around the edges first and one or two strips across the floor. Ensure all edges are level using a spirit level. The first section to work on is the further section from the entrance, so you don’t need to walk on the screed to get out of the room.

Spread the screed out with a trowel, then get a straight-edged tool and flatten it out – use a chopping motion for best results. Put the straight edge over the levelled edges, resting on each side, and move down the length of the section in a sawing motion. Try to keep the straight edge tilted slightly to have a sharper edge in contact with the screed. Repeat the process in the following sections.
As a rough guide, laying a conventional sand/cement screed costs around £22/m2 as of 2022.
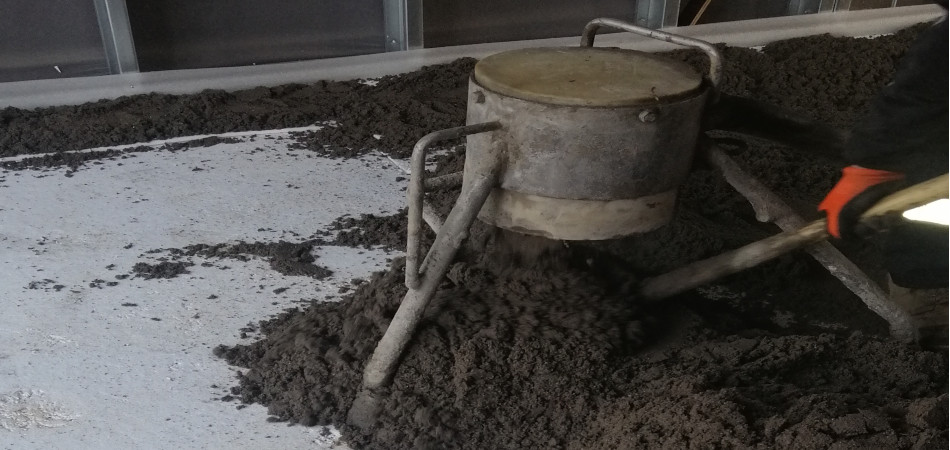
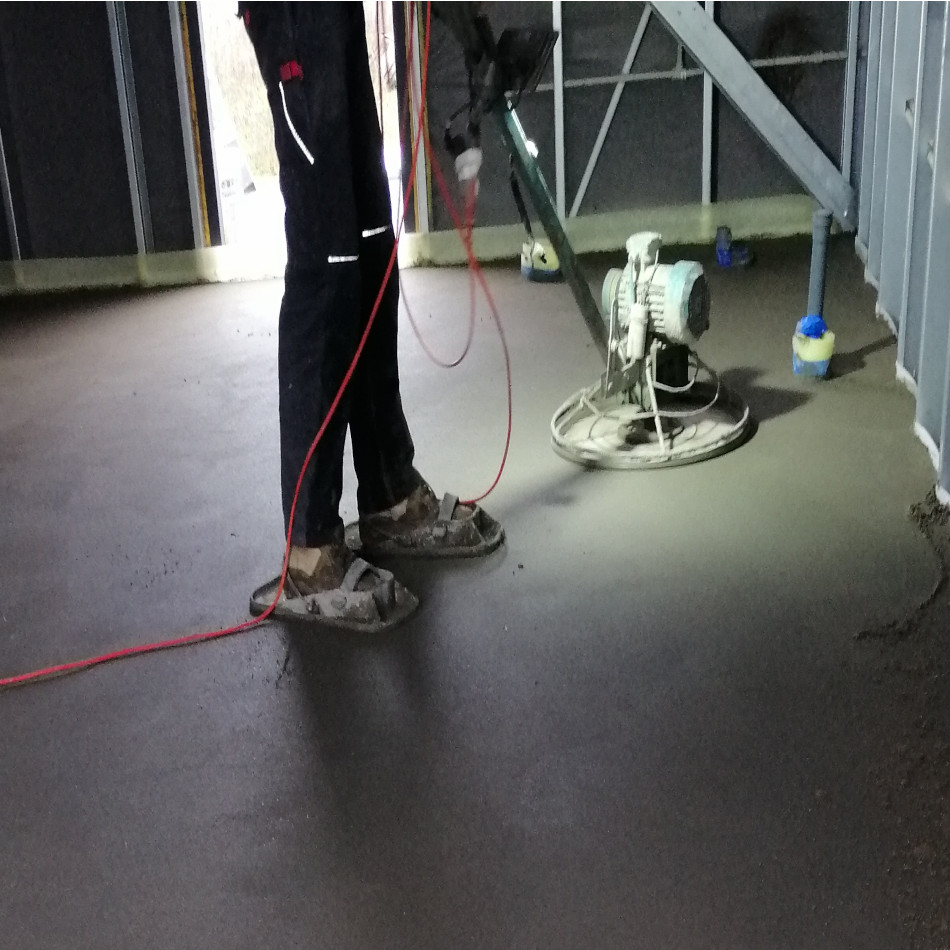
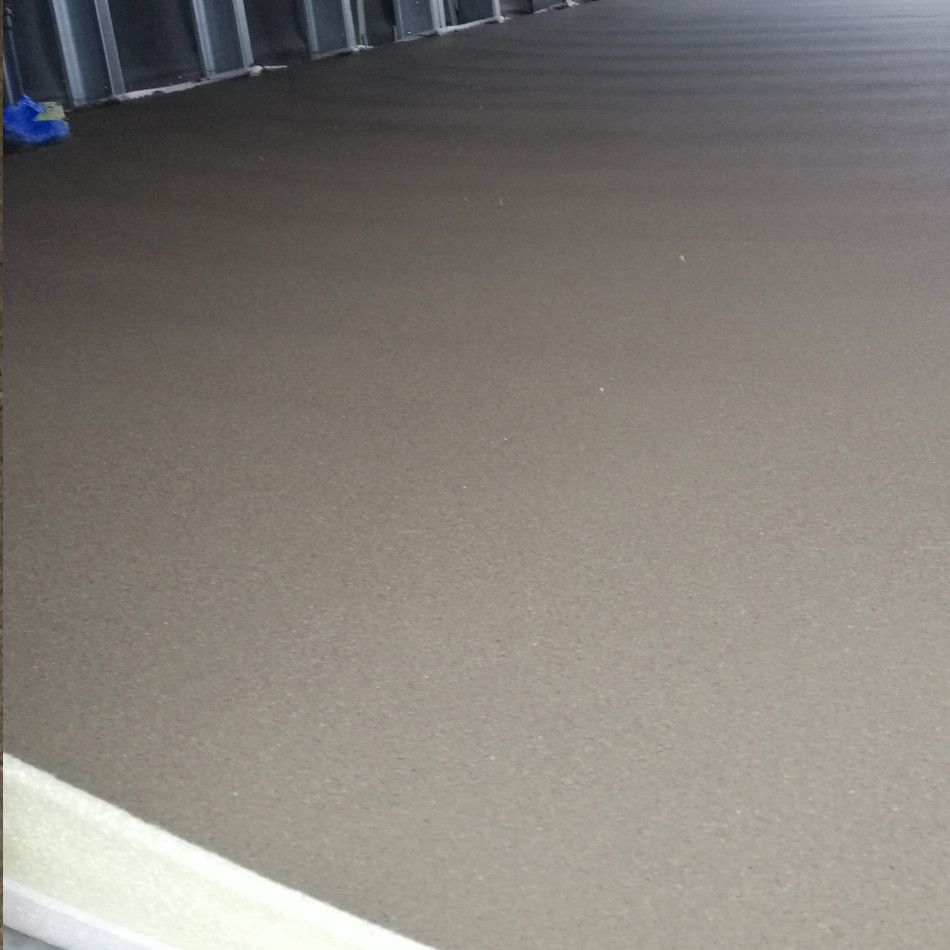
Now it is time to finish the concrete using a power trowel machine which produces consistent quality screed finishing. They are the machines that look like upside down fans that sit on top of concrete and are used to trowel and finish a concrete slab. Using a power trowel isn’t very difficult to do from a beginner’s standpoint – but it does take hours of experience to master them. The process of troweling also aids in bringing the ‘cream’ of the concrete to the surface of the slab. Troweling also plays a key role in the final finish, as it helps hardens the concrete and improves the appearance of the finished slab.
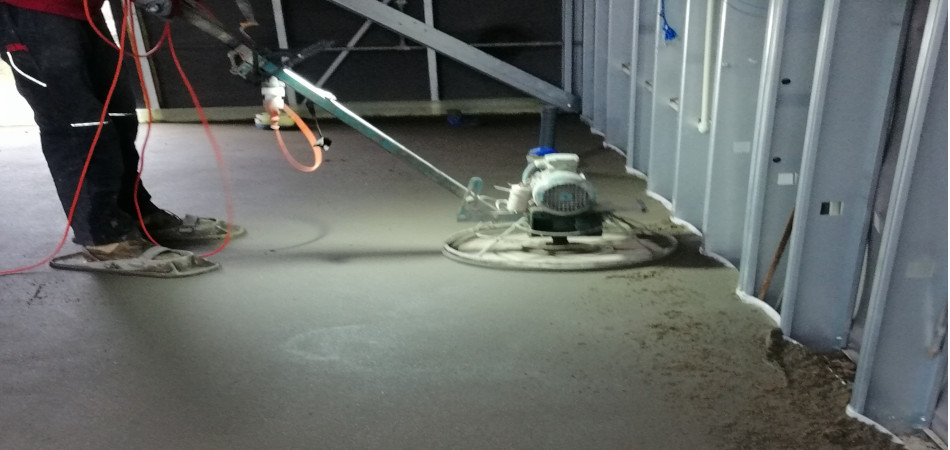
Whether you have to walk on fresh screed make sure to wear screed shoes to protect the base. They are very easy to slip in.
How long it takes to screed a floor will partially depend on the size of the area and the thickness of the screed. Generally speaking, after the screed has been laid, it needs to be cured. Leave this untouched for around 21 days. Once the 21 days have passed, it is ready for installing floor tiles. A screed floor should dry at a rate of 1mm per day.
*All the information provided in the content published on Insulationgo blog is for informational and educational purposes only. Insulationgo LTD makes every effort to ensure the accuracy and timeliness of the content, but we do not assume any responsibility for any errors or omissions.
The information presented on this blog should not be considered as professional advice or a substitute for consulting relevant experts. Before making any purchase decisions or taking action based on the information presented here, it is strongly recommended to contact the product manufacturer directly to verify the details and ensure its suitability for your specific needs.
By using this blog, you acknowledge and agree that Insulationgo LTD shall not be held liable for any damages, losses, or inconveniences arising from the use or reliance on the information provided herein. This limitation of liability applies to all users of the blog, including but not limited to visitors, readers, and subscribers.
