


HOW TO PATCH SILICONE RENDER *
Thin coat render is an especially formulated colored trough ‘one-coat’ product that provides a decorative and protective finish to EWI systems. If you are reading this article, you probably installed exterior insulation and decided to use the K-rend system as a finishing layer. You have lowered your bills, now you enjoy new comfort at home. However, the spell breaks when someone damages a piece of your beautiful wall. So you end up with a section of the wall that you know is now right. It simply doesn’t look the same, it does not match the rest. You have to repair this part and finish it with the same colour but also with the same structure. In this short tutorial you'll find out how you can repair K-rend system like a real repair specialist.
 TABLE OF CONTENTS
4 K-REND SYSTEM REPAIR METHODS
‘TOUCH UP’ THE AFFECTED AREA - SMALL DAMAGE
RENDER CRACK REPAIR KIT- SMALL DAMAGE
CUT OUT PIECE OF K-REND SYSTEM - BIG DAMAGE
SILICONE RENDER REPAIR KIT / COLOUR FILL
K-REND SYSTEM
Thin coat render is an especially formulated colored trough ‘one-coat’ product that provides a decorative and protective finish to EWI systems. The colour of the thin coat render is consistent throughout. It means if you apply it right from the base coat to the surface, it will have a nice even colored texture. It also means you can have a render colour of your choice. When applied, it will give you uniform weatherproof finish.
They are generally termed as ‘thin coat renders’ or K-rend system because they’re applied in a very thin layer on top of a reinforced basecoat and have the advantage of being especially crack-resistant.
In fact, K-rend is the brand name, not the render system itself. It has been said that K-rend is a general name for EWI (External Wall Insulation). There are other companies such as Ceresit, Baumit, Kraisel, Weber and Parex that use the same render structure. They differ only in colour and chemical composition. However, all these renders share the same grain structure. They come either in 1mm,1.5mm, 2mm or 3mm textured grain. However, 1.5mm grain is most popular in the UK. Acrylic Render, Silicone Silicate Render and Silicone Render are all examples of coloured thin coat renders.
4✔ K-REND SYSTEM REPAIR METHODS
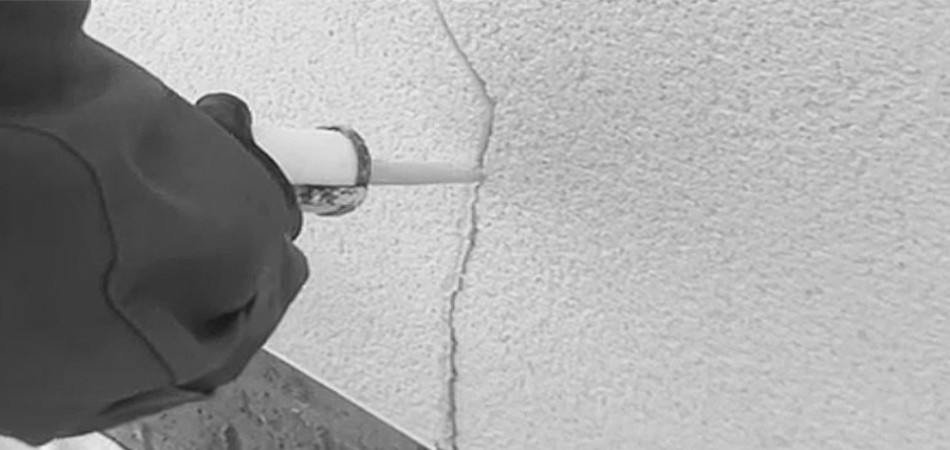
‘TOUCH UP’ THE AFFECTED AREA - SMALL DAMAGE
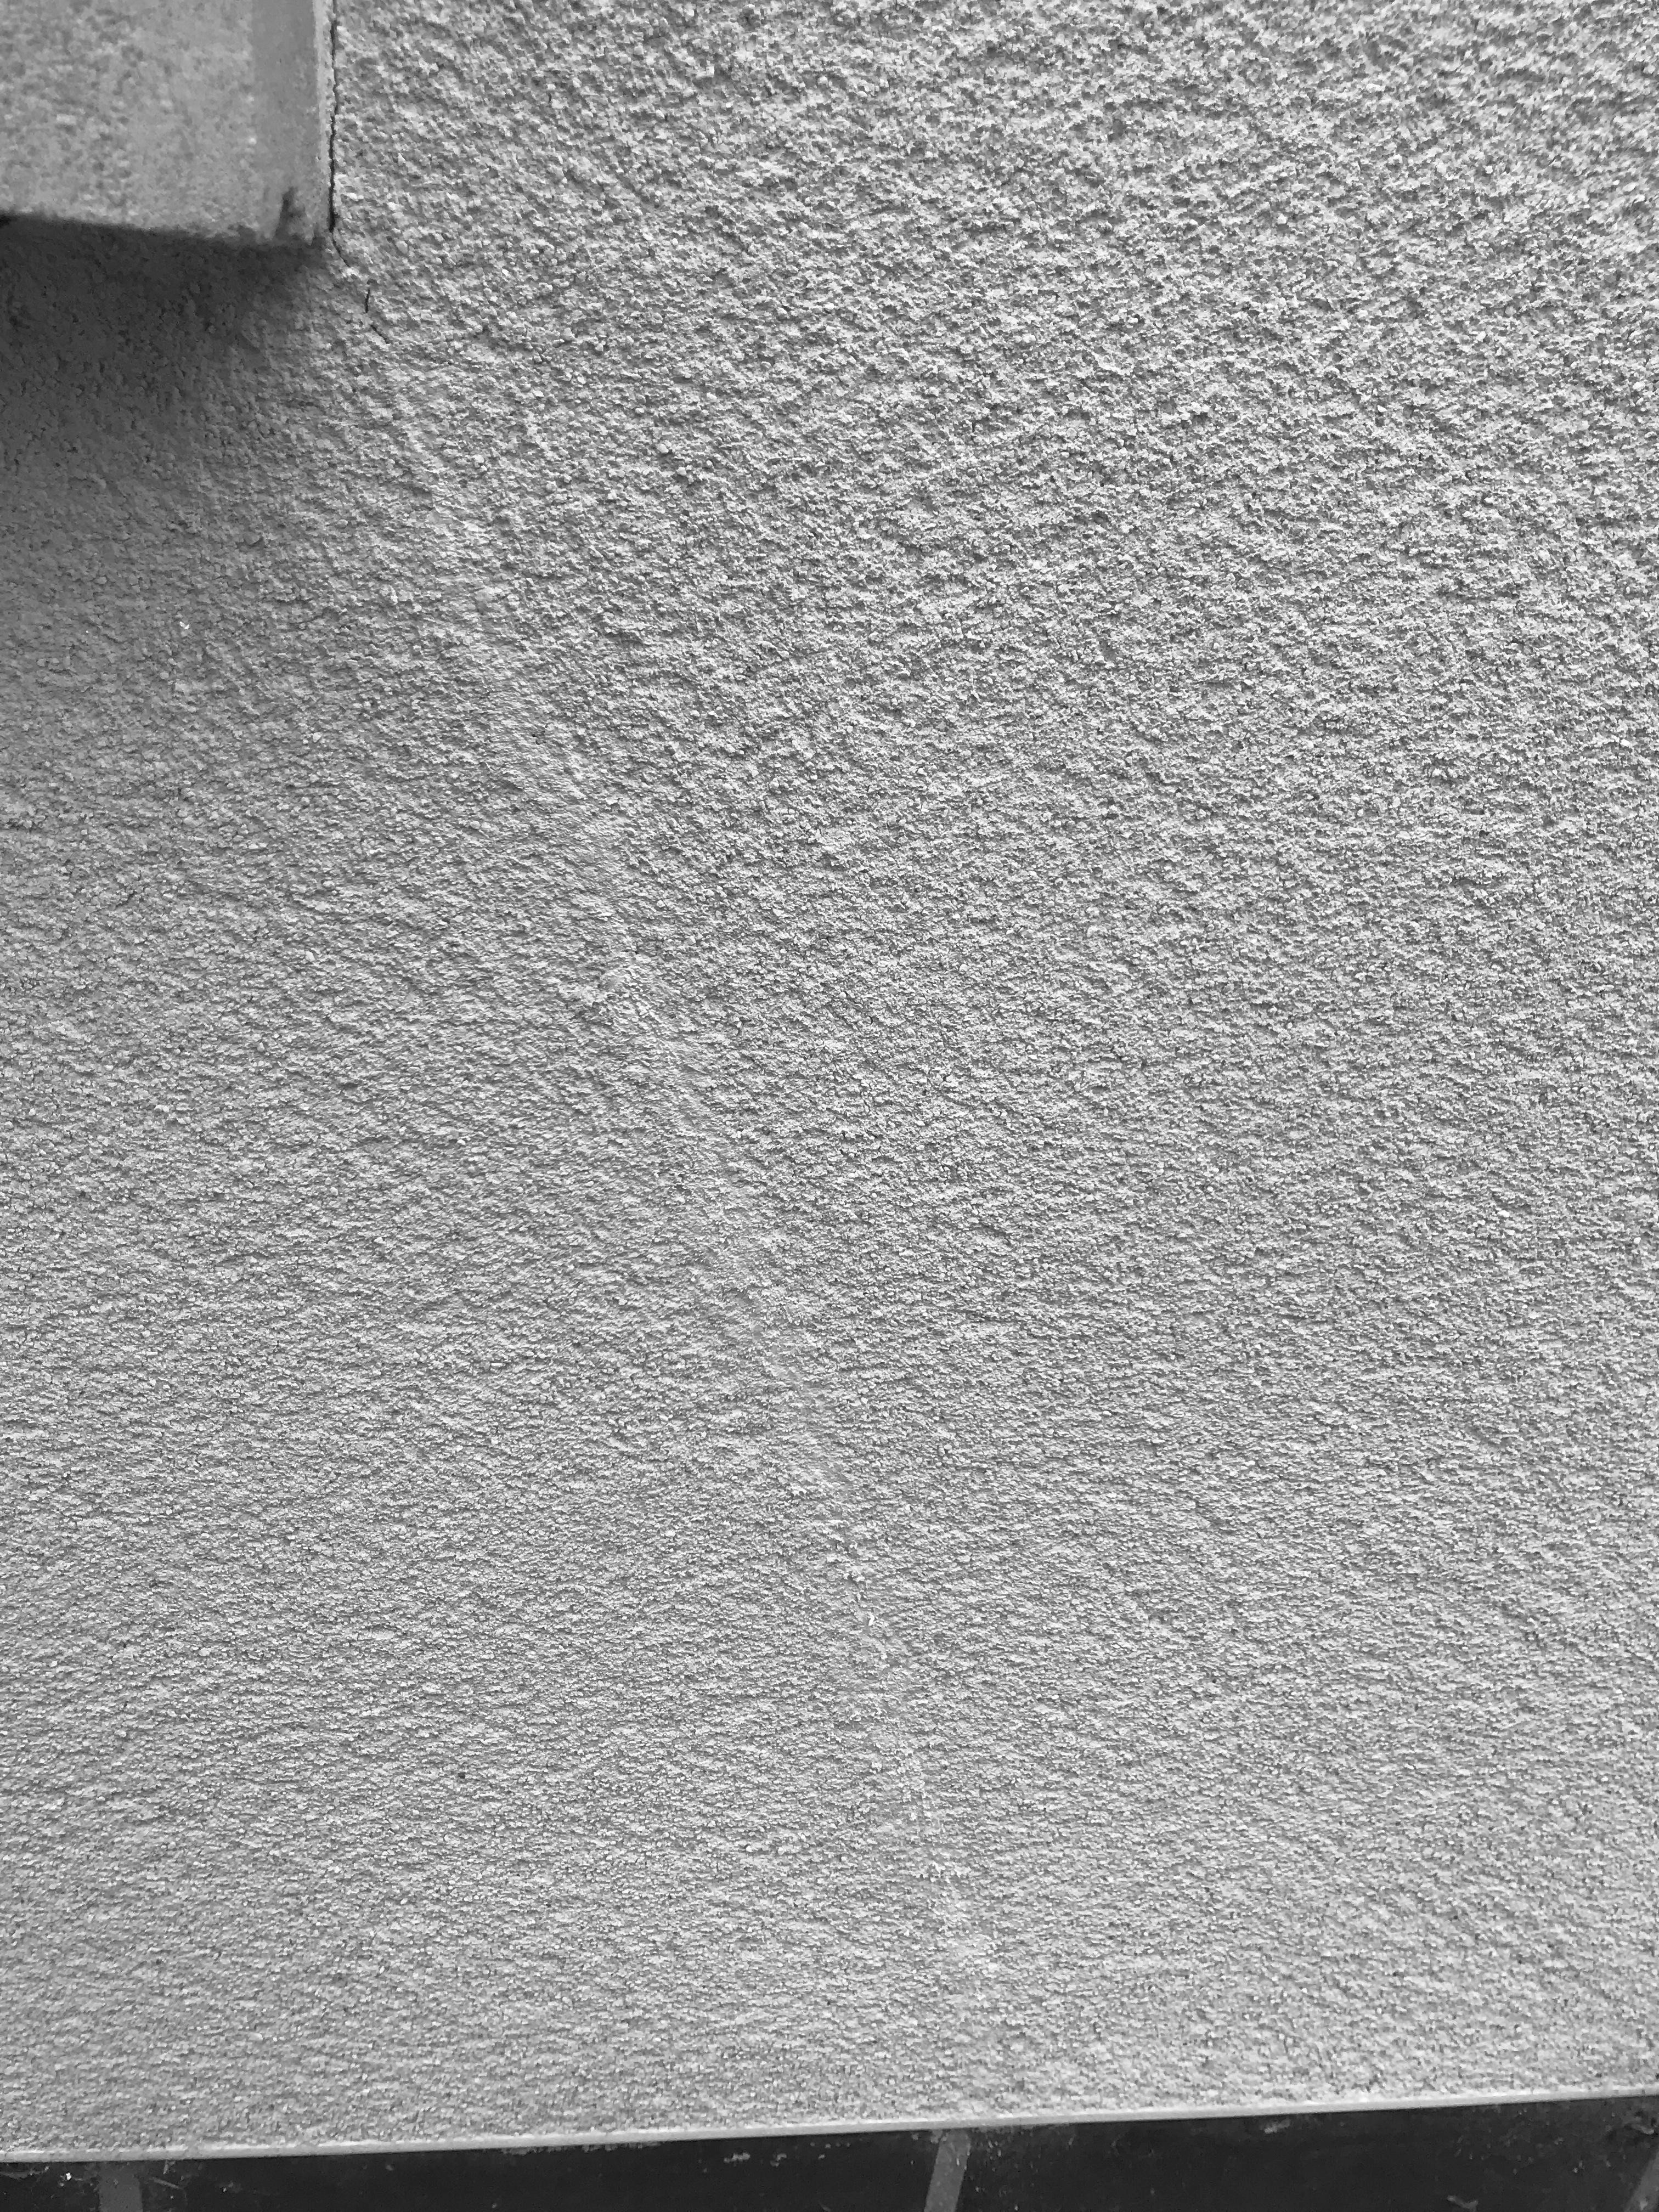
Thin coat renders, applied at a thickness of 1-3mm onto a flexible basecoat layer, usually leave a textured, slightly grained type finish. K-rend is a coloured render so if the mix isn't right the patch will stand out.
Patching k-rend may be a nightmare for some people but can be done with the right technique.
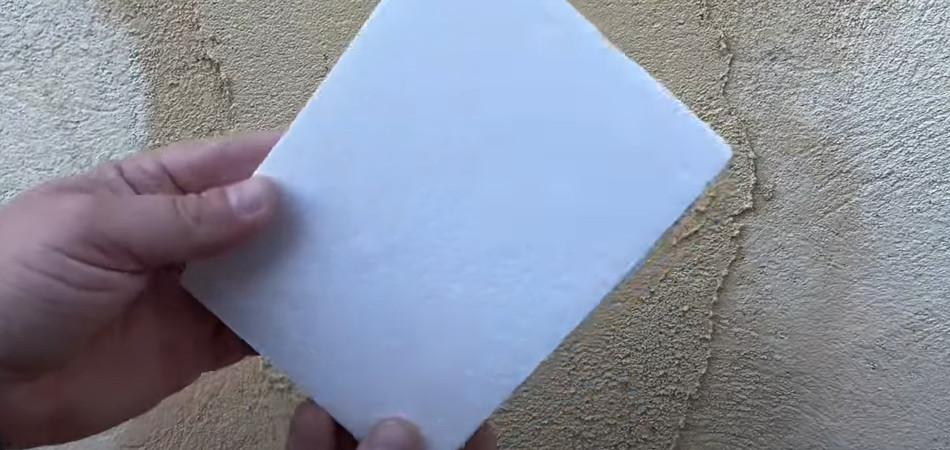
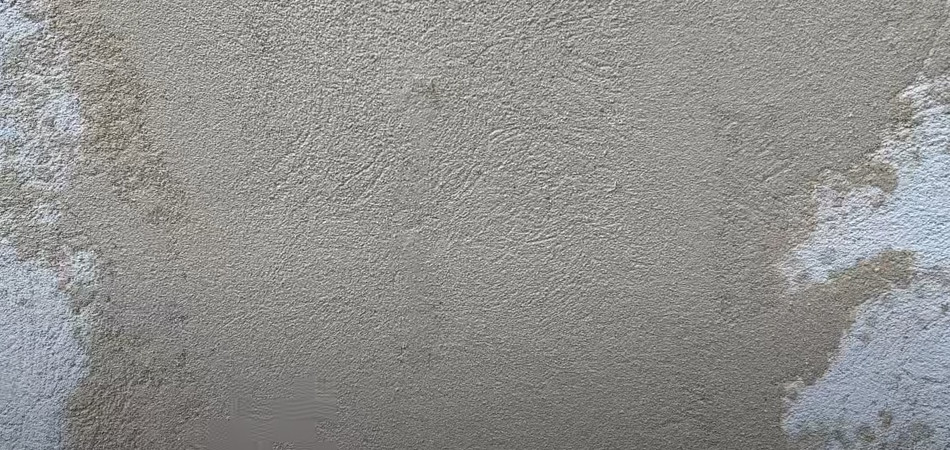
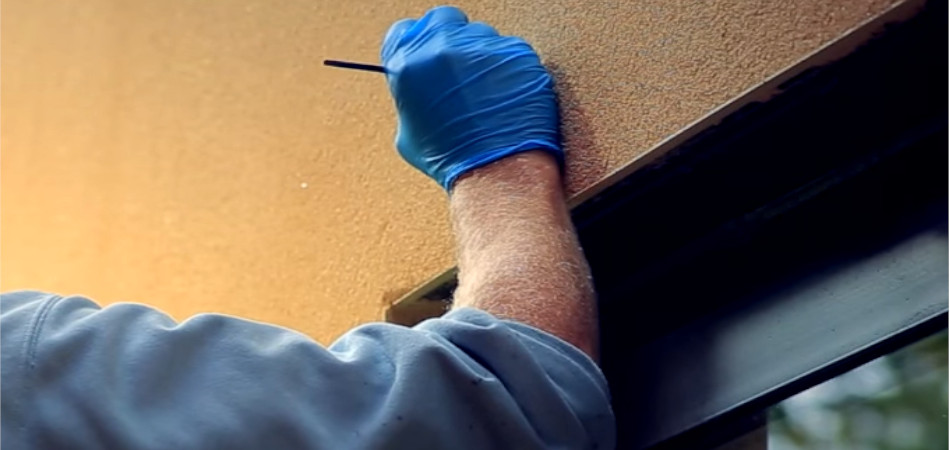
The easiest way of patching K-rend is to use the same finishing render (rendering patching compound) by rubbing it in with a piece of polystyrene.
So called ‘repair kit’ have to be applied to smooth, dry and clean substrates free from grease, bitumen, dust and other substances decreasing adhesion. Any excess render should always be removed.
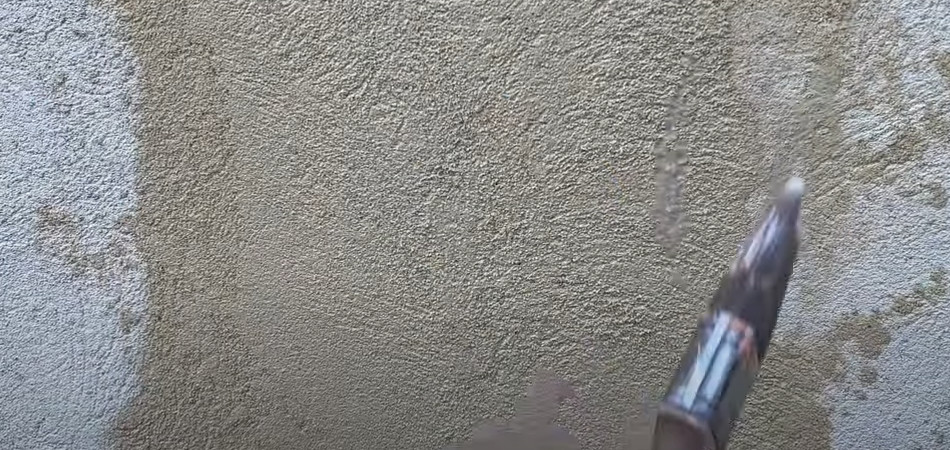
It is quite runny material so don’t overload your hawk when you are putting it on.
‘Repair kit’ should be evenly applied on the damaged substrate at the thickness of the grain by means of a steel long float held at the angle.
Then, it should be given a homogenous structure with round movements by means of a EPS polystyrene piece flatly held to achieve the appearance of densely laid out aggregate grains structure.
The most important thing in repairing the K-rend of the system is its proper connection at the edges.
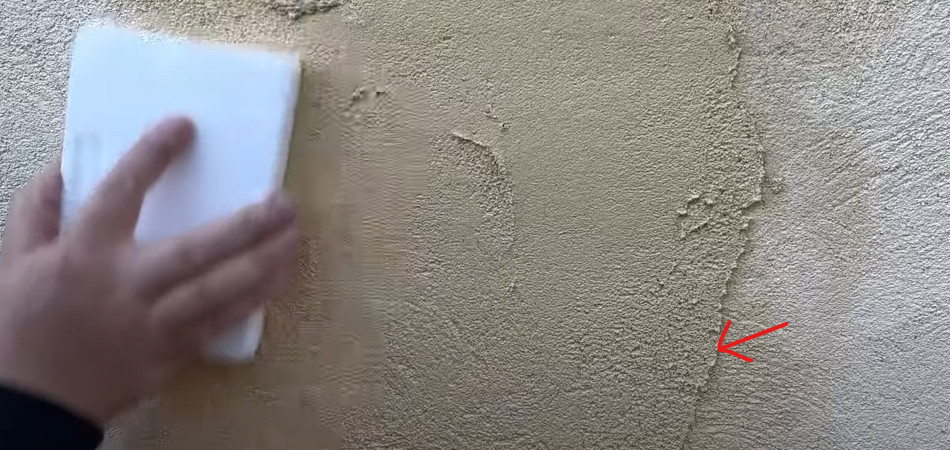
If not properly rubbed, it will leave traces of joining and will be very visible. It is good practice to soak the edges of the applied K-rend render until it blends with the old plaster in an almost invisible way.
RENDER CRACK REPAIR KIT- SMALL DAMAGE
There are some cases where a very small crack has occurred that needs fixing. Hairline cracks tend to happen over time so if the wall itself moves or cracks, the surrounding render will also. Such cracks can not only impact the overall aesthetic of a property but also lead to water ingress, causing further issues down the line, including dampness, heat loss and mould. Small areas should be sealed as soon as they first start to show. This is because water can get through then freeze and expand, making larger cracks.
It is best if you patch larger cracks using repair filler such as all-acrylic or siliconized-acrylic sealants. Any repairs made to the cracked rendered surface should be allowed to dry for at least 30 days prior to repainting the whole of the rendered surface with exterior paint.
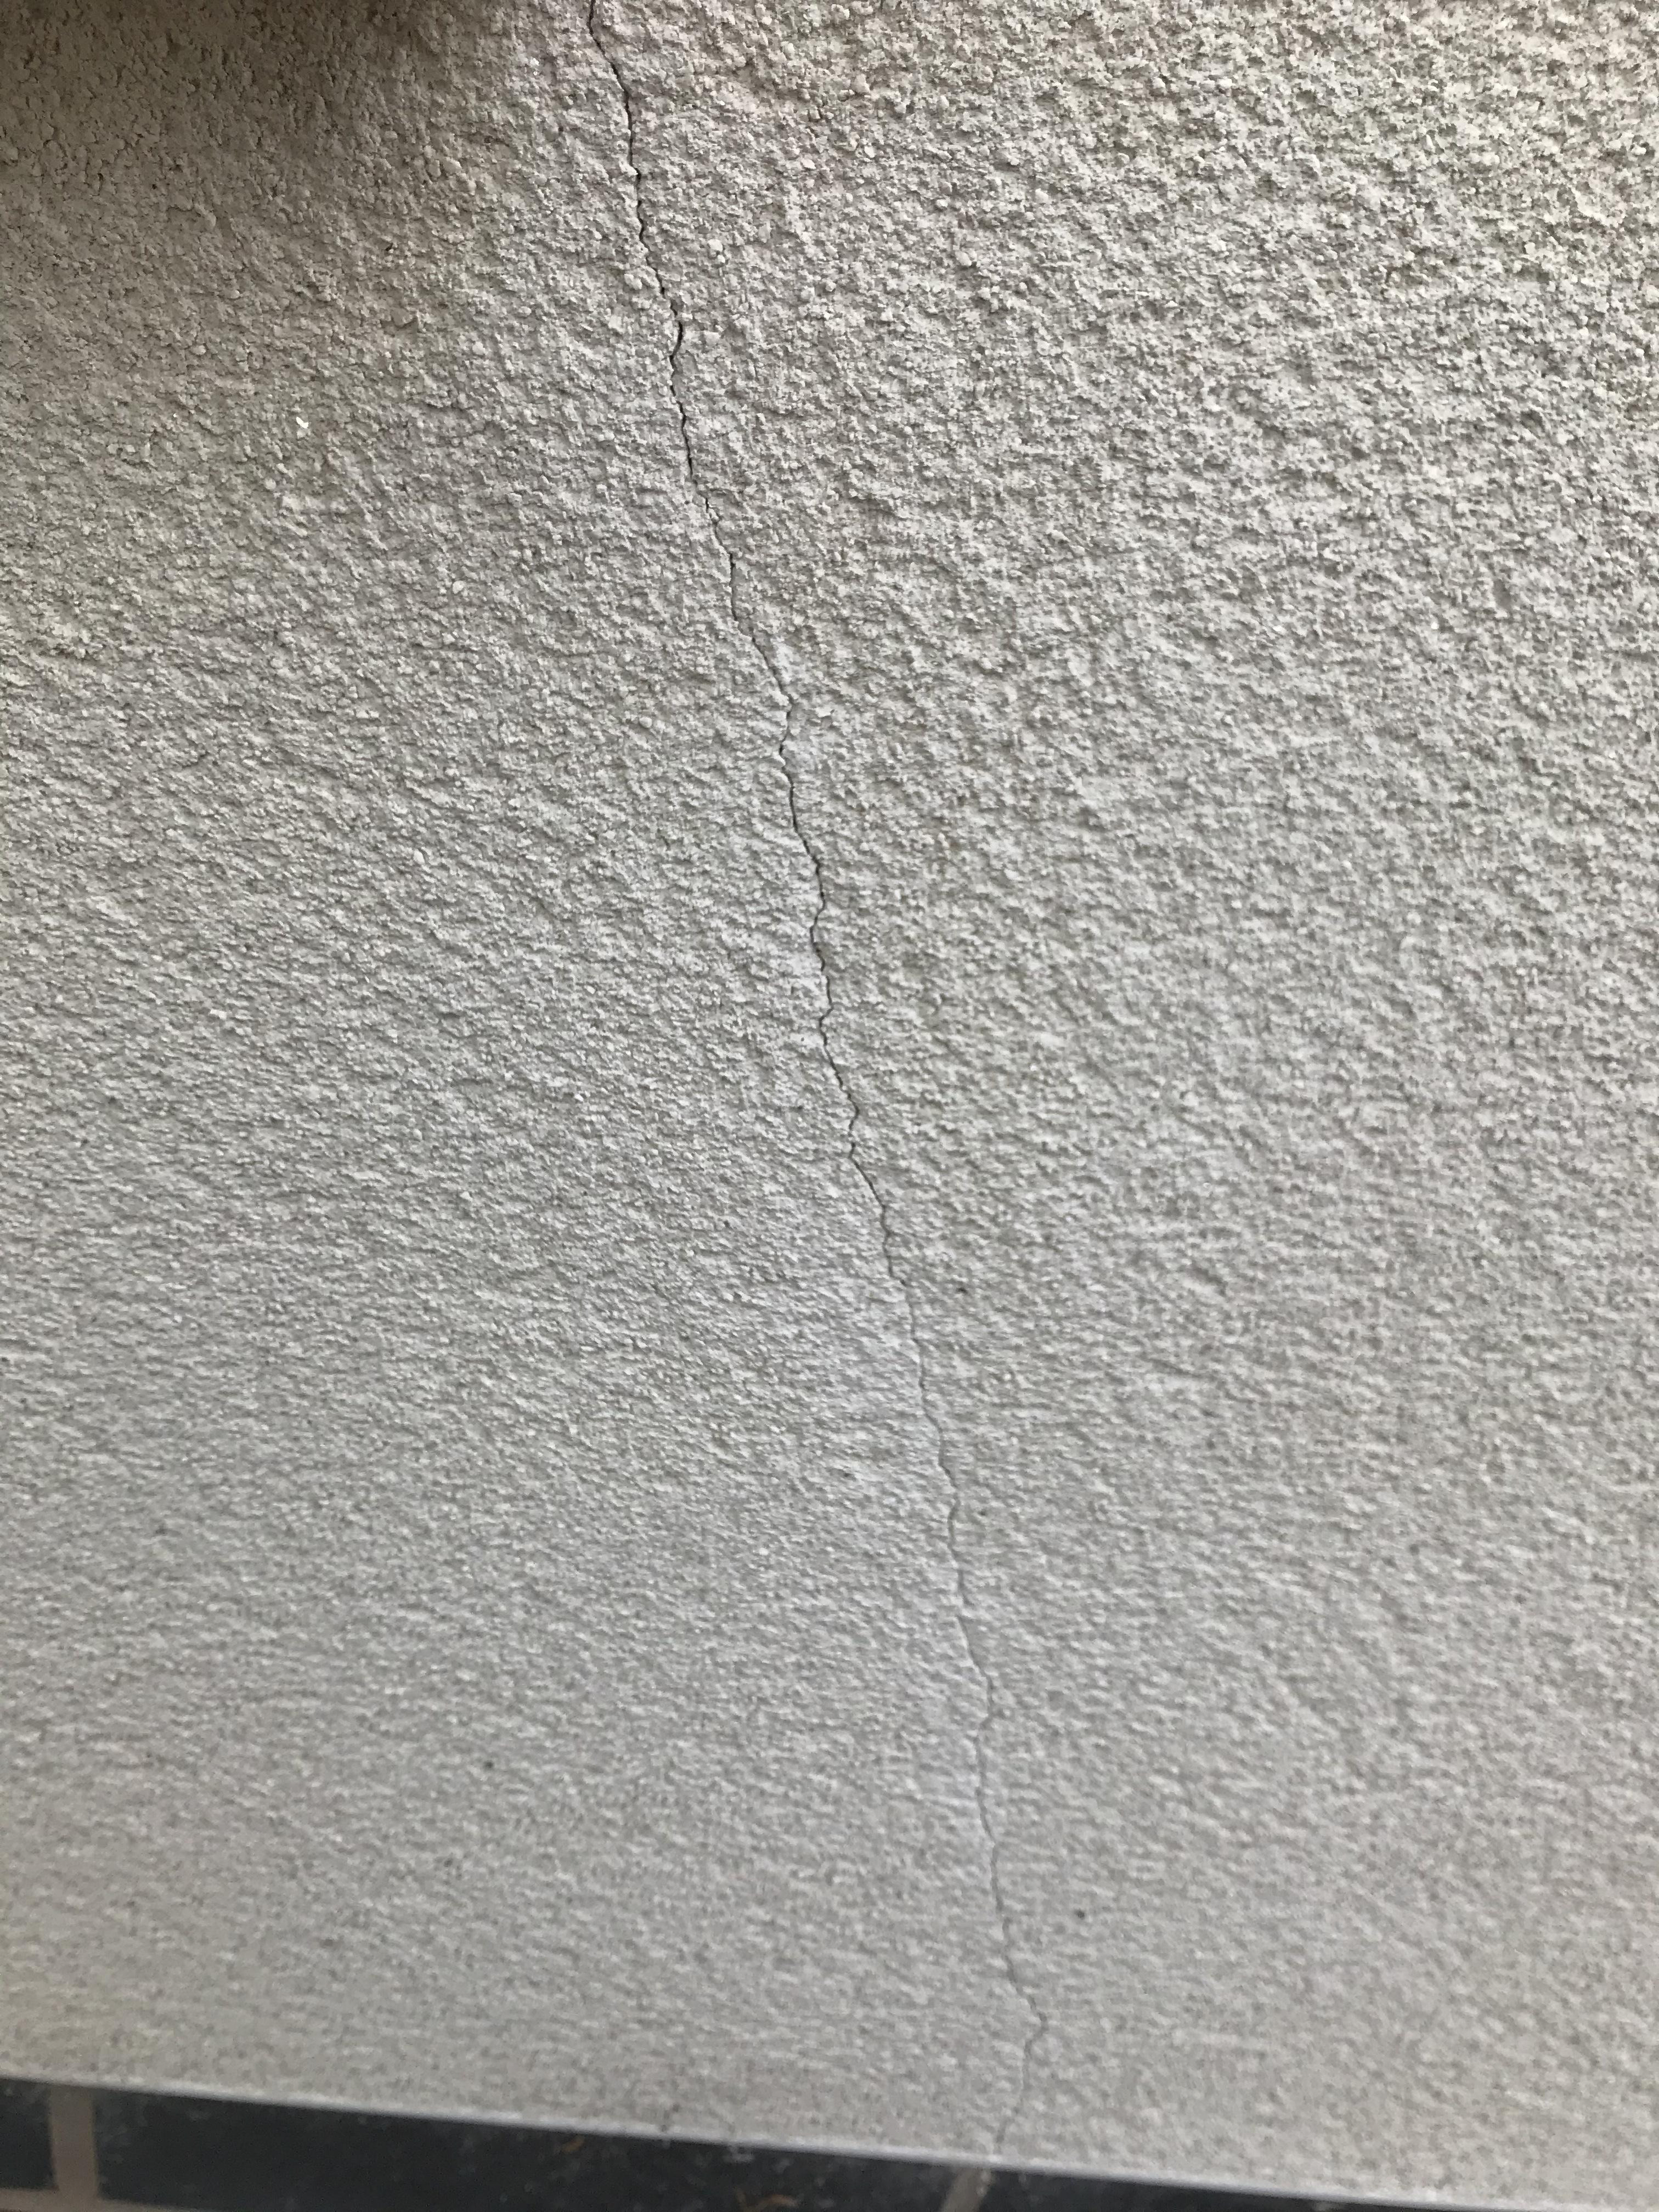
Picure credit: uk.weber, buildhub.org.uk
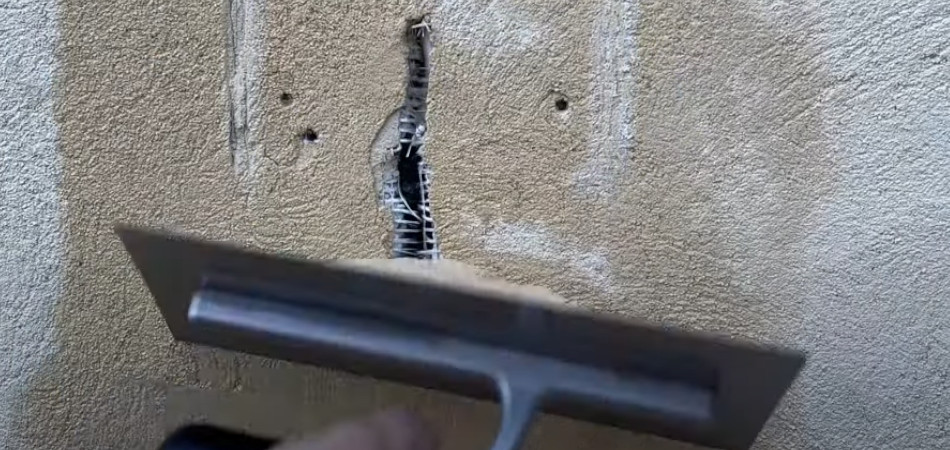
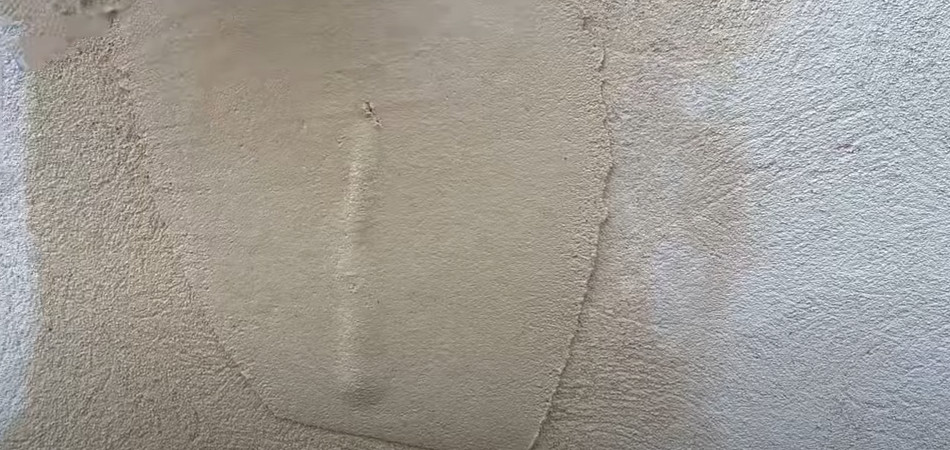
CUT OUT PIECE OF K-REND SYSTEM - BIG DAMAGE
If your damage is really deep, none of the above methods will do the trick. In this case, you may have to cut out the piece of external wall insulation and start all over again. By doing so, you are creating a new, stable substrate onto which you can apply the thin-coat render system. While removing a piece of system might not be what you wanted to hear, putting any other materials on top of damaged render is only a temporary fix and, over time, you will see the cracks that will only continue to expand. Once a new insulation piece is in place, apply a 6mm-thick basecoat layer with embedded reinforcing fibreglass mesh followed by a thin-coat render topcoat to provide a decorative finish.
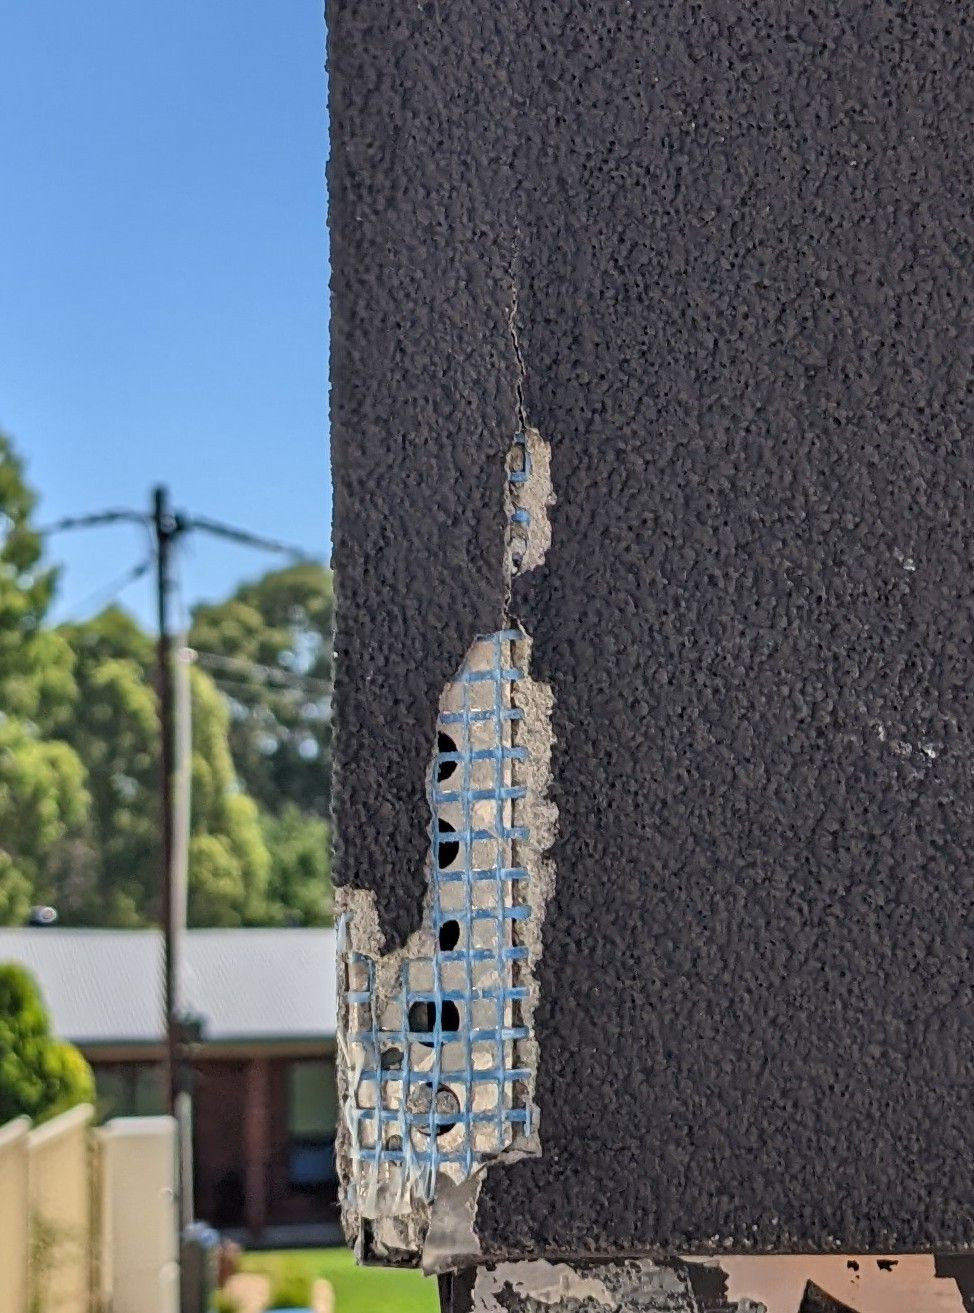
Picture credit:workshop.bunnings.com.au
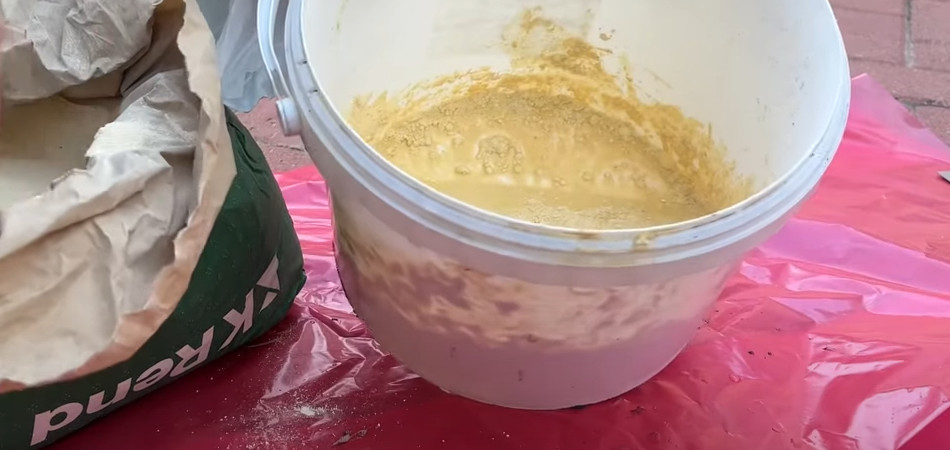
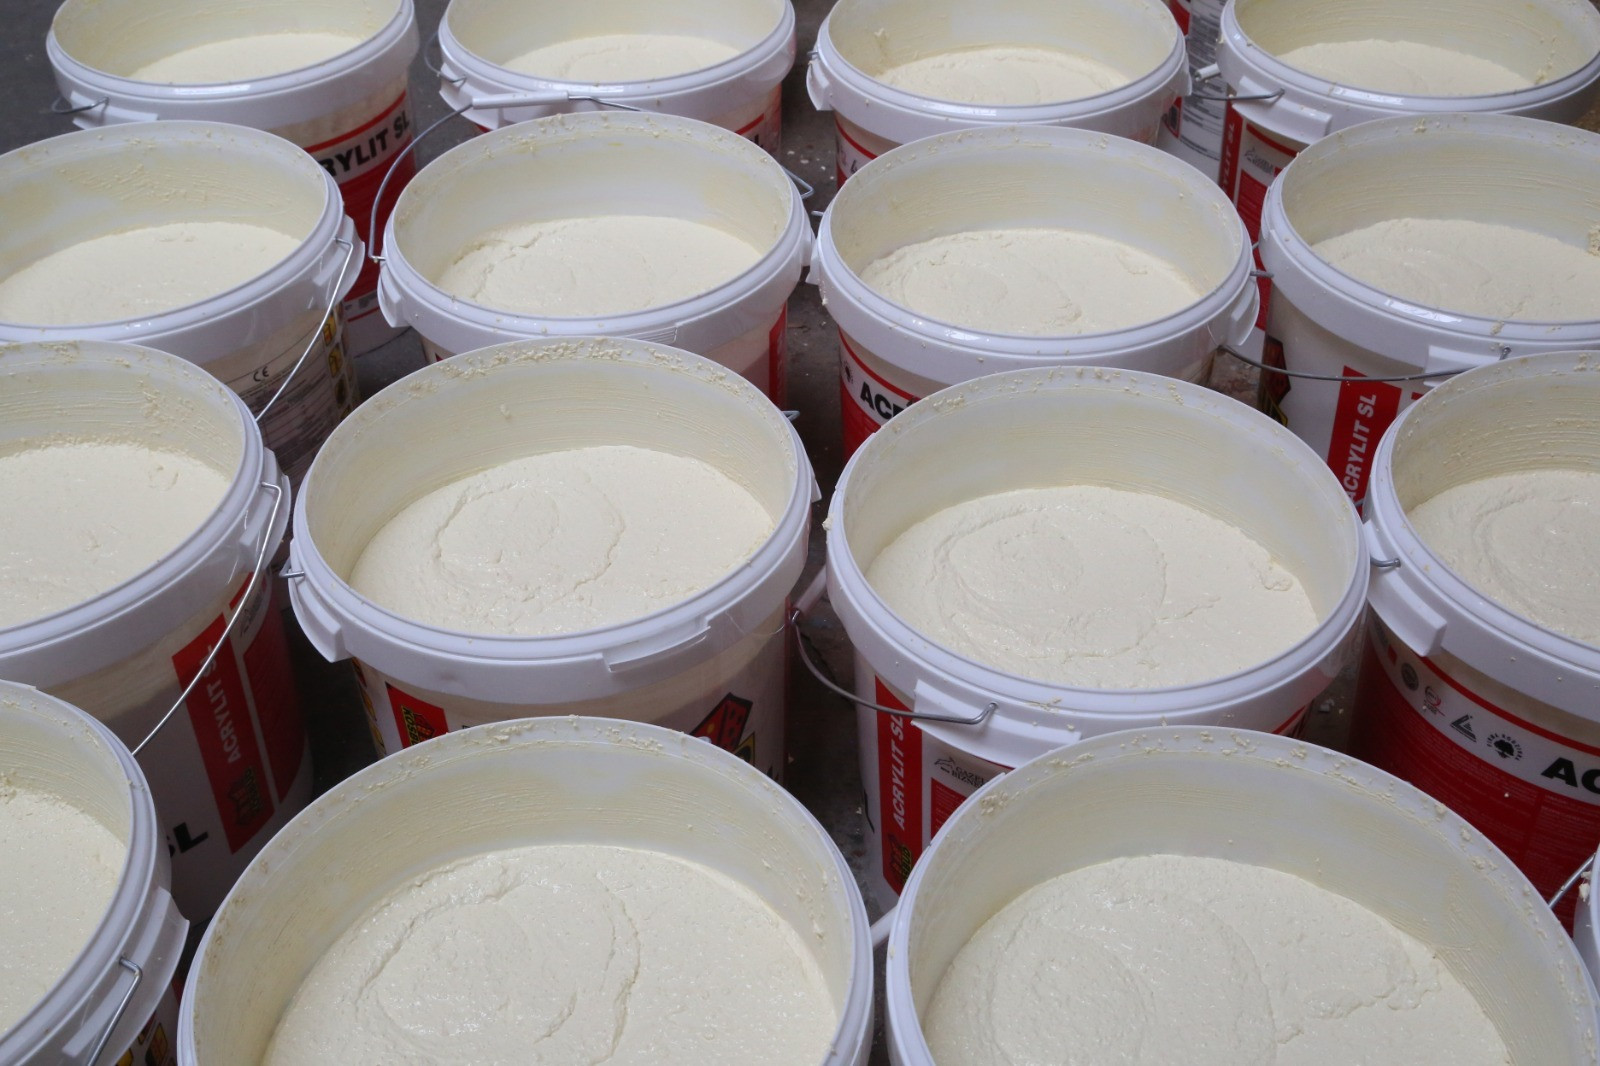
SILICONE RENDER REPAIR KIT / COLOUR FILL
You've probably noticed that the thin coat renders are delivered as a ready-mixed product. Its chemical composition releases the resins. That's exactly what you'll use to repair small damage! It will not contain grains, only colour. It will therefore be easy to apply. All you need now is a touch up brush. Gently soak the brush in the bucket without touching the render grain. Start in the middle of the touch-up spot and work your way out to the edges. Apply the render as evenly as possible. Use light layers to evenly coat the scratch.
BIBLIOGRAPHY
Picture credits:
1. youtube.com, ‘Repairing Outside K-Rend Wall - Do it Yourself’, mpeg, accessed November 10, 2022.
Related articles:
External wall insulatio problems. The ugly truth?
EPS expanded polystyrene vs XPS extruded polystyrene
Detailed Rockwool Dual Density
Internal wall insulation - is it risky?
*All the information provided in the content published on Insulationgo blog is for informational and educational purposes only. Insulationgo LTD makes every effort to ensure the accuracy and timeliness of the content, but we do not assume any responsibility for any errors or omissions.
The information presented on this blog should not be considered as professional advice or a substitute for consulting relevant experts. Before making any purchase decisions or taking action based on the information presented here, it is strongly recommended to contact the product manufacturer directly to verify the details and ensure its suitability for your specific needs.
By using this blog, you acknowledge and agree that Insulationgo LTD shall not be held liable for any damages, losses, or inconveniences arising from the use or reliance on the information provided herein. This limitation of liability applies to all users of the blog, including but not limited to visitors, readers, and subscribers.
