


HOW TO INSTALL A CELOTEX BOARD BETWEEN FLOOR JOISTS?*
If you're wondering how to properly insulate your floor between joists, you've come to the right place. In this blog, I'll be answering some important questions about Celotex installation, such as whether or not you need an air gap, how to support insulation between floor joists, and how to fit Celotex between floor joists. So, if you're looking to improve the insulation in your home and save money on heating bills, keep reading!
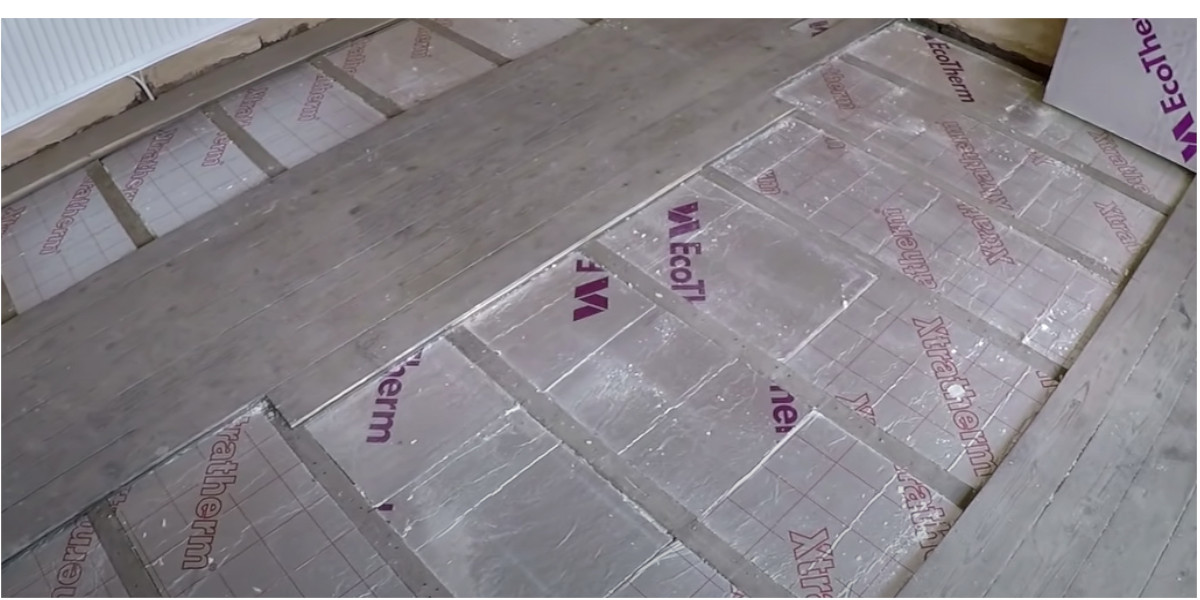
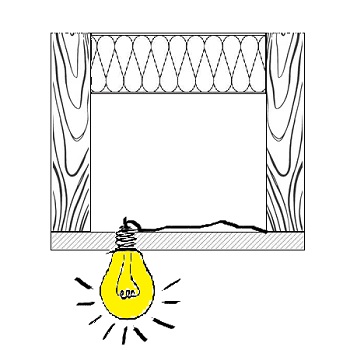
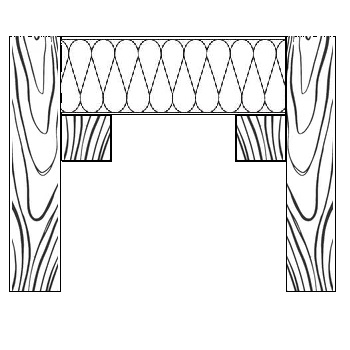
Picture credit:youtube.com/Gosforth Handyman
DO YOU NEED AN AIR GAP WITH CELOTEX?
If you have decided to insulate your floor between floor joists, you are probably wondering if you need any gap. We have written extensively about this in another article titled "TO GAP OR NOT TO GAP? THAT IS THE QUESTION!"
Generally, when installing Celotex, Xtratherm, Kingspan, or Recicel PIR insulation, it is highly recommended to leave a minimum gap of 30-50mm between the insulation and the commonly used plasterboard finish. This is necessary to meet four criteria:
1. Each closed cavity reduces noise
As we know, each additional closed cavity reduces noise by around 20-30dB, provided it is well constructed.
Similarly, when using a gap between the Celotex board and the ceiling below, we intentionally create an air chamber to act as a buffer for noise. This means that any noise from either the top or bottom is reduced by around 20-30dB.
This is a significant reduction considering that an airplane in the sky can reach levels of around 120dB.
You can read more about soundproofing in an article titled THE UGLY TRUTH ABOUT ROCKWOOL AS A SOUNDPROOFING MATERIAL?
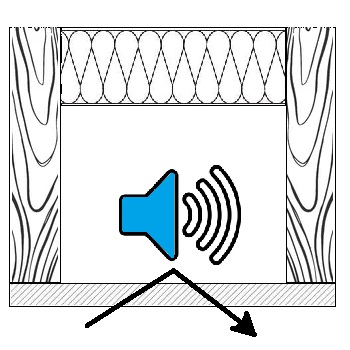
2. Ventilation
Ventilation and adequate air exchange completely prevent the formation of moisture. The same is true for PIR Celotex insulation boards. Ventilation prevents the growth of mould and dampness. Although the Celotex board is covered on both sides with aluminium foil, it is still recommended to use a gap during installation.
This is because there may be unpleasant smells later on that could affect our well-being, not to mention the air quality in our homes.
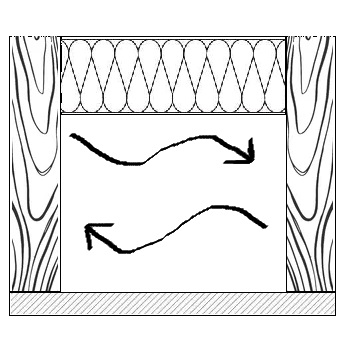
3. Preventing the formation of mould
Direct air exchange between the PIR Celotex board and the British Gypsum, Siniat, or Knauf plasterboard prevents mould formation by around 80%.
The remaining 20% of mould formation is often caused by poor installation.
4. Gap needed for wiring and spotlights
As we know, each spotlight is an incredible heat emitter. Therefore, it is necessary to distribute this heat across the entire surface and minimise the possibility of any potential self-ignition and fire. In addition, all wiring can rest on the plasterboard and not be in direct contact with the PIR Celotex board.
Contact with the insulation could cause overheating, melting, and a change in the cross-sectional area of the cable core.
HOW DO YOU FIT CELOTEX BETWEEN FLOOR JOISTS?
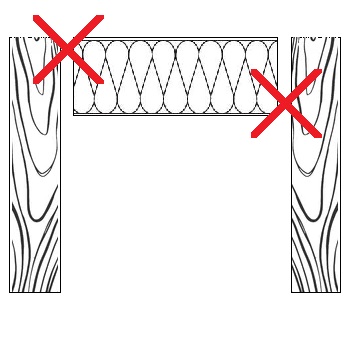
To correctly install Celotex insulation board between floor joists, three criteria must be met:
1. Correct measurement

Measuring the distance between joists on a tape measure may seem simple, but only an experienced installer knows that the measurement between the joists can sometimes differ by 40mm. Therefore, it's important to measure the distance at multiple points and average the result.
For example, the distance between the joists at the beginning may be 400mm, but it could be 390mm or 380mm at the end.
Most people draw the shape of the cut Celotex board on paper with the changing measurement in mind. Then, they transfer this measurement onto the aluminium foil on the Celotex board.
2. Correct cutting of the PIR Celotex board
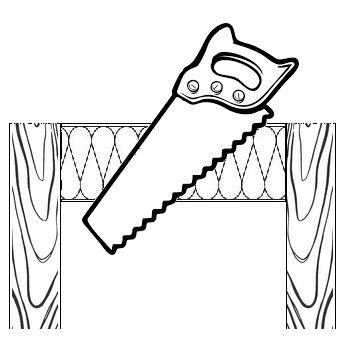
We have already discussed in detail how to cut the Celotex board correctly in the article "How to cut PIR Insulation". Incorrect cutting can lead to thermal bridging, prolong the installation time, or change the insulation dimensions.
When cutting the Celotex board to fit between the floor joists, it's important to cut it at a delicate angle of 3 degrees. This makes it easier to install and secure between the joists. Any gap of about 5-8mm can be filled with foam or insulation.
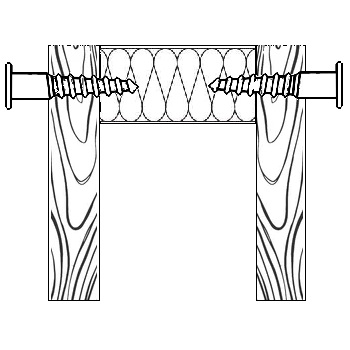
3. Correct installation of the Celotex board
The Celotex board must be installed as tightly as possible between the joists and secured with screws or nails. This prevents it from sagging due to any further drying or bending of the wood. Loose installation of the Celotex board between the joists will cause noise, thermal bridging, and reduce its insulation effectiveness by up to 50%.
This is a significant amount considering the cost of heating a home in the UK today. Additionally, remember to use aluminium tape to seal the joints of the Celotex boards. The most commonly used tape width for this type of joint is 75mm.
HOW DO YOU SUPPORT INSULATION BETWEEN FLOOR JOISTS?
There are three ways to support Celotex insulation between floor joists. The first method is to secure Celotex boards with screws or helical nails, the second method is to attach wooden battens to the underside of the PIR board, and the last method is to use low-expansion expanding foam.
SCREWS & NAILS
The first method of supporting the Celotex insulation board is much cheaper and quicker.
All that's required is to use 2-4 screws or helical nails on each side of the board and screw them into the cross joists in the middle of the Celotex board.
This method is sufficient to support insulation boards such as Celotex, Xtratherm, or Kingspan.
WOODEN BATTENS
The second method requires more material and is therefore much more expensive, not to mention taking much longer to install. It involves cutting a small wooden batten to size and wedging it 2mm under the bottom of the Celotex board.
This method requires additional screws or nails, which further increases installation costs.
This method was used in the past due to the low cost of wood and the lack of power tools. However, it's still used today, but much less frequently.
EXPANDING FOAM

There is also an unofficial third method of securing Celotex boards from sagging between joists.
This involves using low-expansion expanding foam, which not only glues and bonds the Celotex board to the wood but also seals any gaps, thus reducing our heating bills.
This method requires the use of a readily available expanding foam gun and the Celotex foam board itself. It is relatively cheap and fast, and also seals connections, but it can quickly fall off and irreversibly dirty any surface it adheres to. Therefore, it is only used in the case of small gaps.
HOW TO INSTALL FOAM BOARD INSULATION BETWEEN FLOOR JOISTS?
The best method for installing foam board insulation such as Celotex or Kingspan is the staggered joint method. This requires the use of two layers of insulation shifted by half the length of the board. This method eliminates thermal bridges at the cross joints of the boards and eliminates the need for aluminium tape. However, it takes about twice as long to install two layers of insulation instead of one. When using this method for insulation between floor joists, it is recommended to use the 70/30 principle. This means that 70% of the total insulation thickness should be the first layer of insulation, while the remaining 30% should be the second overlapping layer.
For example, for insulation between floor joists with a thickness of 100mm, you would first use a 70mm Celotex board and then a 30mm board. Using this method for insulation between floor joists can forgive mistakes made when cutting the boards, but it does require more time. If done alone, this is the most efficient method of insulating between floor joists. When combined with the use of expanding foam, it creates an insulation barrier that protects against thermal losses by almost 95%.
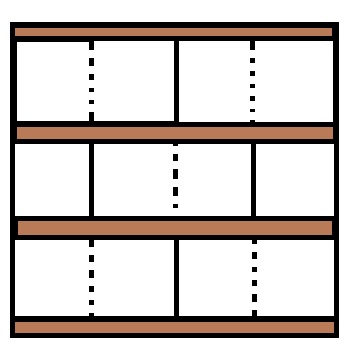
Installation of Celotex PIR insulation between floor joists in a specific pattern.
CONCLUSION
When it comes to insulation between floor joists, the staggered method combined with the 70/30 principle is the most effective way to eliminate thermal bridging and achieve optimal insulation performance. While it may take a bit more time and effort to install, the benefits in terms of energy savings and comfort are well worth it. Don't overlook the importance of insulation and take the necessary steps to ensure your home is properly insulated.
Related aricles:
BEST FLOOR INSULATION - THE COMPLETE GUIDE
THE UGLY TRUTH ABOUT ROCKWOOL AS A SOUNDPROOFING MATERIAL?
FOIL INSULATION: TO GAP OR NOT TO GAP? THAT IS THE QUESTION!
THE INSULATION GAME: DON'T LET HEAT ESCAPE, WIN WITH PROPER INSULATION!
DEBUNKING THE TOP 3 MYTHS ABOUT VAPOUR BARRIERS AND FOAM RIGID INSULATION
SUSTAINABLE AND AFFORDABLE: KINGSPAN ALTERNATIVES AND EQUIVALENTS THAT WON'T BREAK THE BANK
HOW TO ESTIMATE HOW MUCH INSULATION YOU NEED
*All the information provided in the content published on Insulationgo blog is for informational and educational purposes only. Insulationgo LTD makes every effort to ensure the accuracy and timeliness of the content, but we do not assume any responsibility for any errors or omissions.
The information presented on this blog should not be considered as professional advice or a substitute for consulting relevant experts. Before making any purchase decisions or taking action based on the information presented here, it is strongly recommended to contact the product manufacturer directly to verify the details and ensure its suitability for your specific needs.
By using this blog, you acknowledge and agree that Insulationgo LTD shall not be held liable for any damages, losses, or inconveniences arising from the use or reliance on the information provided herein. This limitation of liability applies to all users of the blog, including but not limited to visitors, readers, and subscribers.
