


*****Reading time: 9 minutes****
HARDIEBACKER® CEMENT BOARDS INSTALLATION INSTRUCTIONS - COMPLETE TUTORIAL*
Plywood unlike cement boards can expand and contract beneath tile causing loose tiles and cracked grout. Installing cement backer boards provides a stable base for your tile and prevents water damage. In fact this board itself does not get damaged when it gets wet.
Installing cement backer boards isn't as difficult as most homeowners think. In this article we will share some tips on how to install cement boards in your shower, on walls and plywood floor. Follow these steps for an easy installation.
 TABLE OF CONTENTS
- HARDIEBACKER® CEMENT BOARDS INSTALLATION INSTRUCTIONS - COMPLETE TUTORIAL
- CEMENT BOARD SIZES/THICKNESSES
- HOW MUCH CEMENT BOARD WILL I NEED FOR MY PROJECT?
- HOW TO INSTALL CEMENT BOARD ON FLOOR / HOW TO ATTACH CEMENT BOARD TO PLYWOOD FLOOR
- HOW TO INSTALL CEMENT BOARD IN SHOWER / HOW TO INSTALL CEMENT BOARD AROUND A TUB
- HOW TO INSTALL BACKER BOARD ON WALLS
- CEMENT BOARD SCREWS
- BIBLIOGRAPHY
CEMENT BOARD SIZES / THICKNESSES
When it comes to cement board selection we basically have two most common thicknesses to choose from. They both look identical other than one is 12.5mm thick and another 6mm thick. As you can see below, the 12.5mm thick sheet is relatively stiff and 6mm is relatively flimsy.
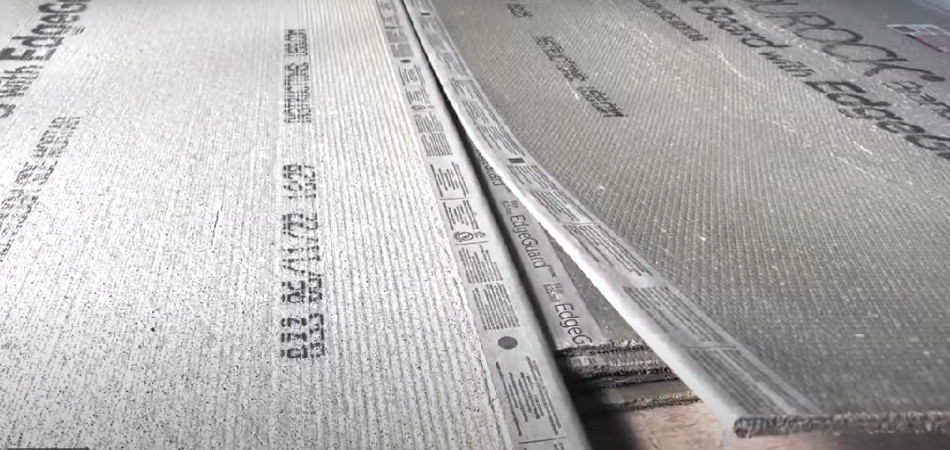
6mm cement board

12mm cement board
The key difference is the thickness helps give it more structural ability to be stuck on a wall compared to 6mm which is thin. Thin cement board is meant to be placed on a floor that has a strong substrate such as 18mm or 22 mm osb or 19mm plywood.
There are several different brands such as Permabase, Hardiebacker, Durarock, Cebrit, RCM, Versapanel or Aquapanel
They’re all about the same, so it all depends on what you want to use. Most manufacturers make the sheets 8’ by 4’ (2400mmx1200mm) and there is a reason for it.
Because the standard width of tubs and showers is 150 cm that is why the cement board is pre-made to be anything between 150 cm to 240 cm in size. You wouldn't have to join two pieces of cement board, instead you just screw one full size board.
Cement board is most commonly sold in 8 x 4 sheets and in thicknesses ranging from 6mm to 24mm. A 8’ x 4’ panel of 12.5mm cement board weighs about 34.57kg.
HOW MUCH CEMENT BOARD WILL I NEED FOR MY PROJECT?
To find out how many sheets you will need for your project simply:
- calculate by measuring the length and width of the area.
- multiply these two numbers to calculate the area's square meterage.
A (length) x B (width) =C (square meterage - m2)
Each sheet of backer board covers 2.88m2, as each one is 8-by-4 feet.
- divide the square footage (square meterage) of your walls by 2.88, and round off your answer to the nearest whole number. You now know how many boards you need.
C (square meterage - m2) / 2.88 = Number of the boards needed
HOW TO INSTALL CEMENT BOARD ON FLOOR / HOW TO ATTACH CEMENT BOARD TO PLYWOOD FLOOR
Plywood expands and finally contracts beneath the ceramic tile and grout. Therefore, it's not a good idea to install tile directly over plywood, especially in a damp area like a bathroom. If you want to replace an old tile floor, cement board is the right choice. Cement boards have no organic materials unlike plywood, so they are not prone to mould or rot due to moisture. To install correctly cement board on floor you should:
1. ENSURE THAT IT IS STRUCTURALLY SOUND AND FREE FROM DAMAGE.
Floor squeaks are caused by wood rubbing against other wood or a nail. Wooden floor is assembled from floor joists. Over time, these parts also can emit an irritating creak. Locate the joist nearest the squeak. Drywall screw at an angle up through the joist. Screwing the plywood down to the floor joists should take care of most squeaks. Another way to stop noise is to glue floor boards.
2. BE PREPARED FOR EXTRA THICKNESS
Before you begin you should determine if your floor is suited for cement boards such as Hardiebacker.
For the floor a 12.5mm thick board is needed, but thicker 15mm panels are also fine. Be sure to replace missing or uneven sections of flooring so that you have a flat and clean surface. Cement board usually rests on a plywood subfloor. Please note, there is no need to install a backer board on a concrete substrate!
3. PLAN A DRY RUN/DETERMINE THE LAYOUT
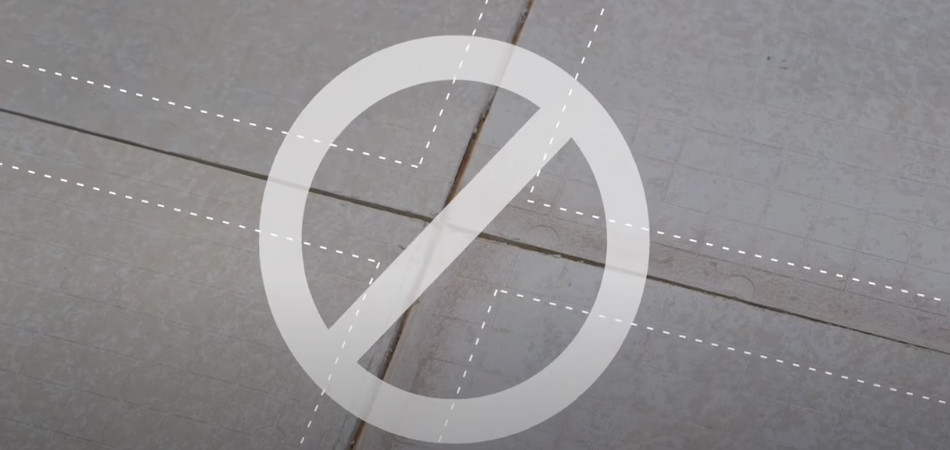
To properly place cement boards first plan a dry run before you begin to install. Make sure you place the cement board so the joints don’t line up with the joints in the subfloor.
When laying out your cement board on the floor you’re going to stagger all cement board joints in a brick laying pattern. Don’t align them with subfloor joints and never allow all 4 corners of boards to meet at one point.
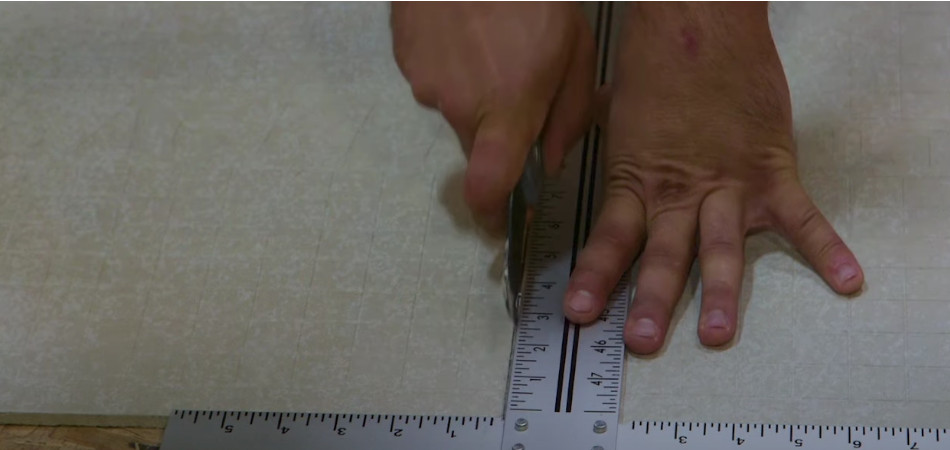
4. CUT CEMENT BOARD TO SIZE
Once your floor is ready you are all set to cut your boards to the necessary sizes. Cutting cement boards is really simple. Basically it's just time-consuming. The whole process is pretty straightforward.
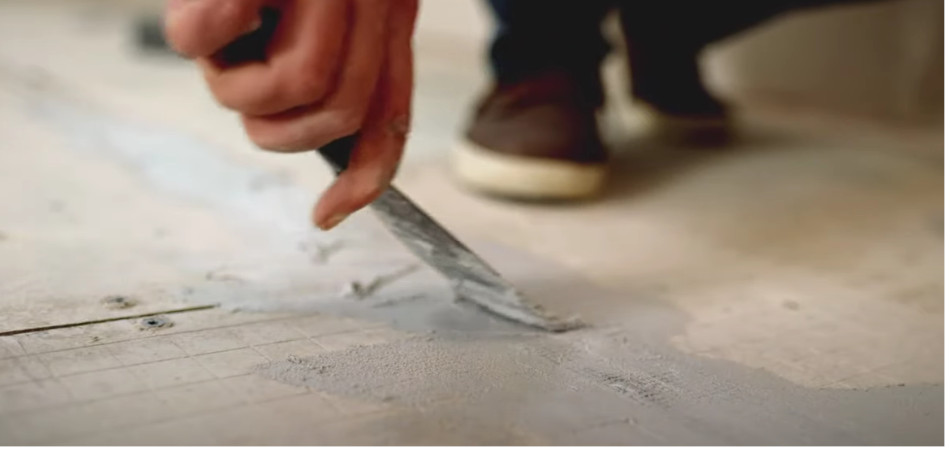
The best way to cut cement boards is to use the utility knife (stanley knife). First, you want to mark your measurements on the cement board. Score the panel deeply with three passes with the stanley blade. You need to use an extremely sharp knife. Next, snap the waste area of the sheet back to break the board along the cutting line. Finally, cut through the fibreglass mesh along the backside of the cement board to complete the cut.
The cement boards can also be cut to size with a fine-toothed saw. However, the way the cement board is made will make your workplace covered with dust within a few minutes.
To make round cuts, an electric jigsaw can be used. Now you are ready to attach your board to your subfloor.
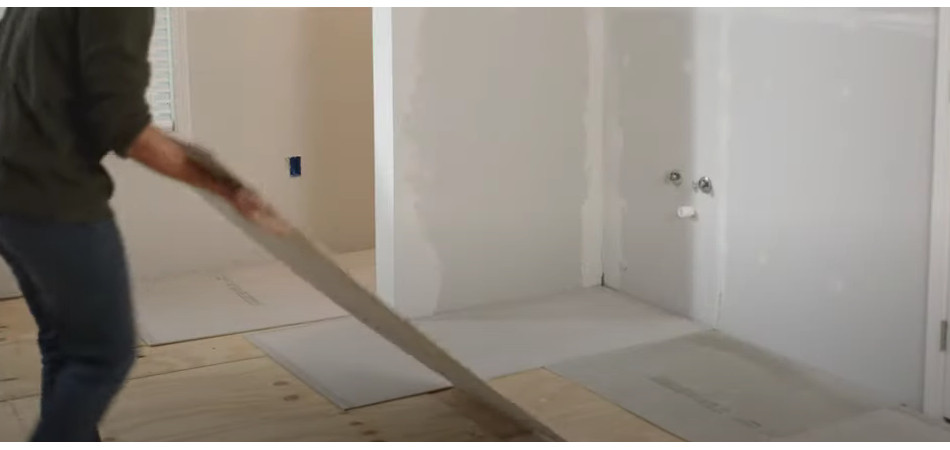
5. APPLY CEMENT BOARD
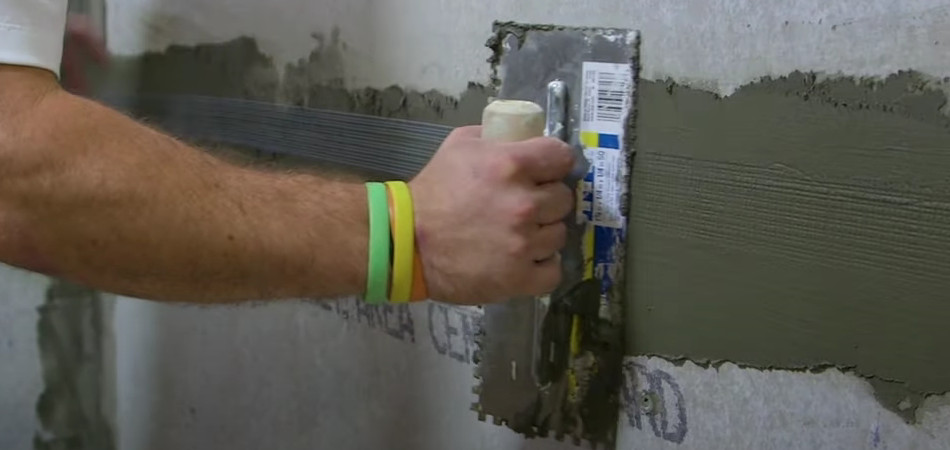
To start, apply pre-mixed adhesive between the cement board and the subfloor with the notched trowel.
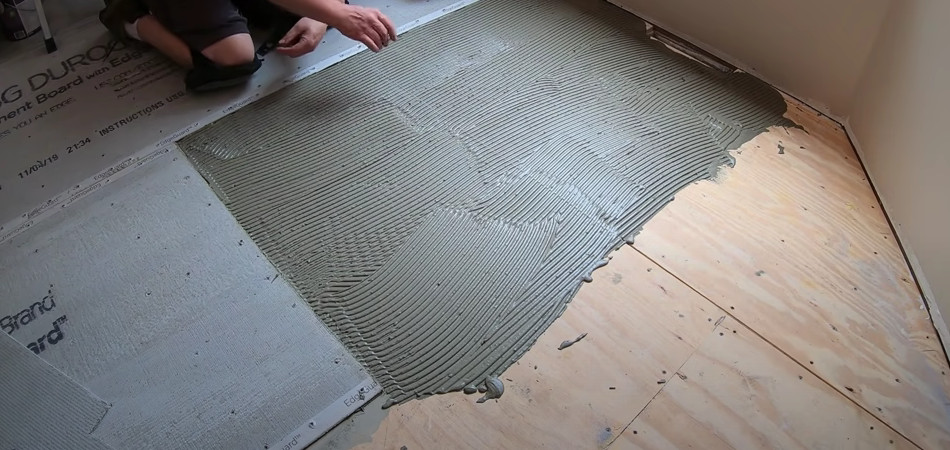
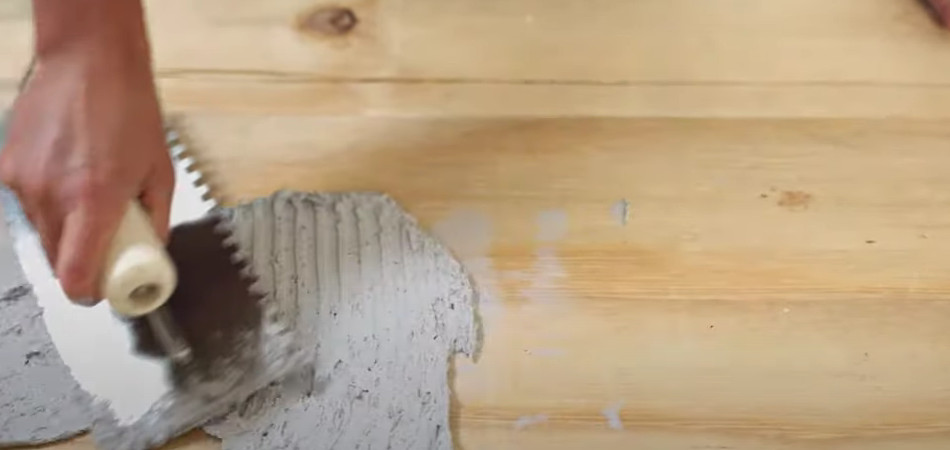
For this you will need a quarter inch square notched trowel. Spread enough adhesive for 1 sheet of cement board. Get yourself full coverage. Using a sliding motion firmly and evenly embed your cement board in wet adhesive.
While the pre-mixed adhesive is still wet, lay the sheet of backer board into place. Please note, the pre-mixed adhesive dries slowly. Now you should adjust the cement board sheets as needed. Once you have got the first piece in, repeat this process.
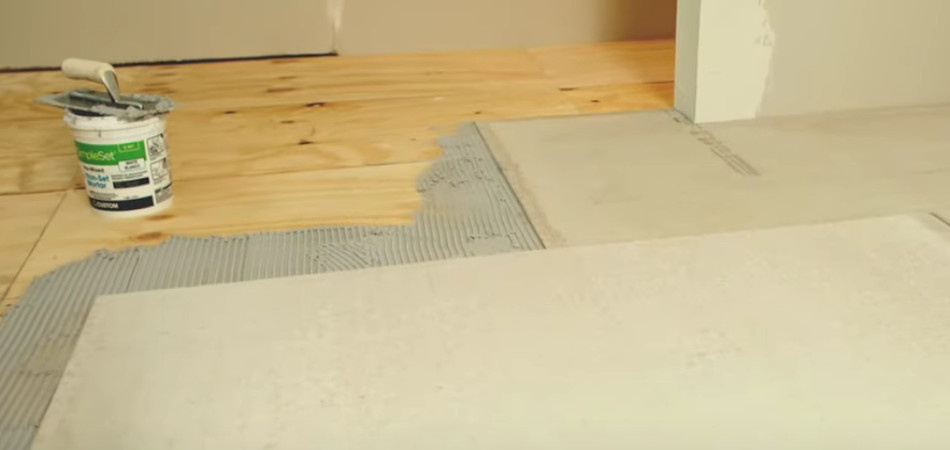
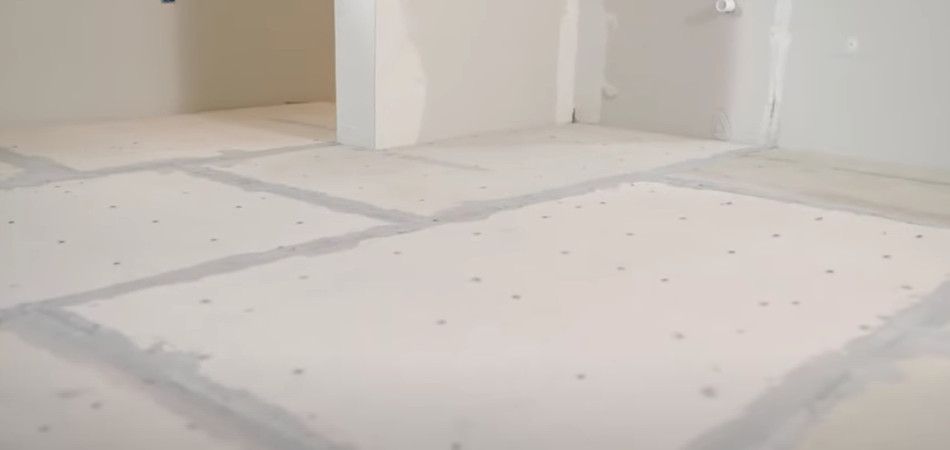
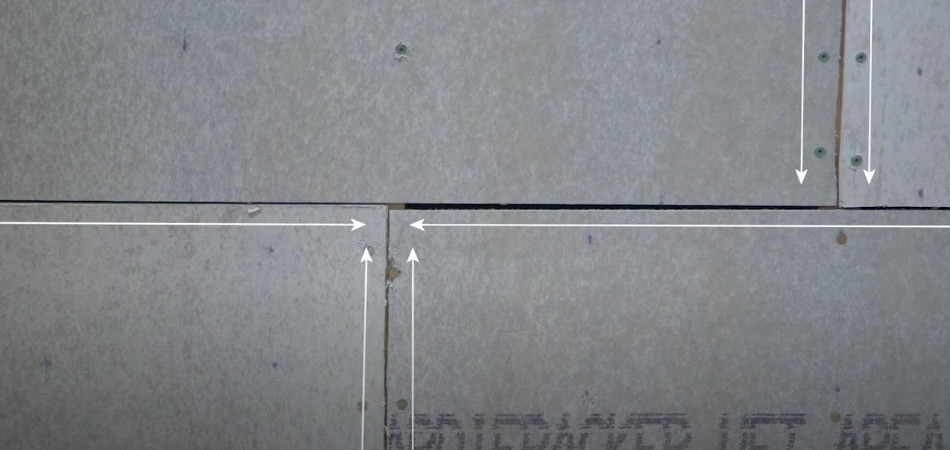
6. REMEMBER THE 3mm/6mm RULE
Keep a 3mm gap between each cement board and a 6mm gap between the cement board and the wall.
Secure the cement board sheets with screws drilled every 15cm to 20cm over the entire surface. Position the screws 2cm to 2.5cm from the edge of the sheets. Dry the screws in so that the heads are just below the surface of the sheet. Make sure you don’t have any spots where the screw heads are going to pop up.
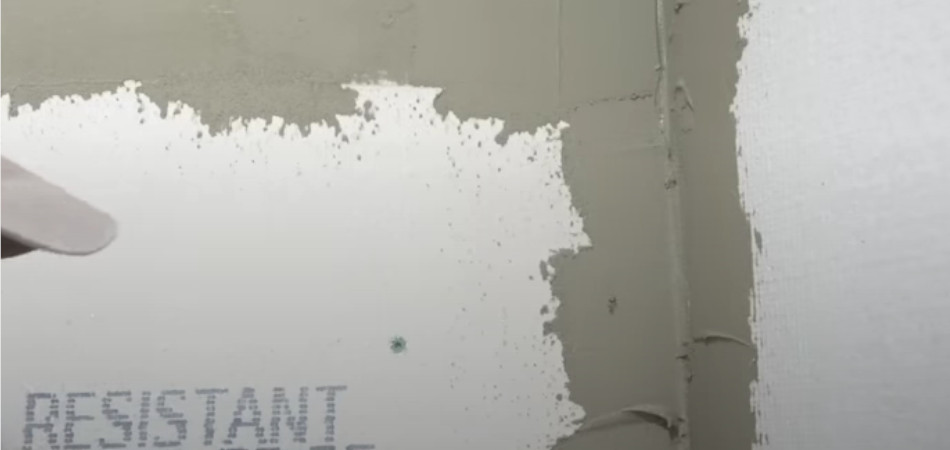
Before tiling you’ll want to tape the joints. Using a filling knife, cover the joints between the backer board sheets with adhesive. Smooth the pre-mixed adhesive so it extends about 3.5cm on each side of the joint.
Cut the fibreglass mesh tape to length and apply it to all the joints. Once the tape is embedded, spread a thin layer of pre-mixed adhesive on the top of the fibreglass tape. Knock down high spots and feather the edges so the surface is as smooth as possible.
Allow 24 to 48 hours for the adhesive to dry before tiling and you will have a perfect base for your tile installation.
HOW TO INSTALL CEMENT BOARD IN SHOWER / HOW TO INSTALL CEMENT BOARD AROUND A TUB
When installing cement boards in the shower you’ve got to install 12.5mm sheets on walls because that is going to be stronger as a backer. Installing cement board in the shower is similar to how you would finish drywall up around a tub or shower other than a cement board for tile.
1. PROTECTION FIRST
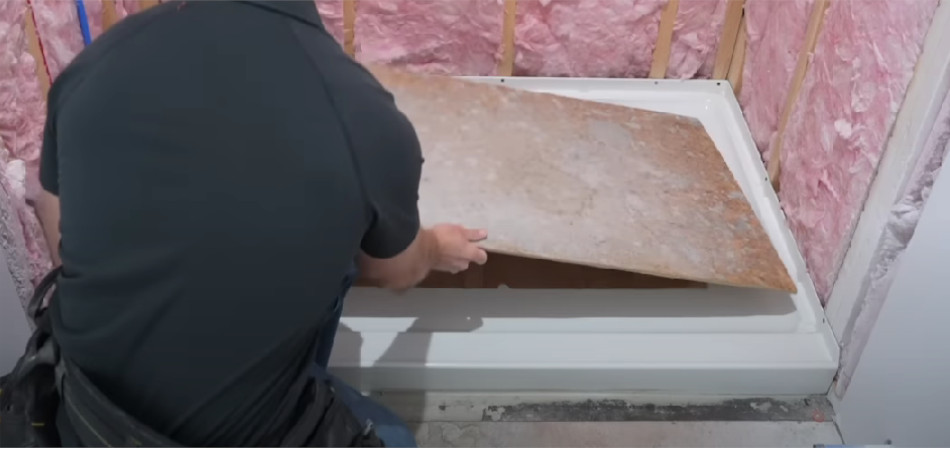
Always protect the shower pan with a plywood or Correx or any type of sheathing for that matter. Always cut the protection board to the size of the shower tray so that it gives you a surface that can have something drop on and not break. You don’t want to have it drop directly on this shower tray because it can crack it.
2. MAKE YOUR LAYOUT AND MARK STUDS CENTRE
Start on the back of the shower otherwise you are going to shrink down that back size to where you’re going to have to cut a little bit off each one. Make the layout going across the studs. Mark the studs centre on board onto the cement board. Pre-start your cement board screws on each line where it’s going to be hitting a stud.
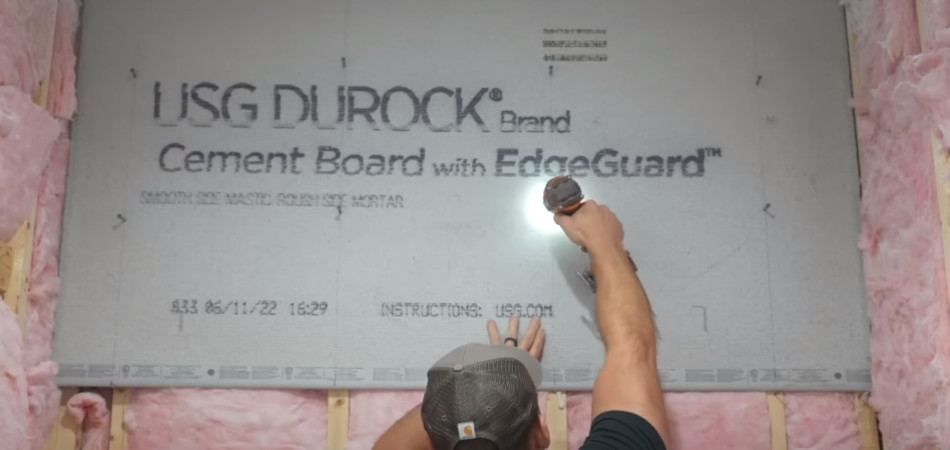
3. START FROM THE CEILING
In order to begin the installation of the cement board in the shower you want to start from the ceiling and work down. But before that find the stud. By doing so you will know where to screw the board.
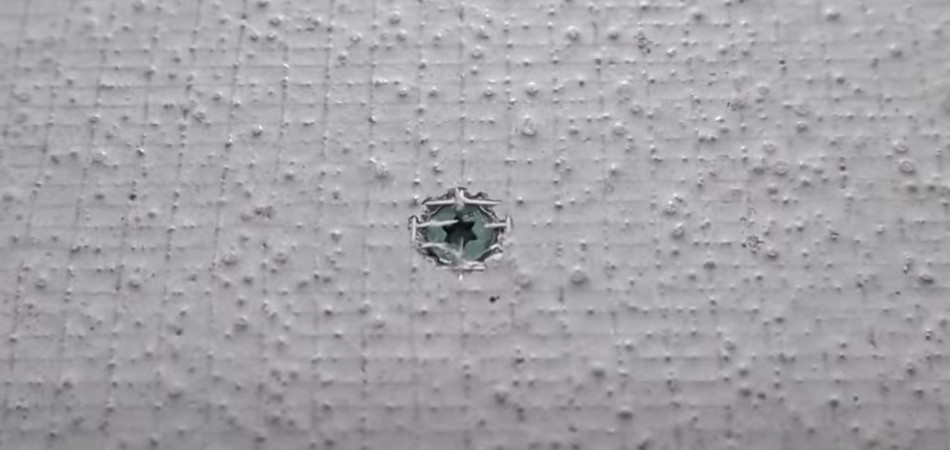
4. DRILL UP FOR THE SHOWER HEAD AND SHOWER VALVE
In order to drill up for the shower head you will need a 32mm drill bit and scrap piece of cement board to be used under.
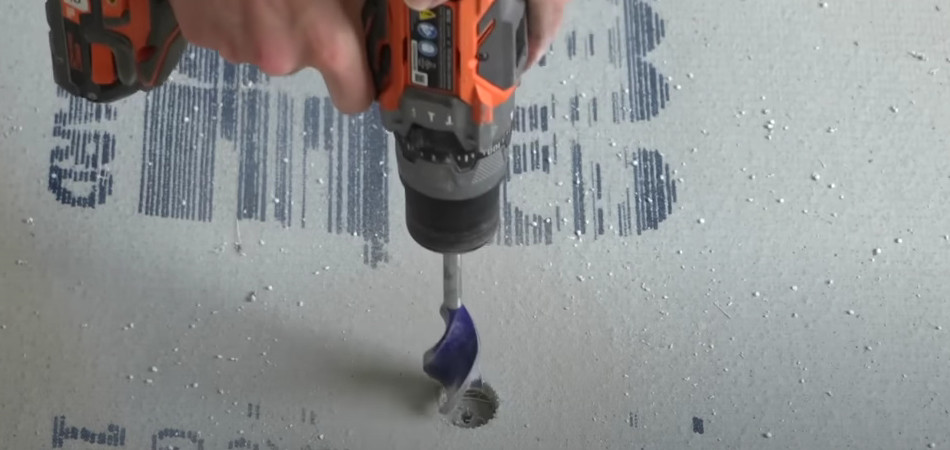
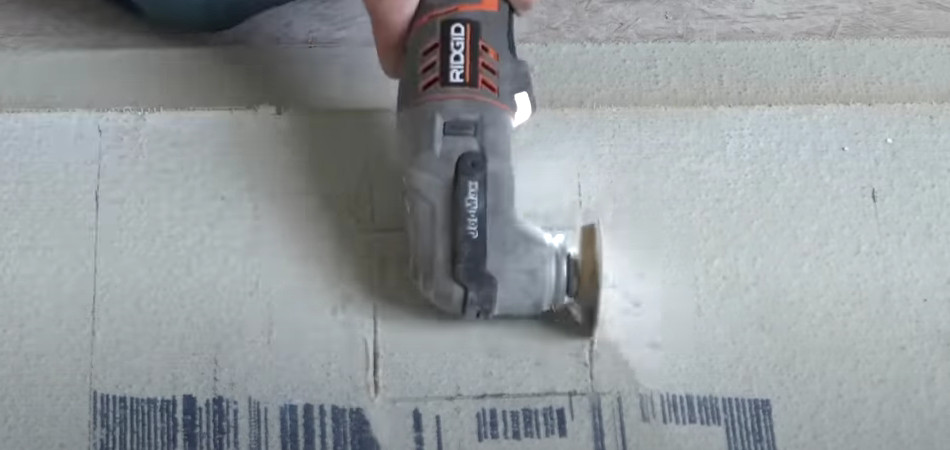
To cut the hole for the shower valve you will need an oscillating tool with the diamond blade or a jigsaw. Follow the marks that you have made to cut it out.
5. SCREW CEMENT BOARD
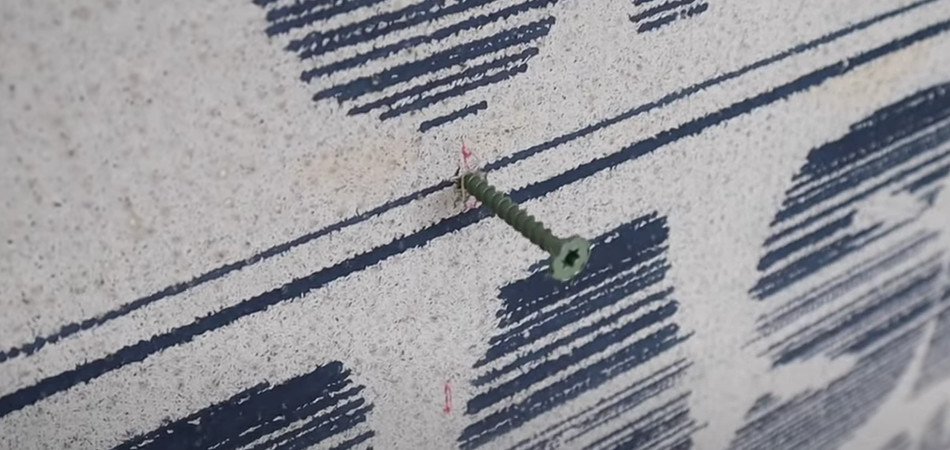
Take the cement board and lay it on top of the framing and screw it to the wall. Screw the cement board off every 120mm. Be sure to countersink a screw to where it’s flush beneath the surface of the cement board.
When it comes to installing cement board on the side walls you do it the exact same way except the full piece will fit vertically.
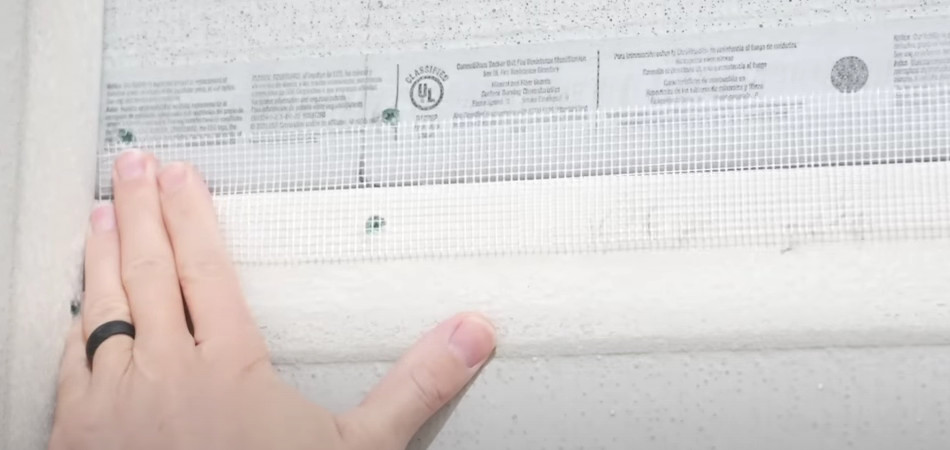
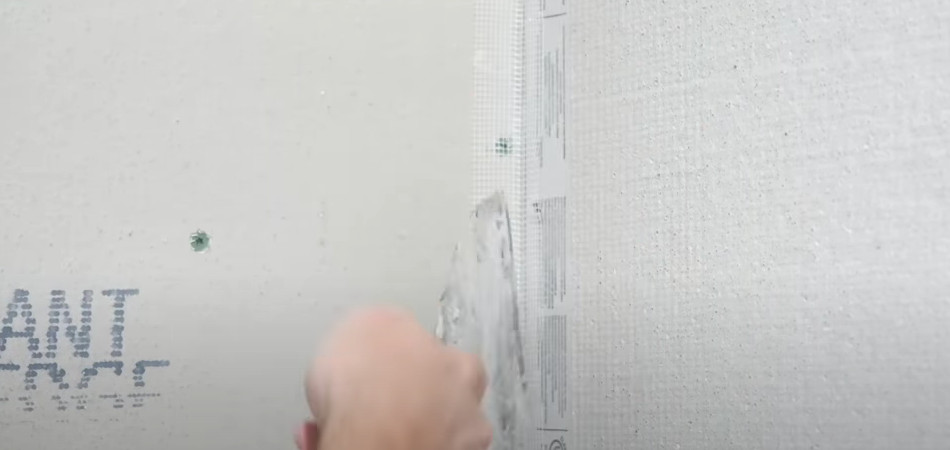
6. USE FIBRE MESH TAPE FOR JOINTS
The next step would be to use a product called fibre mesh tape. Where two pieces of cement board meet this is where the fibre mesh tape is going to go. One side of the tape is sticky, the other is not, so the sticky one goes on the cement board.
Place tape right over the centre of that joint and spread it across the whole joint and press it into that joint as you go.
Tape comes in roll and you are going to go through and tape every joint using this product.
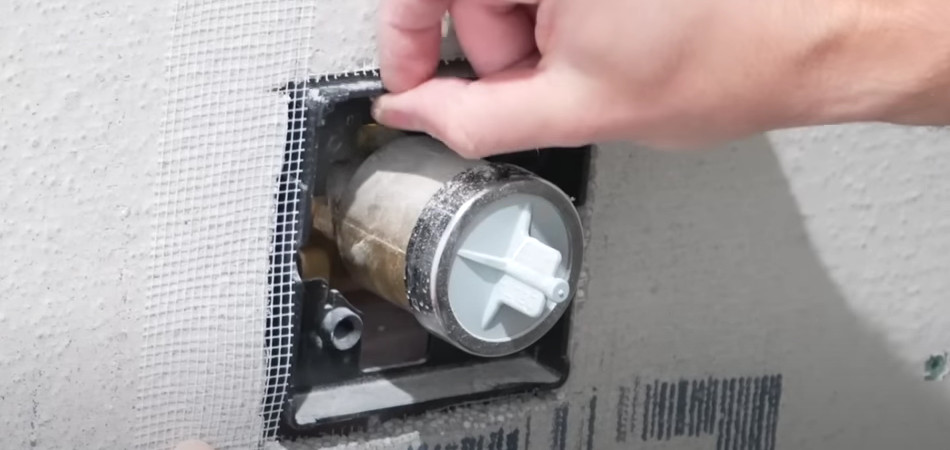
You are also going to need the tape around the shower valve. Tape right up to the valve cover.
For the sake of completion you should also tape around the shower head.
Same with the corners. Try to centre it up with the joint and then just pack it back into its nice and square shape. It helps if you have a putty knife to get in really tight.
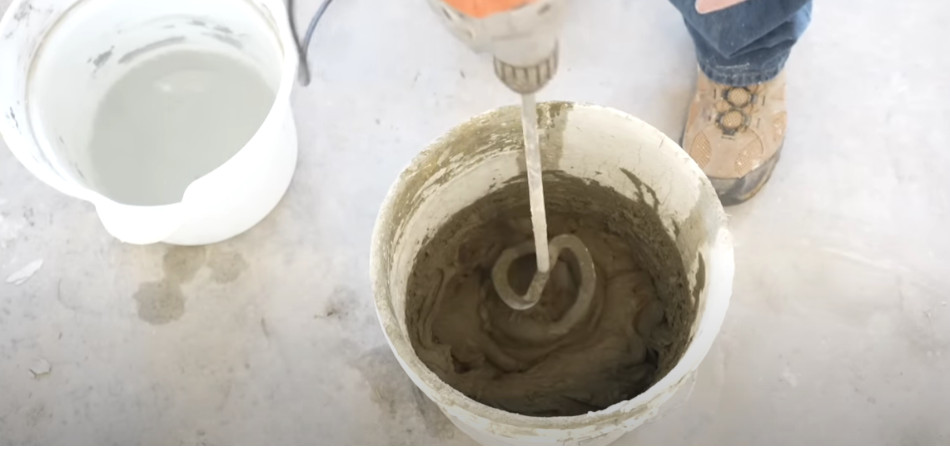
7. MIX UP THE ADHESIVE FOR THE JOINTS. FOLLOW 3/5/1 MIN RULE
In order to do so you are going to need clean water, drill with a mixing blade, bucket and adhesive. Simply pour just how much you think you’re going to use on a tape job into the bucket. Add water and mix it up until you get ‘peanut butter’ like consistency. Make sure you mix it up for 3 min, then let it set for 5 min. After it’s done sitting for 5 minutes you need to re-mix it up one more time for about 1 min.
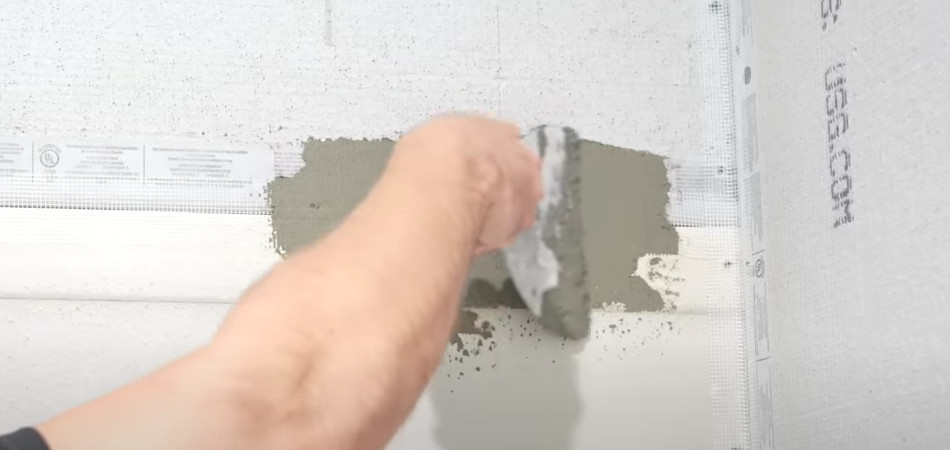
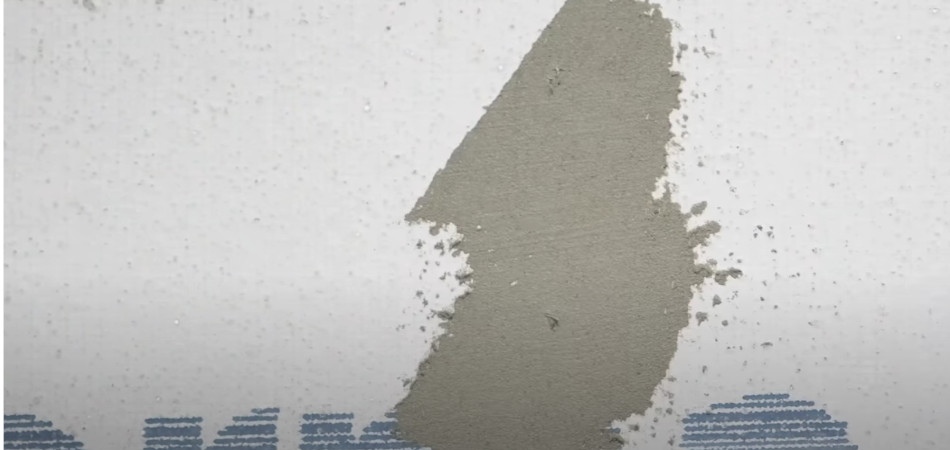
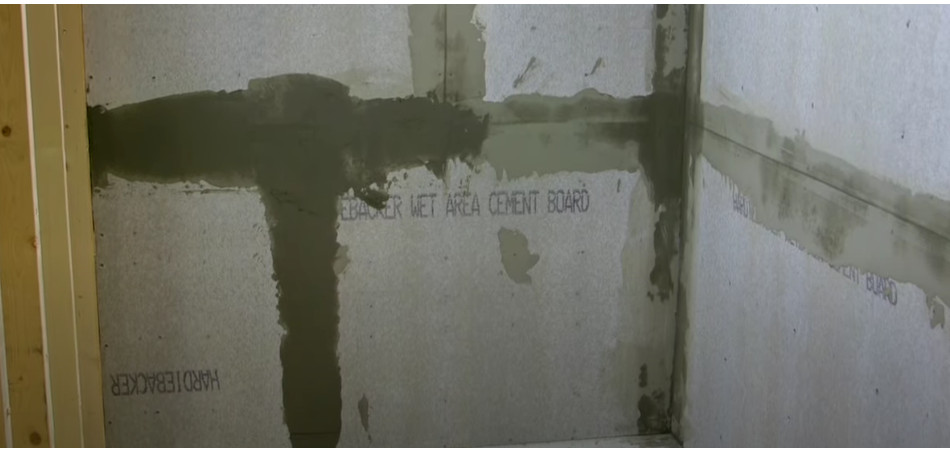
In order to mud these joints with adhesive all you do is to smear some on.
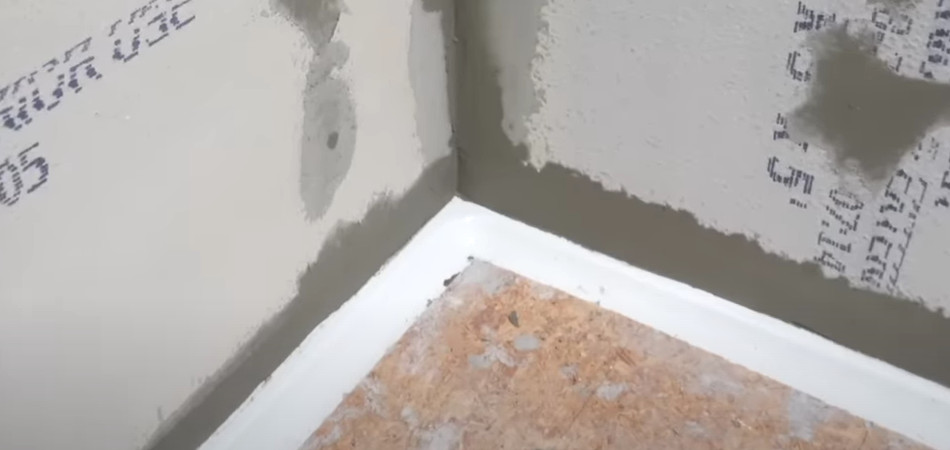
Remember - it does not have to be pretty - it is going to be under the tile! Just level out from one board to another wherever you have got joints. You do want to be flat. Same way with the corners. Put one one side and the other side and then just kind of smooth it out as best as you can.
TIP
Anybody that finishes drywall for a living would be great at this part of a job.
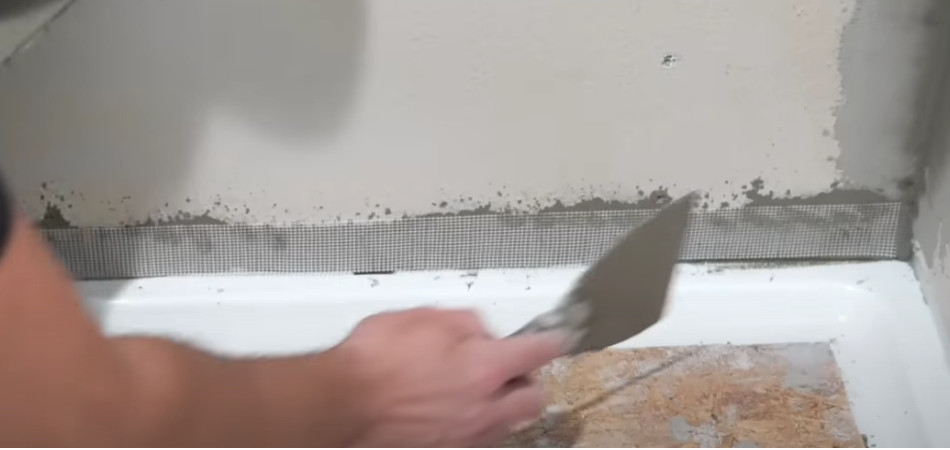
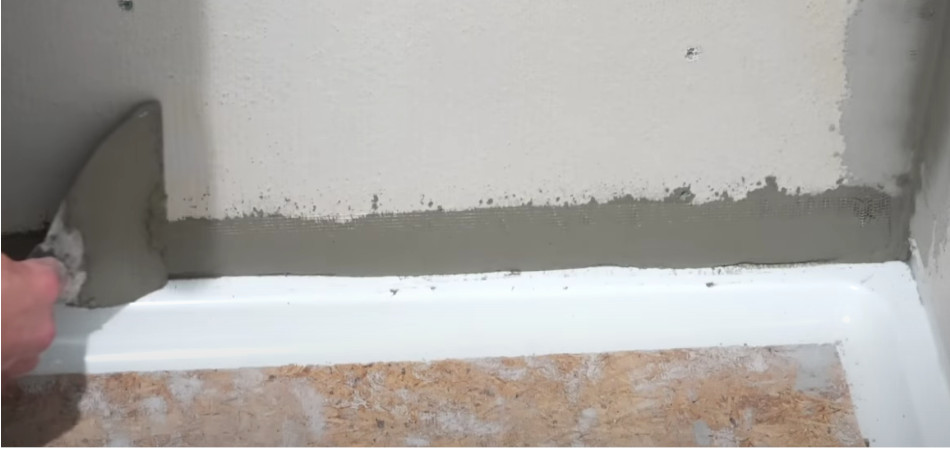
Now is time to address where the shower tray meets the cement board. Fill the gap with adhesive, take fibre mesh tape and place it over where the gap is. Go through with a little bit more adhesive and fiil in over that and then smooth it out flush with the cement board.
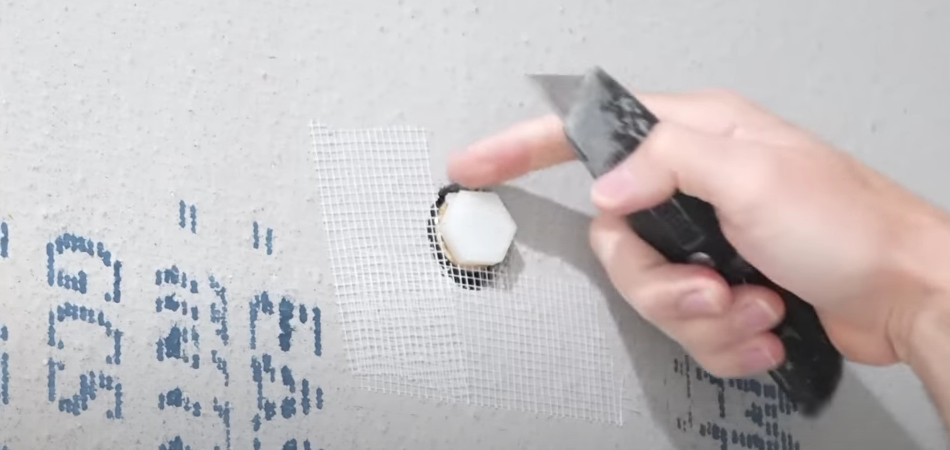
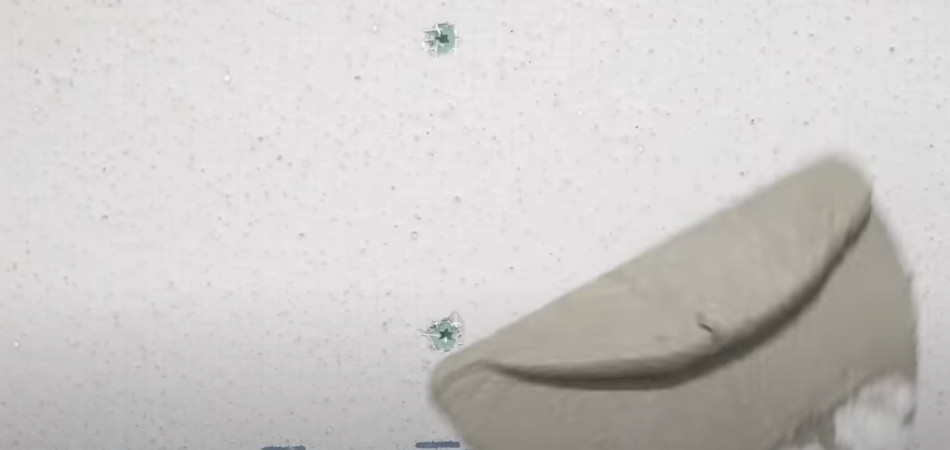
Anywhere you place screws in the cement board just be sure to give them a quick cover too.
HOW TO INSTALL BACKER BOARD ON WALLS
To install cement board on wall you will need:
- modified cement adhesive,
- 50mm glass fibre tape,
- corrosion resistant screws,
- appropriately sized notched trowel,
- utility knife.
Before you start installing cement board (Backerboard) on walls:
- check that your framing complies with local building codes,
- minimum of 2’ x 4’ wood stud is recommended or 20 gauge metal studs,
- studs must be straight, properly aligned and spaced a maximum of 16’ (40cm) on centre
Once you’re certain that your framework is ready for your cement boards you can begin determining their layout. Cement boards such as Hardiebacker or Aquapanel may be installed vertically or horizontally in a staggered pattern.
Keep in mind the edges of the board parallel to framing must be supported by a structural framing element. You also want to ensure that the corners of your boards never meet at one point as this may create a weak spot.
Once you figured out how you laid out cement boards it is time to cut them to desired size. Check out our instructions on how to cut cement boards here. Once your cement boards are cut to size you can go ahead and install them. The use of a waterproof membrane vapor membrane barrier is optional unless the local building code requires it.
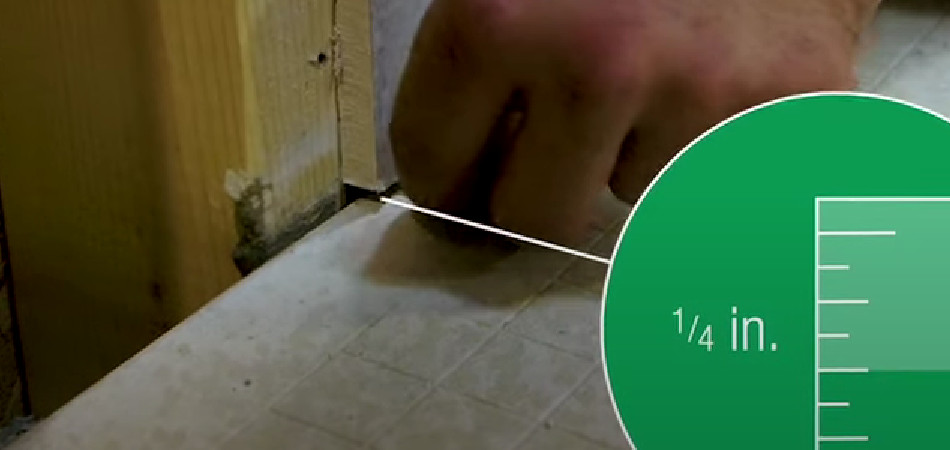
Start installing your boards a quarter of an inch (0.63cm-63mm) above the floor.
Fasten cement board with specific screws maximum of 8’ (20cm) on centre at all supports.
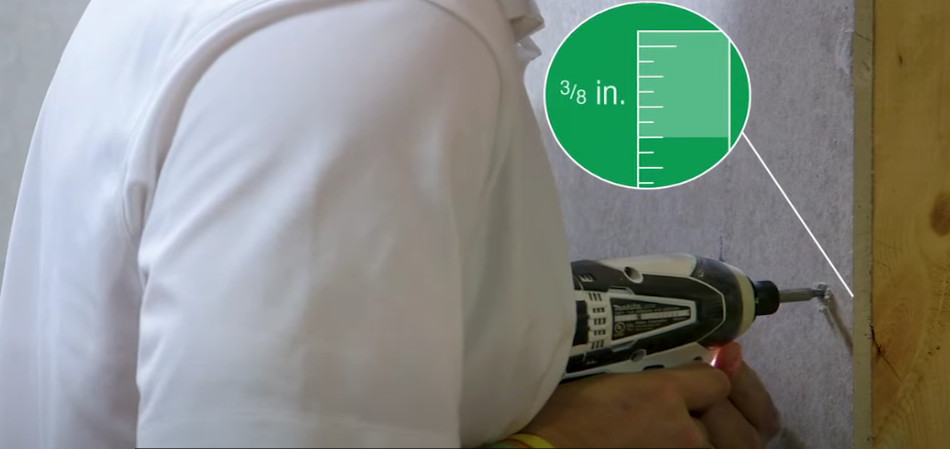
Keep screws ⅜ from board edges and 2 inches in from sheet corners.
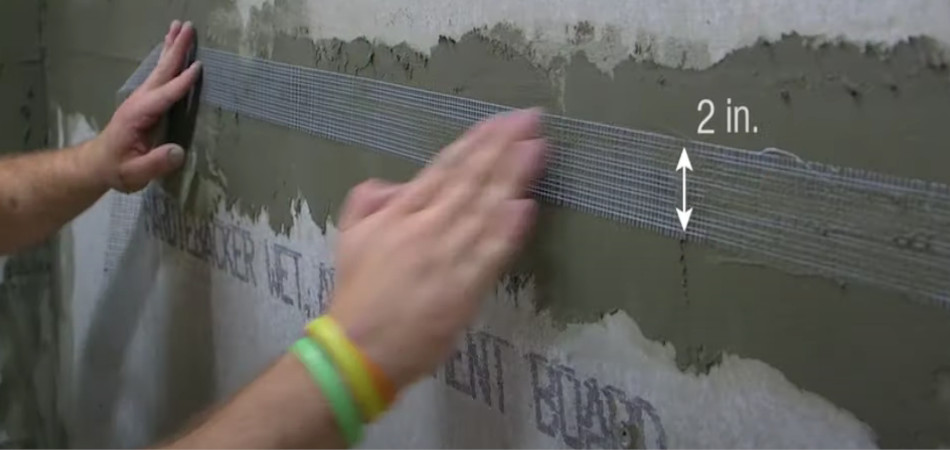
Set screws flush with the surface without over driving. When you finish, fill all joints with cement adhesive and embed with 50mm wide high-strength glass fibre tape.
Now you're ready to add stone or ceramic tiles.
CEMENT BOARD SCREWS
In order to install cement board you’re going to need screws.To install the cement board you’ll need a special 1-1/4 in. cement board screws. These screws have a coating to resist corrosion, a special wide head with cutting flutes and hi-low threads for a strong grip. It is recommended about 30 cement board screws per sheet and for the floor about 60 screws per sheets.
Picture credits:
1.youtube.com, The Home Depot, ’How to Install Cement Backer Board for Floor Tile Installation | The Home Depot’, mpeg, March 21, 2022, accessed January 9, 2023.
2. youtube.com, The Excellent Laborer, ‘Cement Board Installation - Shower Walls For Tile - COMPLETE TUTORIAL’, mpeg, July 17, 2022, accessed January 9, 2023.
3. youtube.com, James Hardie, ‘How to Install HardieBacker Cement Board on Walls’, mpeg, 11 December 2019, accessed December 9, 2023.
Related articles:
- HOW TO REMOVE AND REPLACE SILICONE SEALANT?
- FIRE RATED SHEATHING
- RENDER CARRIER BOARDS
- ALL YOU SHOULD KNOW ABOUR MULTIPURPOSE BOARDS
*All the information provided in the content published on Insulationgo blog is for informational and educational purposes only. Insulationgo LTD makes every effort to ensure the accuracy and timeliness of the content, but we do not assume any responsibility for any errors or omissions.
The information presented on this blog should not be considered as professional advice or a substitute for consulting relevant experts. Before making any purchase decisions or taking action based on the information presented here, it is strongly recommended to contact the product manufacturer directly to verify the details and ensure its suitability for your specific needs.
By using this blog, you acknowledge and agree that Insulationgo LTD shall not be held liable for any damages, losses, or inconveniences arising from the use or reliance on the information provided herein. This limitation of liability applies to all users of the blog, including but not limited to visitors, readers, and subscribers.
